


DIY Colorful Wooden Snowmen
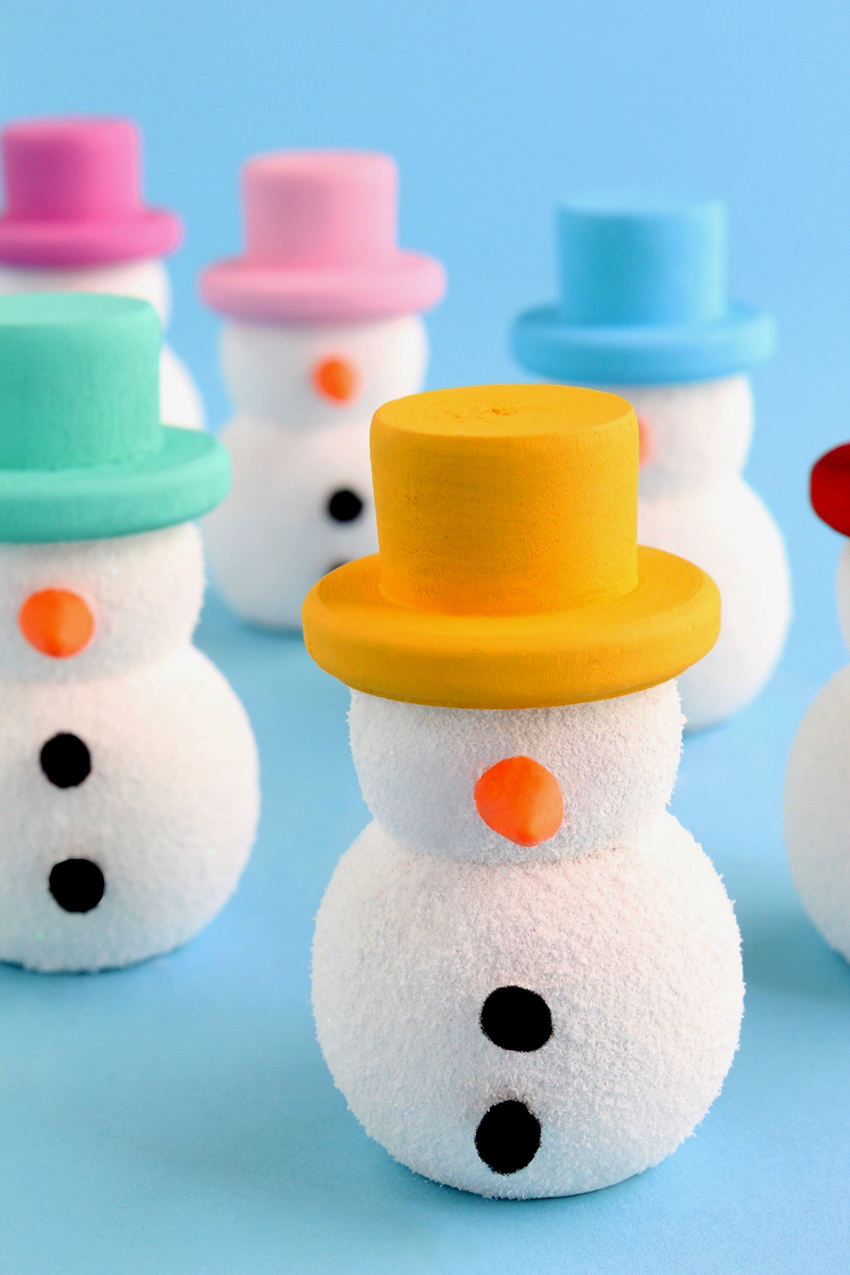
It looks like Frosty the Snowman has a few colorful friends in town!
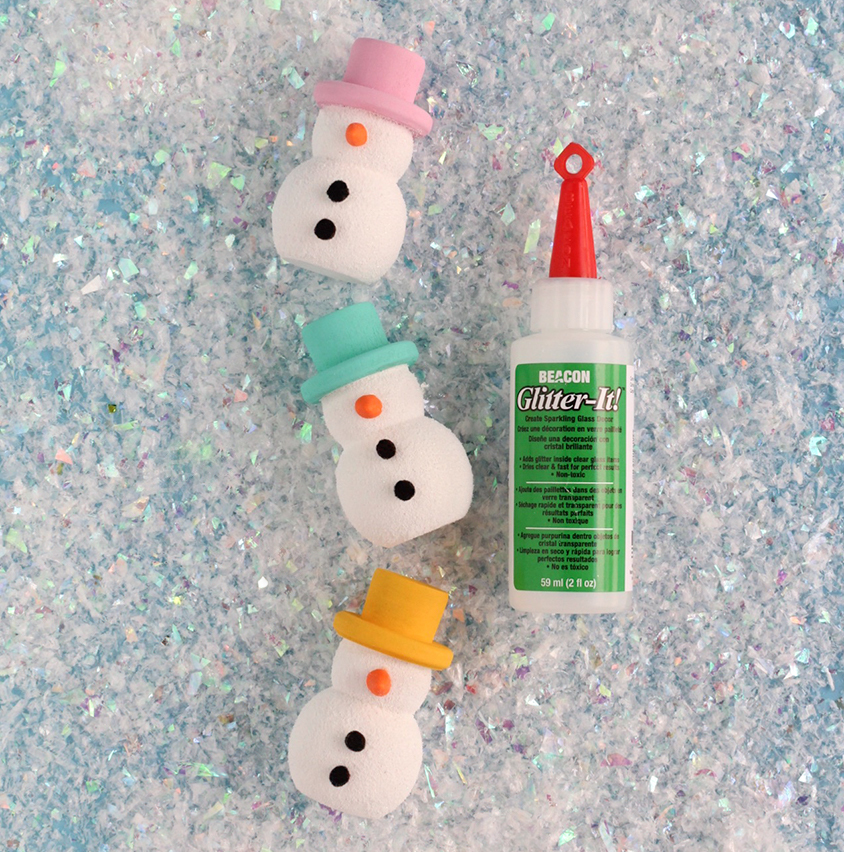
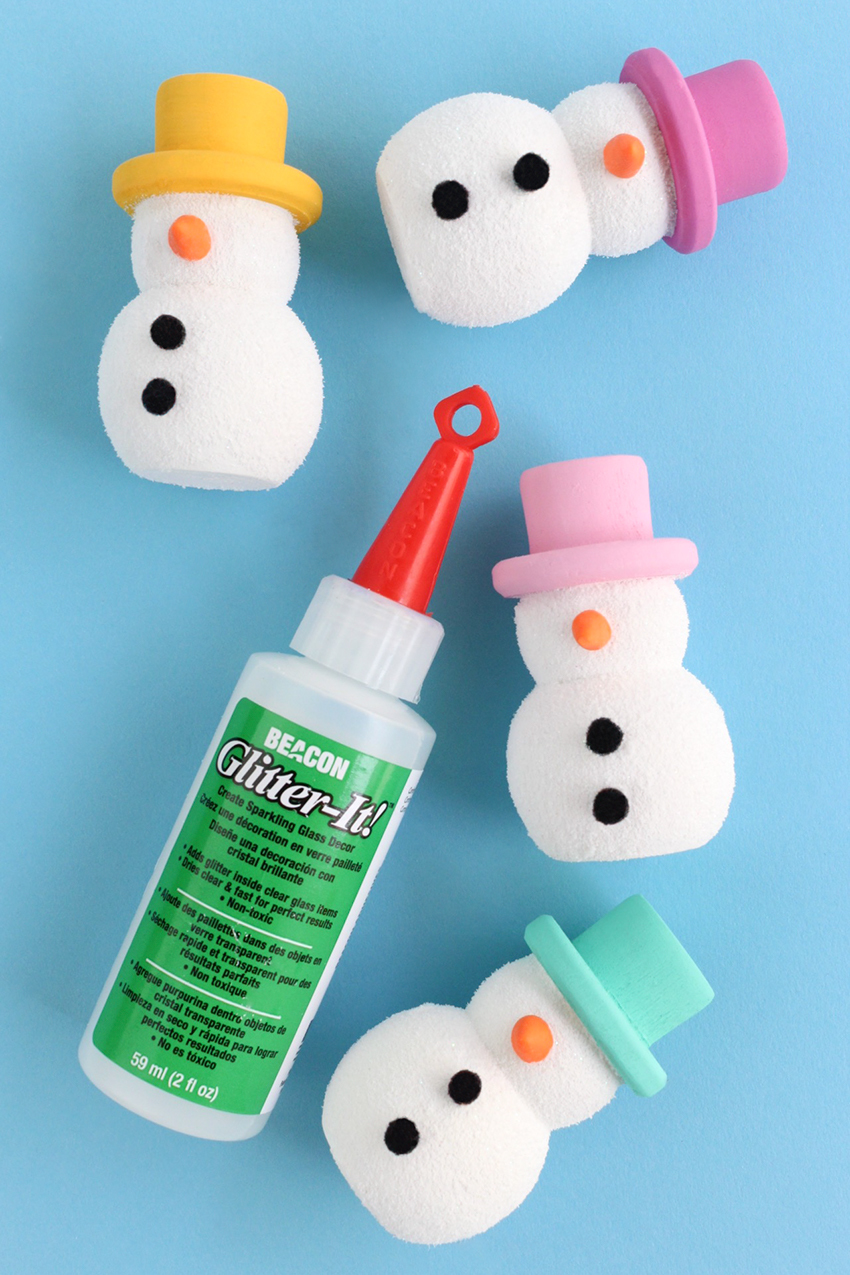
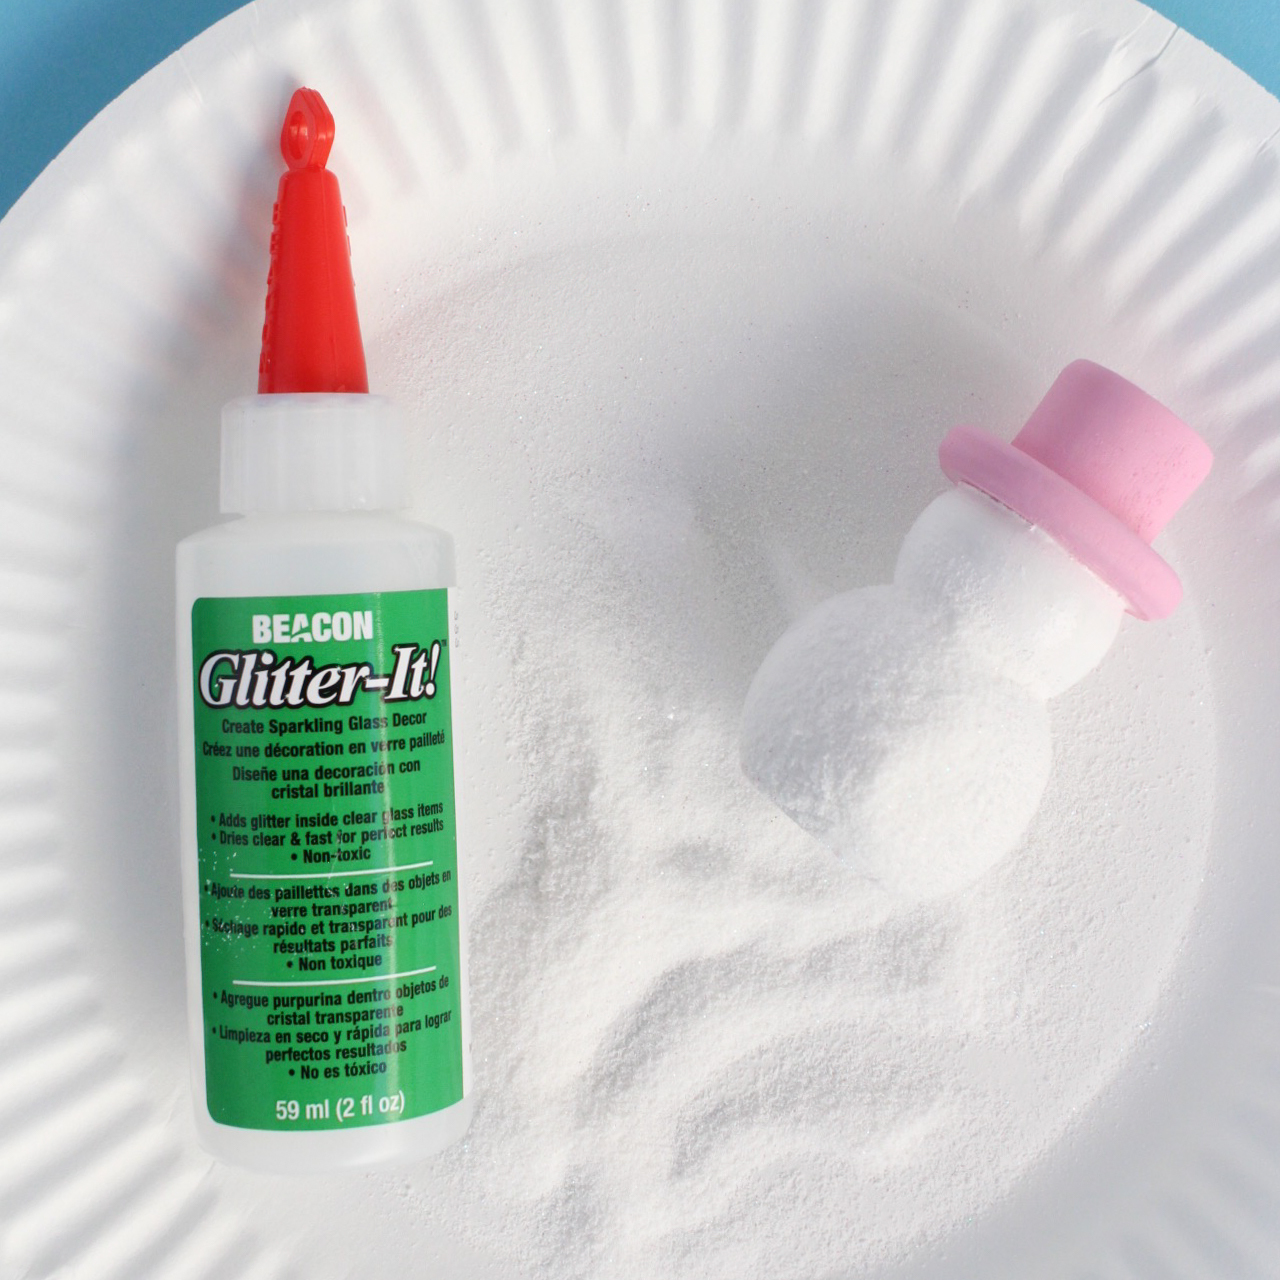
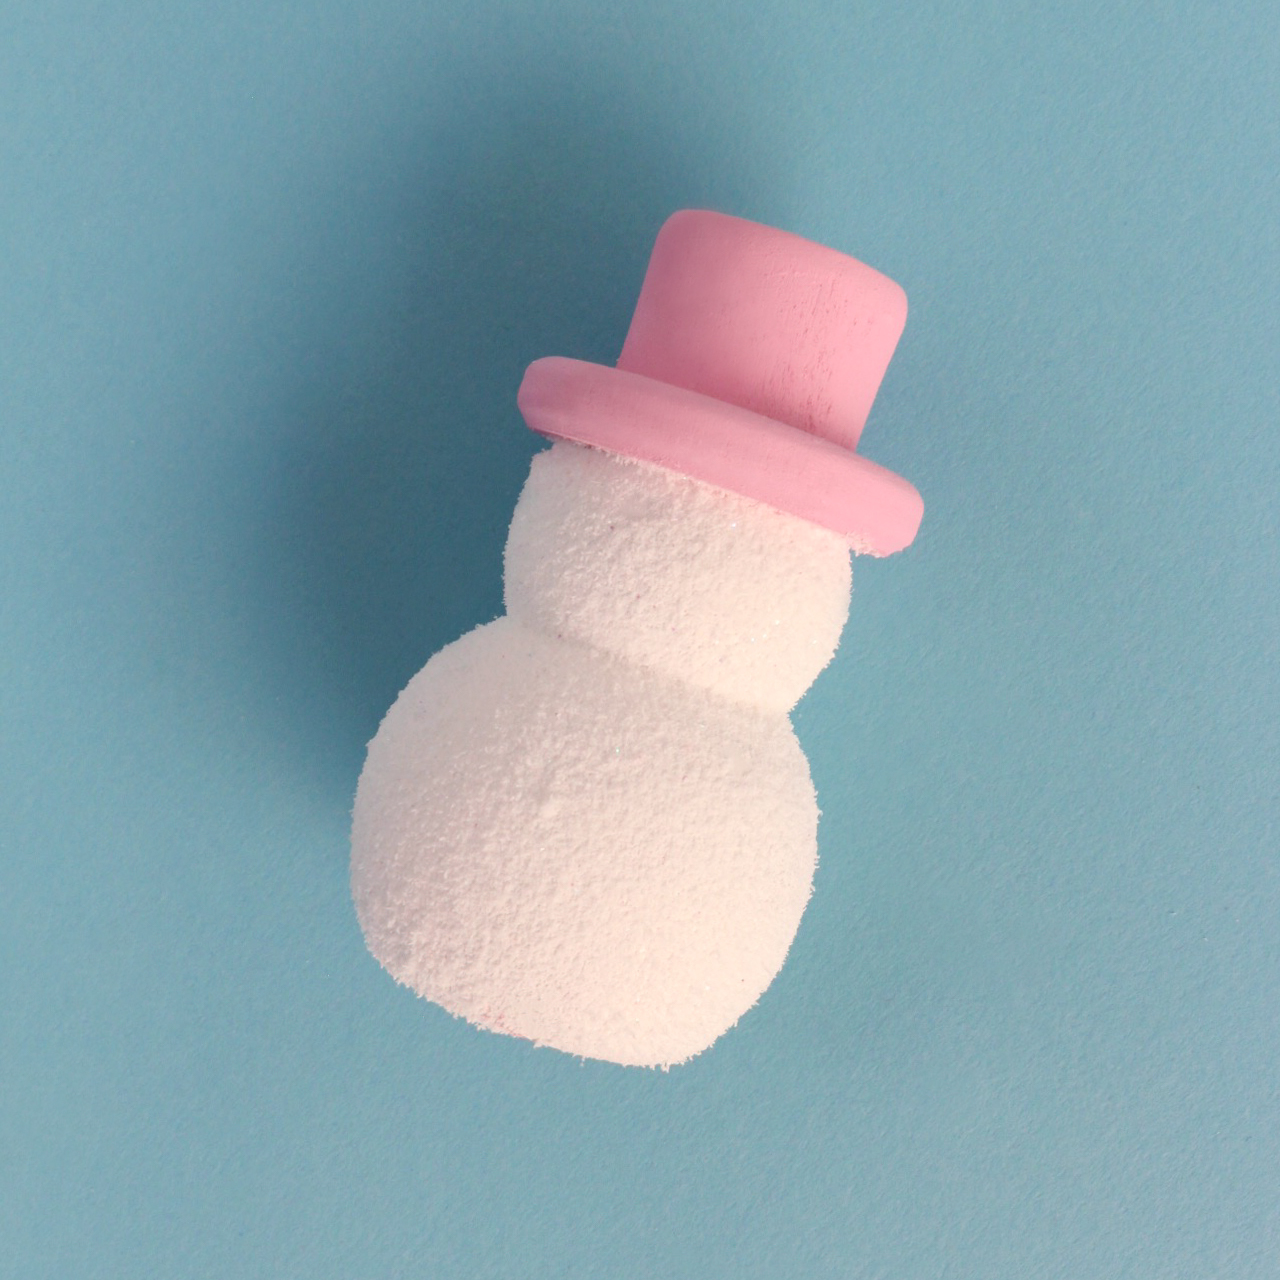
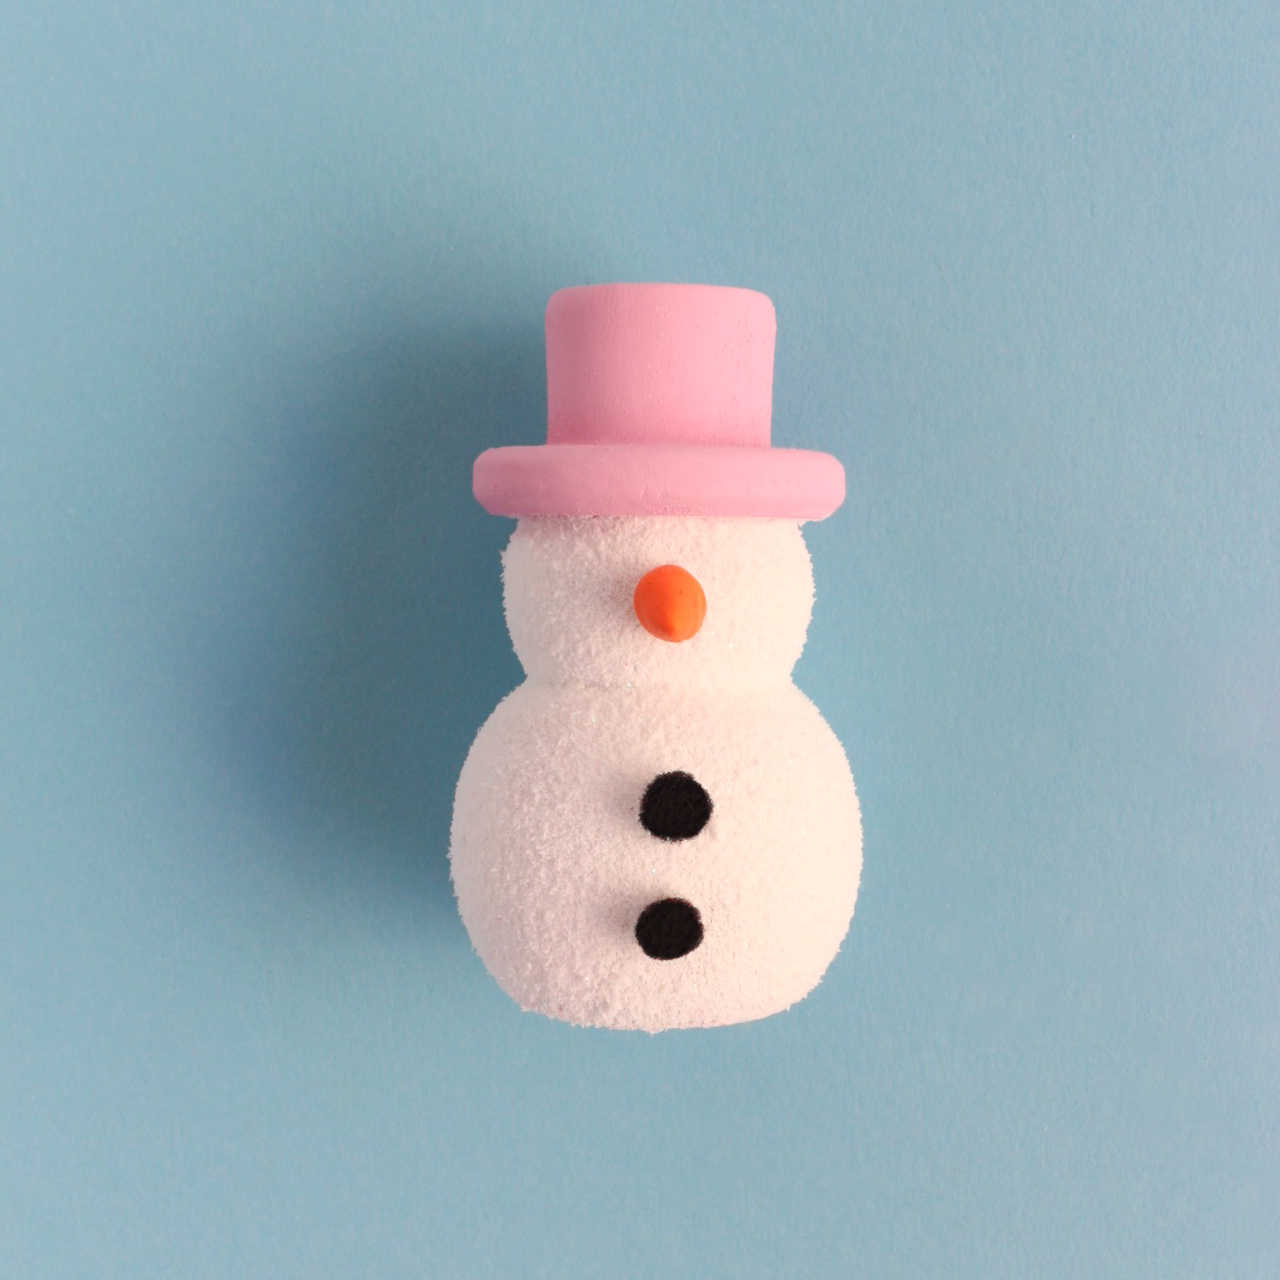
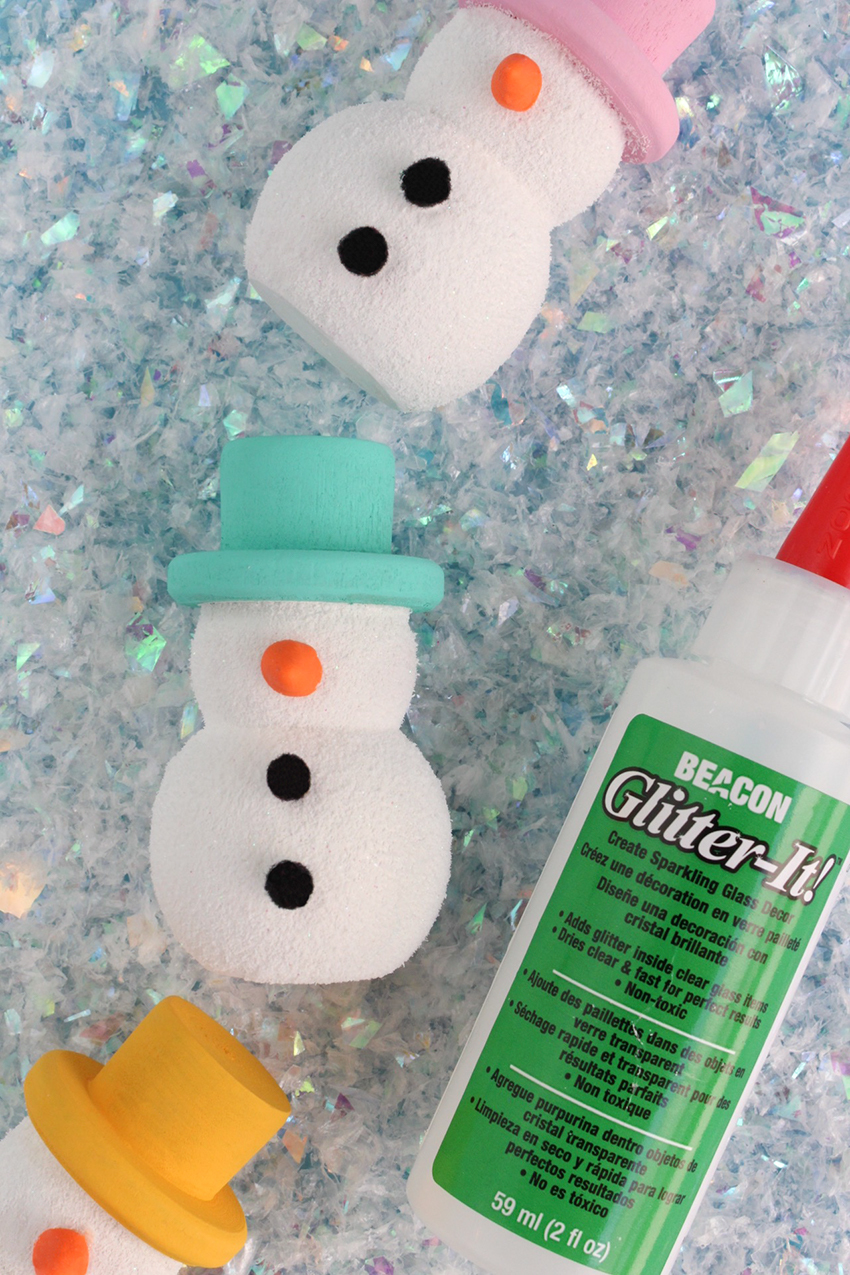
These DIY Colorful Wooden Snowmen are easy on the eyes but they’re also soft to the touch, too. Each snowman has a fuzzy snow-like texture that I was able to create thanks to Beacon Adhesives Glitter It glue.
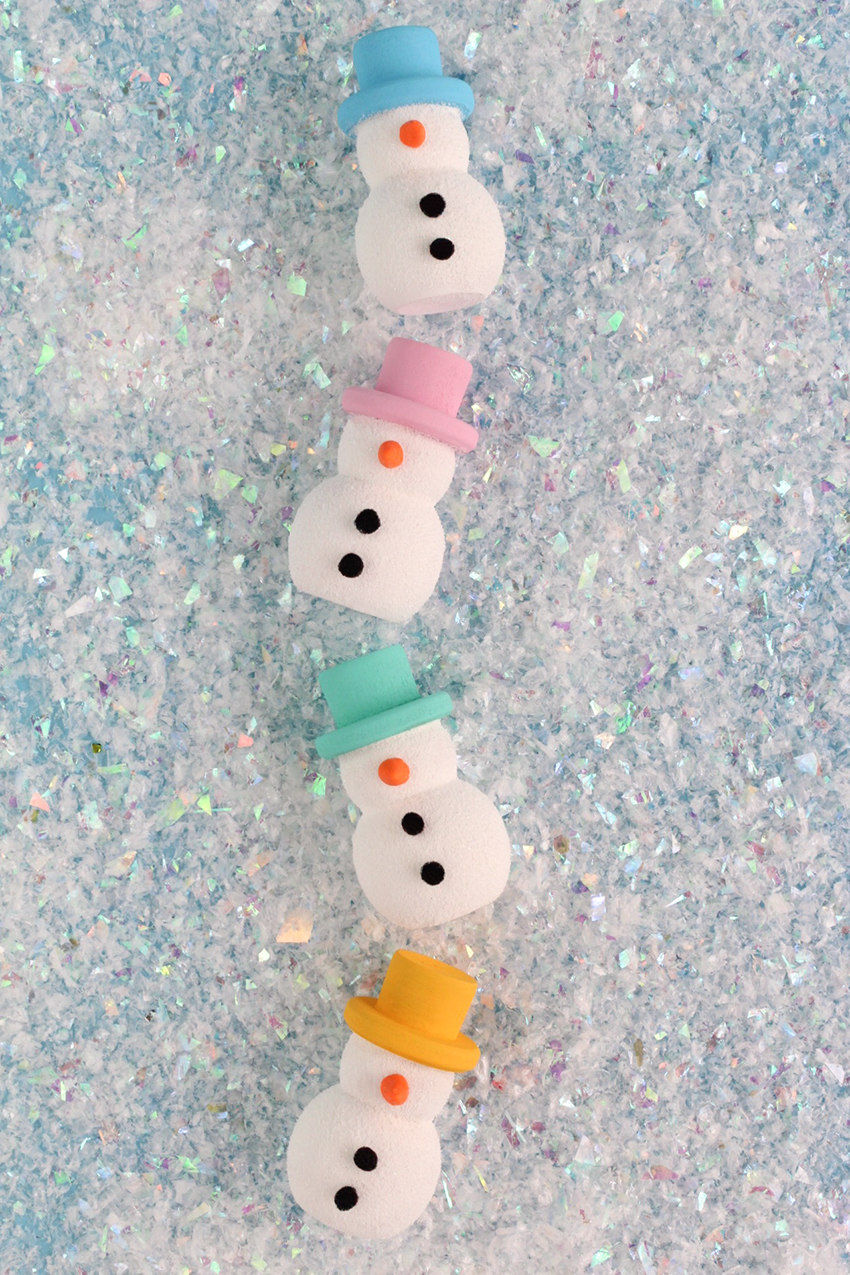
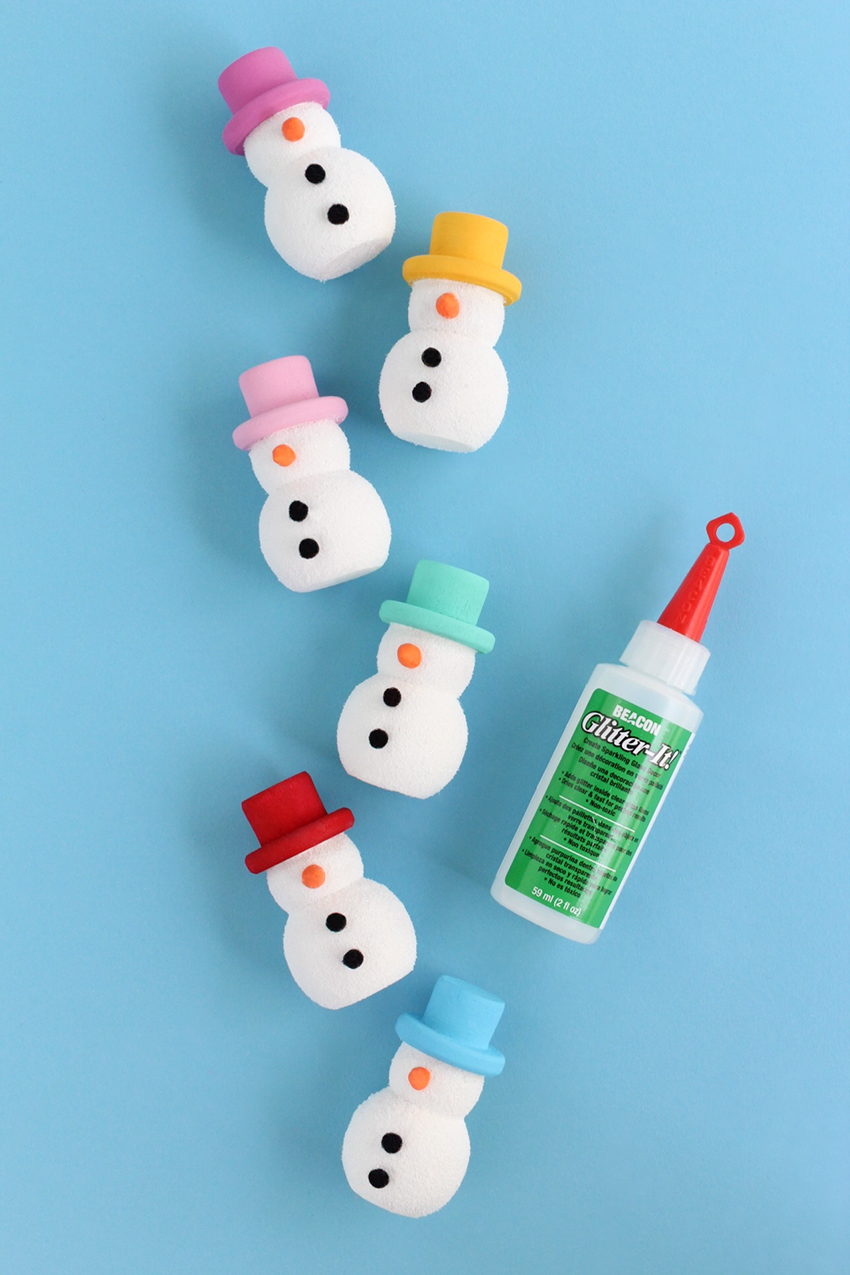
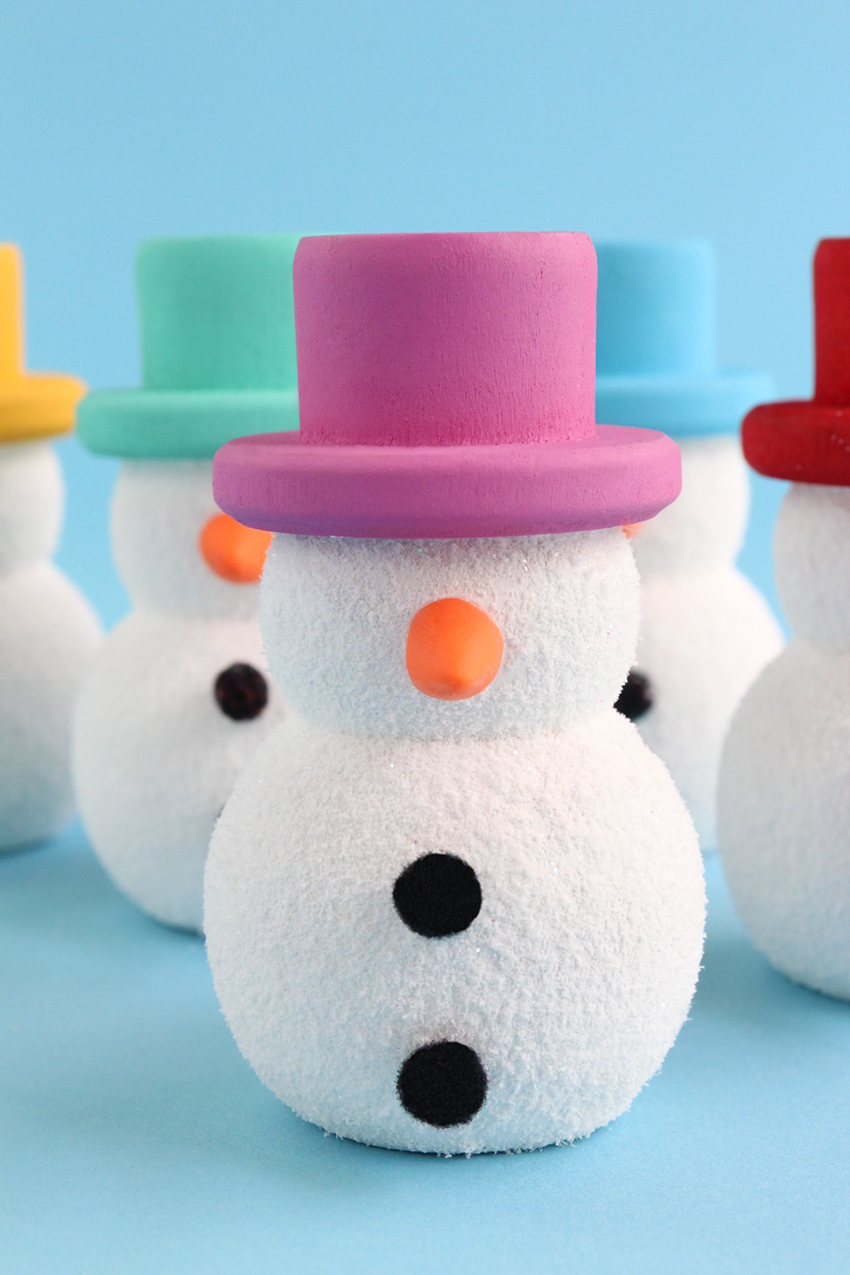
Aren’t they just the cutest with those colorful little hats?! Continue reading for the simple how-to!
What You'll Need
Wooden Snowmen (Linked is very similar to what I used)
Paint in Colors of Your Choice + White
Paintbrush
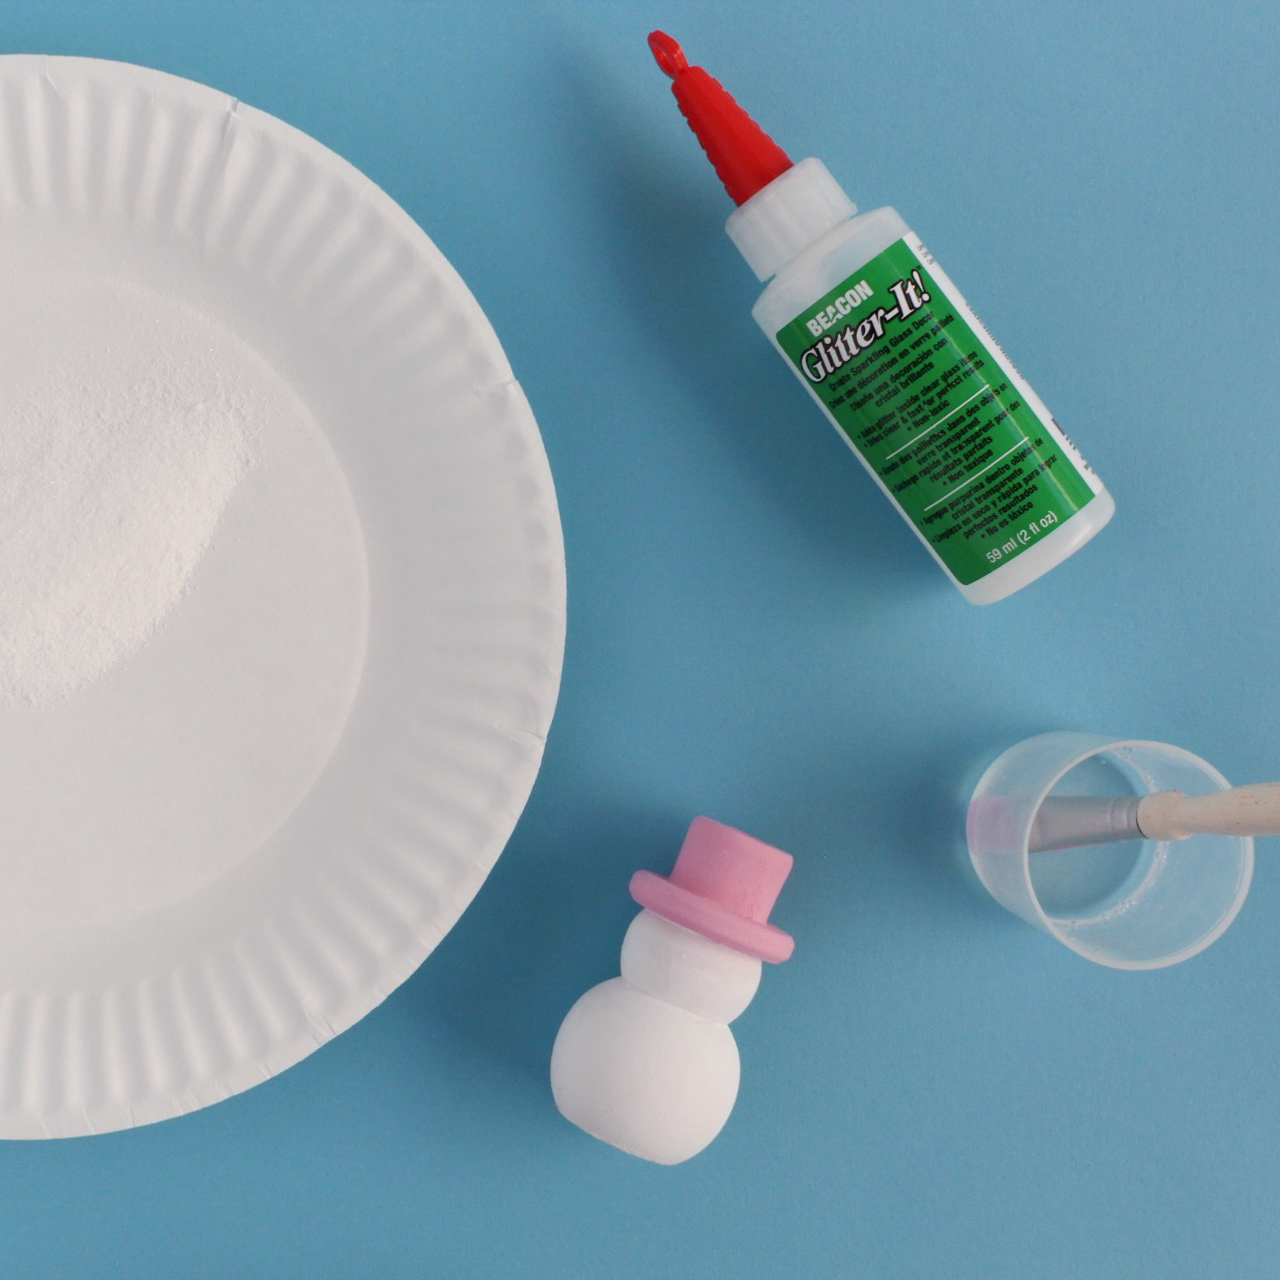
Fake Snow + Glitter
How To
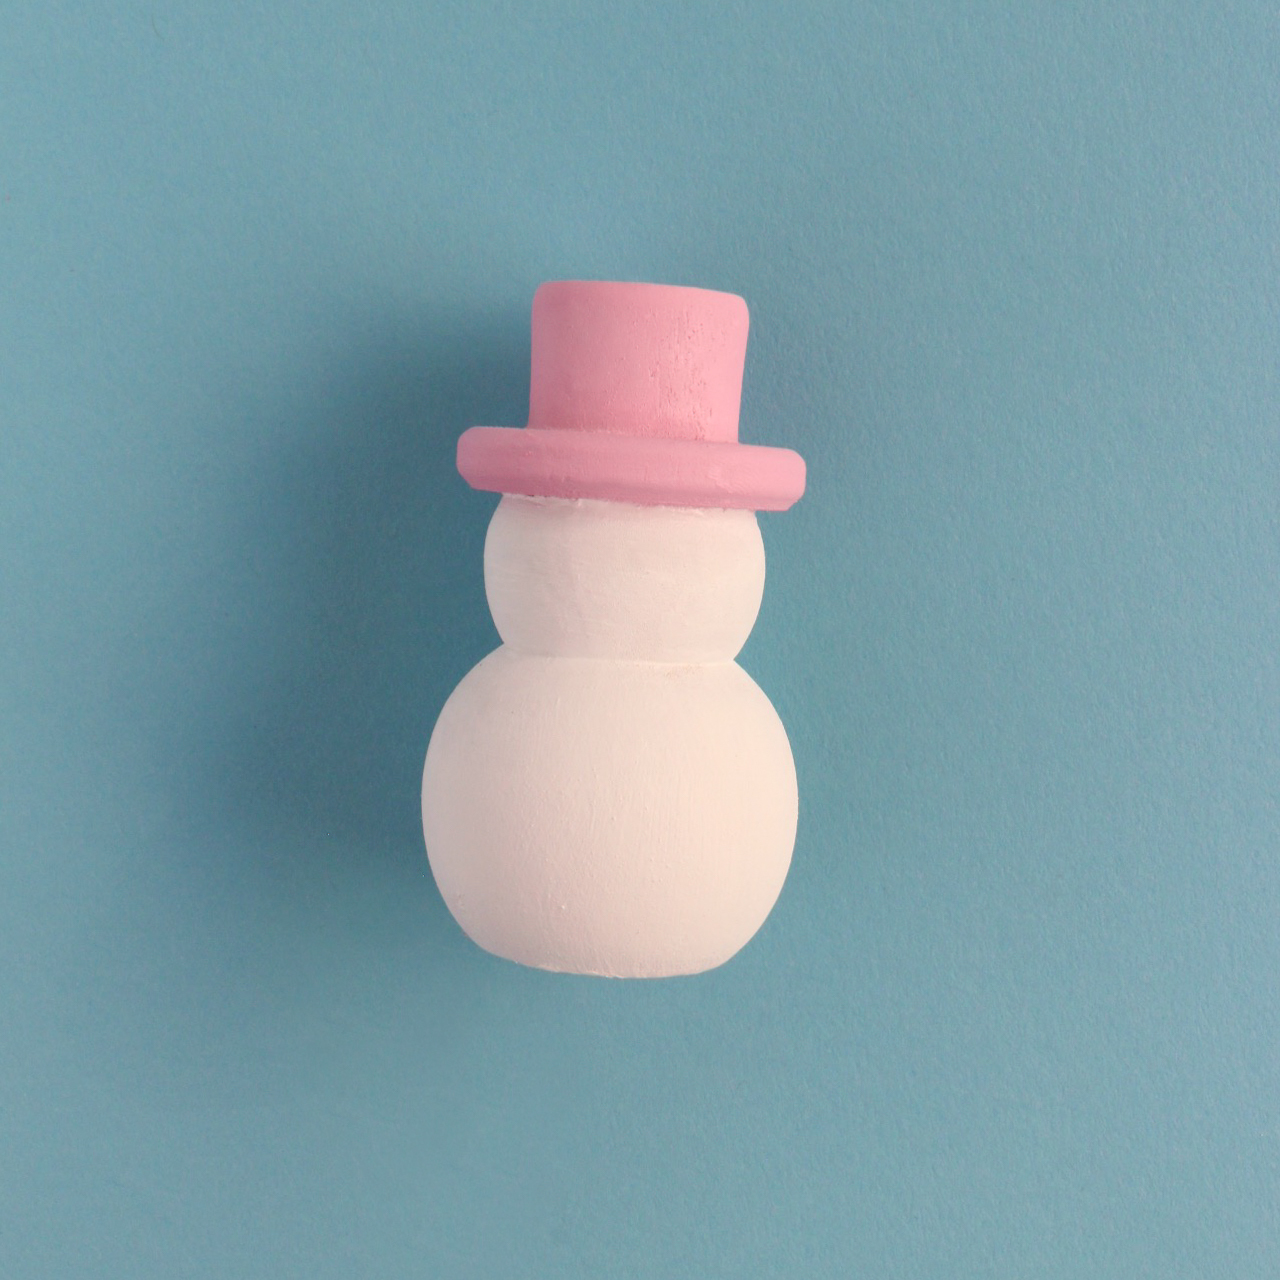
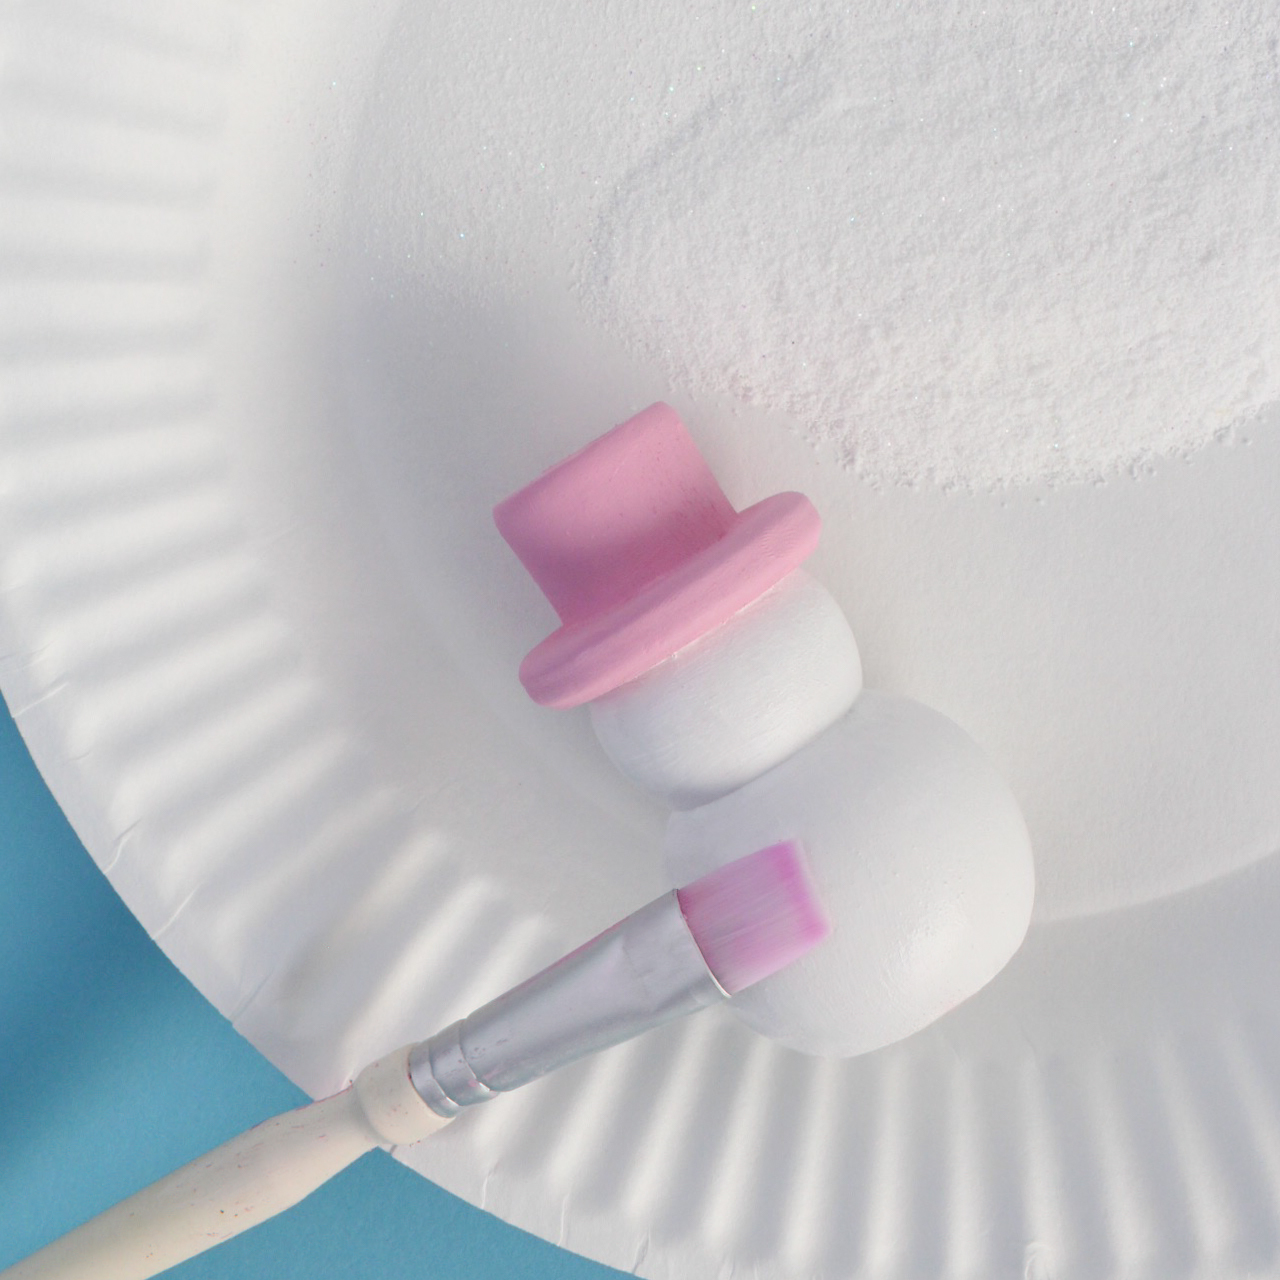
Step 1) Paint the bases of your snowmen white and then paint each of their hats a different color. Allow to dry completely.

Step 2) Pour a little bit of Glitter It into a small container or bowl. For this part, you are going to have to work a little fast. Dip a paintbrush into the Glitter It and paint it all over the white base of a snowman. Then, create a mixture of fake snow and glitter and sprinkle it all over the wet Glitter It. Allow to completely dry and repeat on each snowman until all are complete.
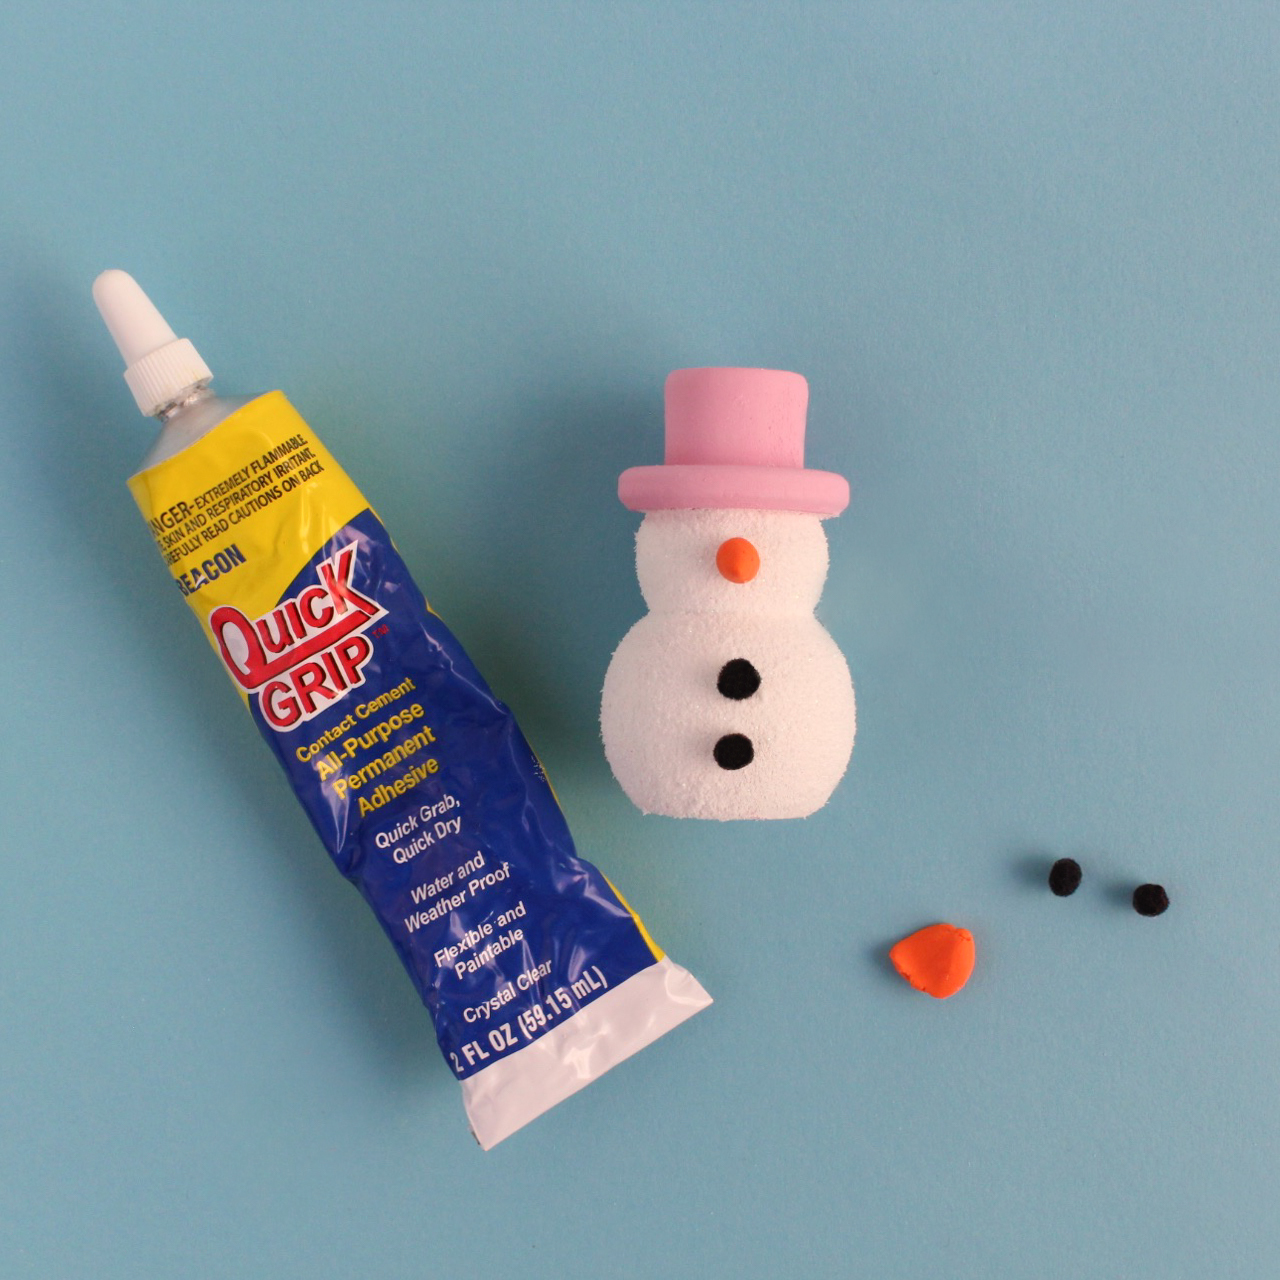
Step 3)Create small carrot noses out of your orange clay and bake according to package instructions. Attach the noses and black pom pom buttons using your Quick Grip glue and allow to dry completely.
It's definitely going to be a colorful Christmas!
This post has been sponsored by Beacon Adhesives. All opinions are my own.


Comments: