


DIY Boho Picture Frames With Sculpey Premo
This is a sponsored post written by me on behalf of Polyform Products. All opinions are 100% my own.
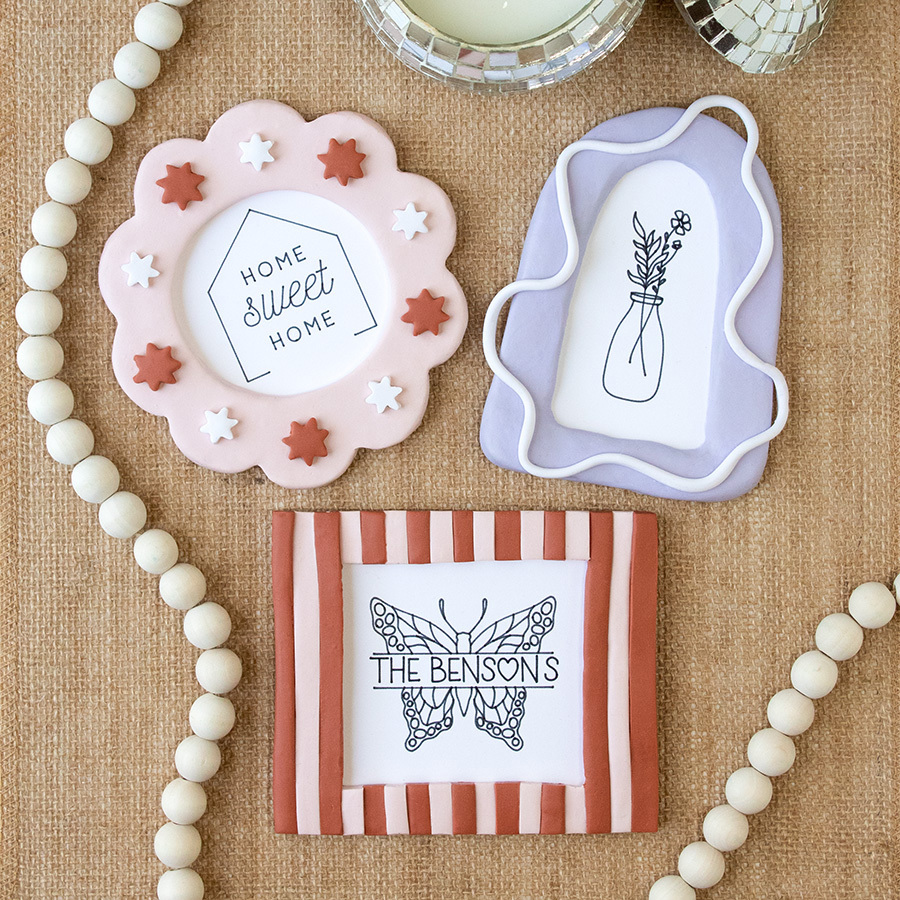
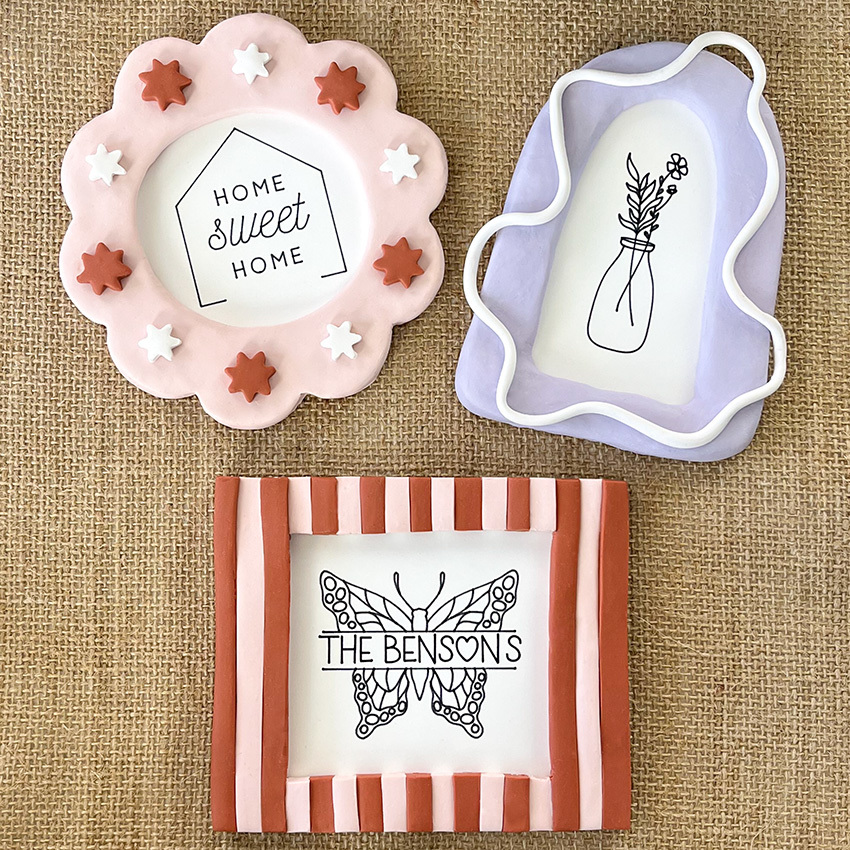
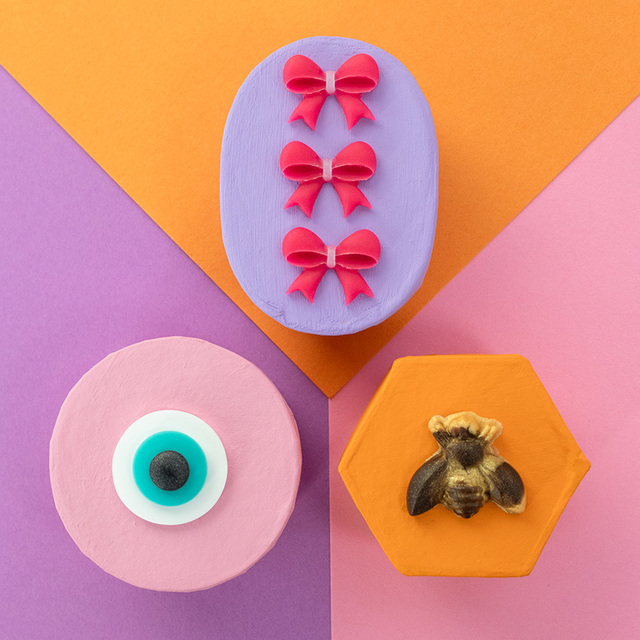
Have you heard that there are three new Sculpey colors to get crafty with?! Lavender, light pink, and terra cotta have recently been added to the Sculpey Premo collection, and let me just say, the creative opportunities are endless.

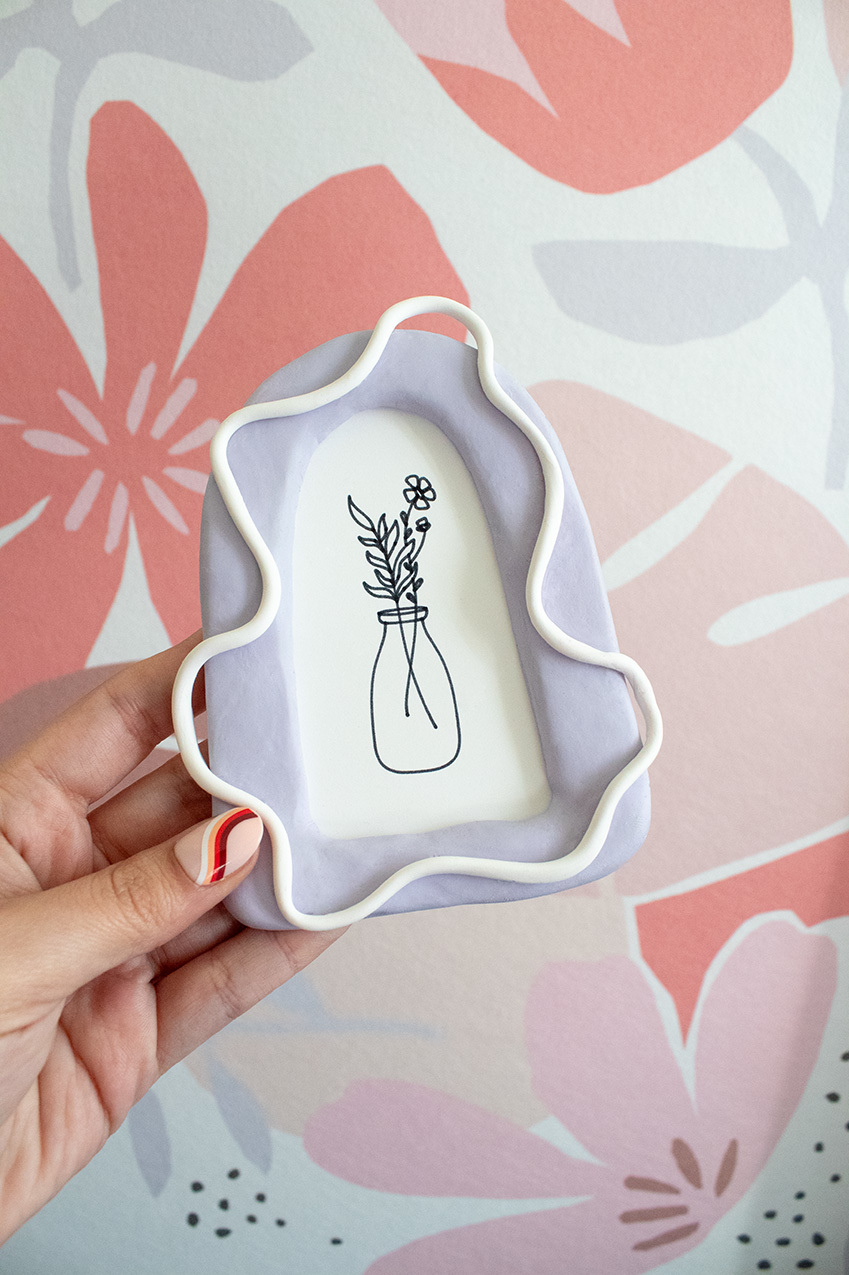
Immediately, these colors gave me some serious boho vibes (I’m looking at you, terra cotta) so I decided to make some small handmade picture frames with them. If you’ve never worked with Sculpey Premo before, this clay is very flexible, strong, and it won’t dry until you bake it! It’s also non-toxic and really great for blending and adding fine details to one of a kind pieces.

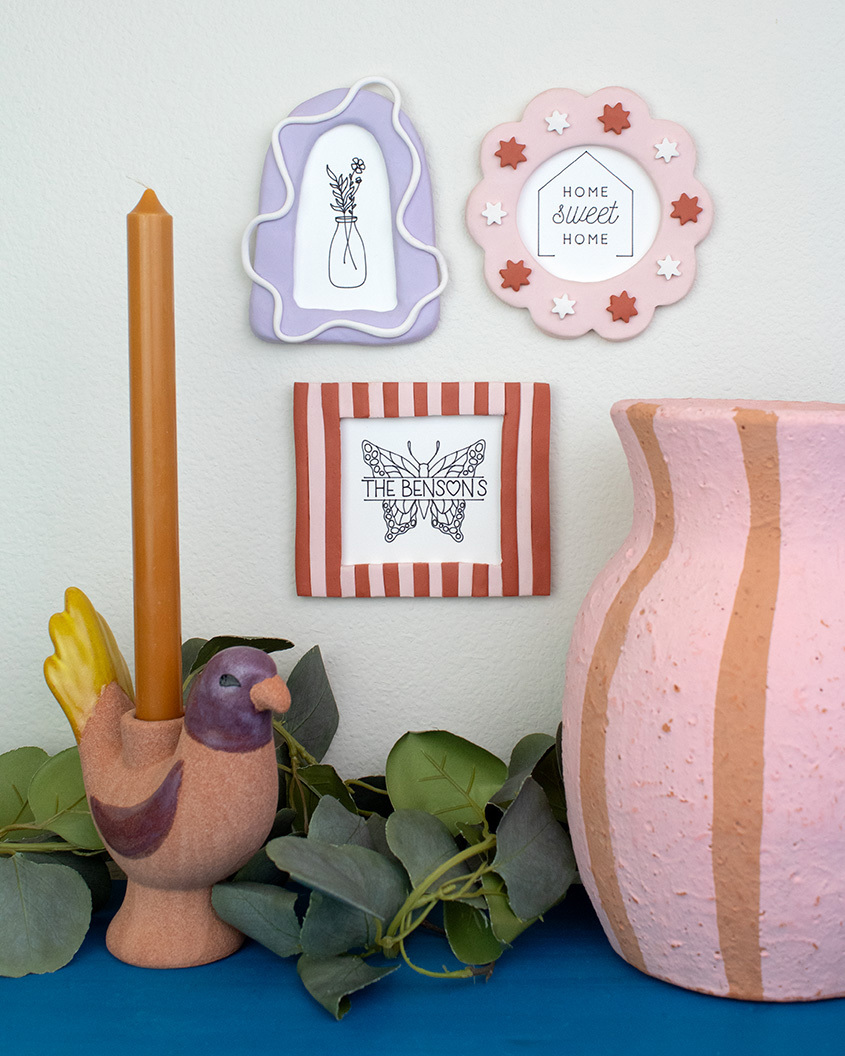
You can add a hanger to the back of these picture frames or simply prop them up against a wall - it’s up to you! I’m honestly so thrilled with how these turned out. I love the colors and it was so satisfying seeing this project through from start to finish.
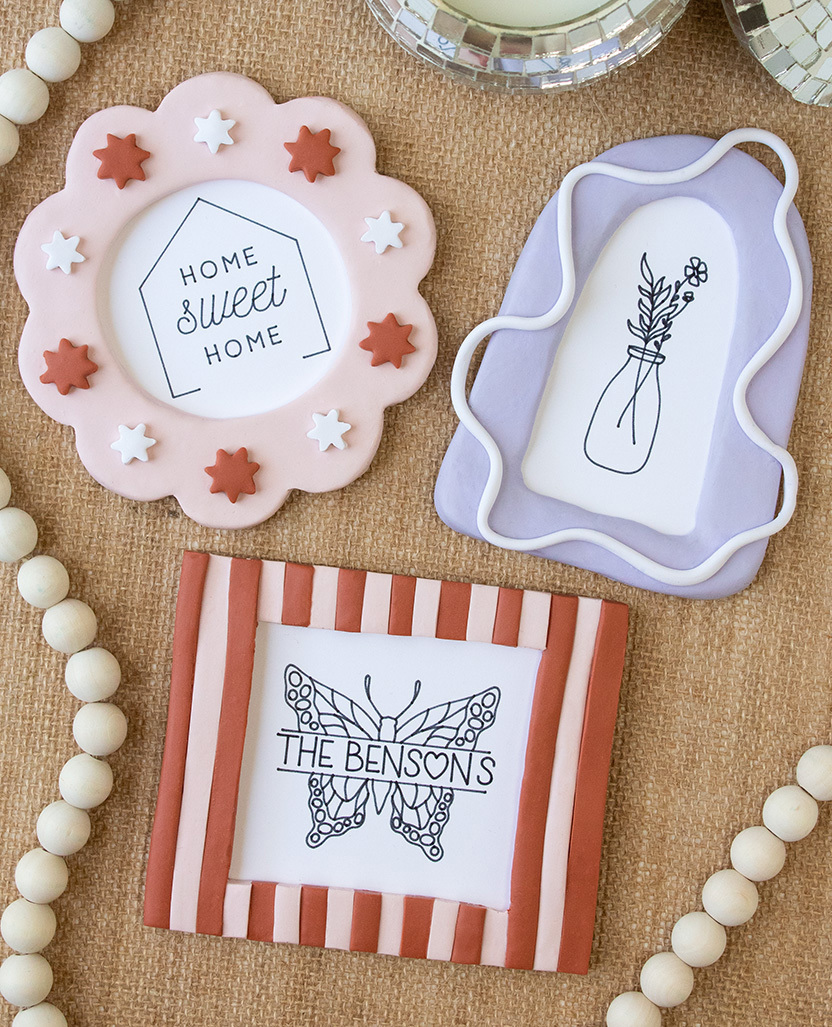
These frames make the perfect DIY addition to your home decor or the sweetest handmade gifts. To learn how to make your own boho inspired picture frames with Sculpey Premo, keep on reading!
What You'll Need
For The Arch Frame:
2 Packages of 2oz Sculpey Premo in lavender
1 Package of 2oz Sculpey Premo in white
Clay Blade + Small Craft Knife
Sculpey Oven-Bake Clay Adhesive
White Cardboard (for backing)
Strong Glue
Optional: Sawtooth Hangers (or any kind of hangers to display your frame on a wall)
For The Scalloped Frame:
2 Packages of 2oz Sculpey Premo in light pink
1 Package of 2oz Sculpey Premo in terra cotta
1 Package of 2oz Sculpey Premo in white
Small Craft Knife
Circle Cutter + Starburst Mini Cutters
Sculpey Oven-Bake Clay Adhesive
White Cardboard (for backing)
Strong Glue
Optional: Sawtooth Hangers (or any kind of hangers to display your frame on a wall)
For The Striped Frame:
2 Packages of 2oz Sculpey Premo in terra cotta
2 Packages of 2oz Sculpey Premo in light pink
Clay Blade + Small Craft Knife
Sculpey Oven-Bake Clay Adhesive
White Cardboard (for backing)
Strong Glue
Optional: Sawtooth Hangers (or any kind of hangers to display your frame on a wall)
How To
Arch Frame
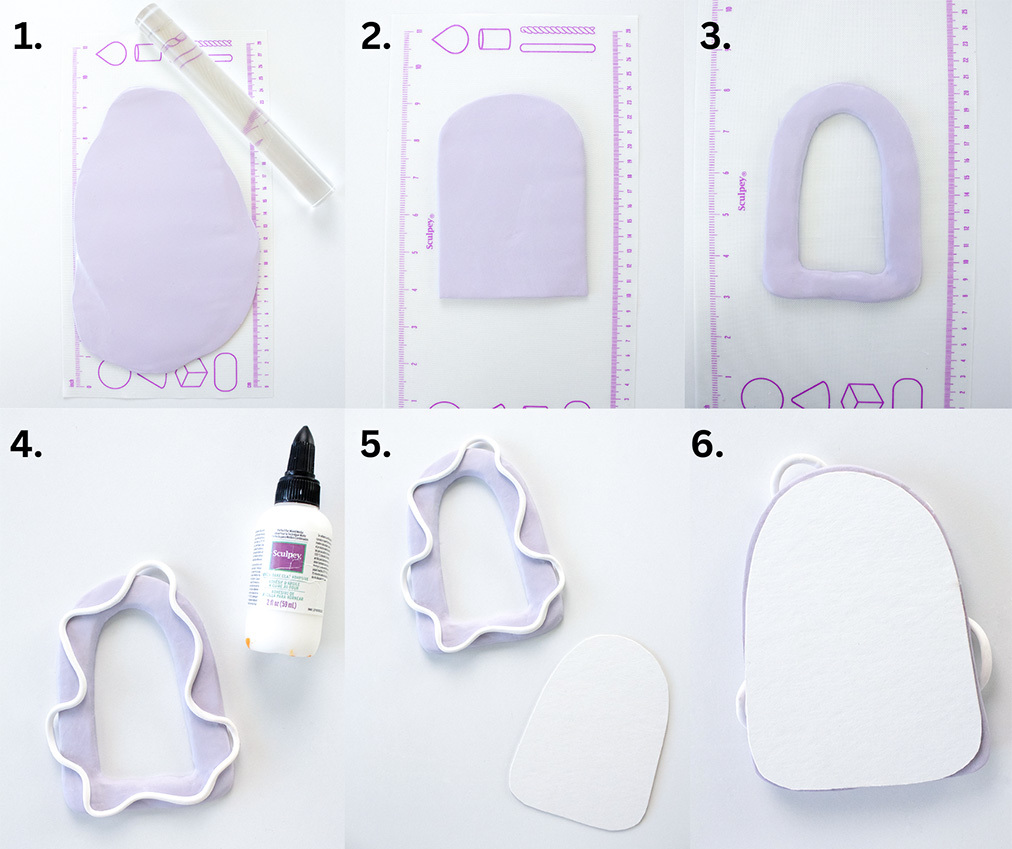
Step 1) Roll out your lavender clay.
Step 2) Using a clay blade and a small craft knife, cut your clay into an arch shape.
Step 3) Continue to create the arch shape with the clay blade and craft knife, cutting a hole in the middle to create the frame.
Step 4) Roll out your white clay and create a squiggly shape to go around the frame. Then, use your Sculpey Oven-Bake Clay Adhesive to attach it to the frame.
Bake according to clay package instructions.
Step 5) Once removed from the oven and cooled, cut out a piece of white cardboard to place on the back of your frame.
Step 6) Glue on the bottom and two sides but leave the top unglued so that you can slide your desired art in and out of the frame. If you would also like, you can attach a hanger to the back of your art in this step so you can hang your frame on the wall. Insert your desired art and enjoy!
Scalloped Frame
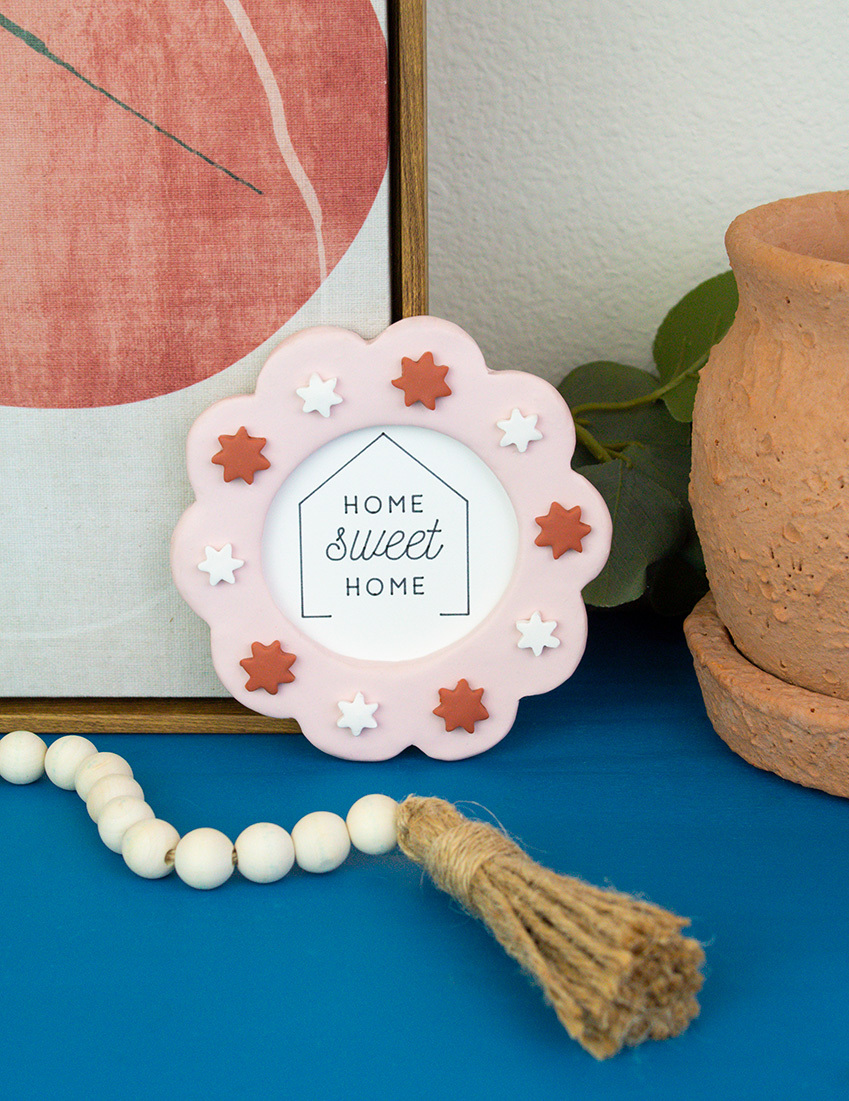
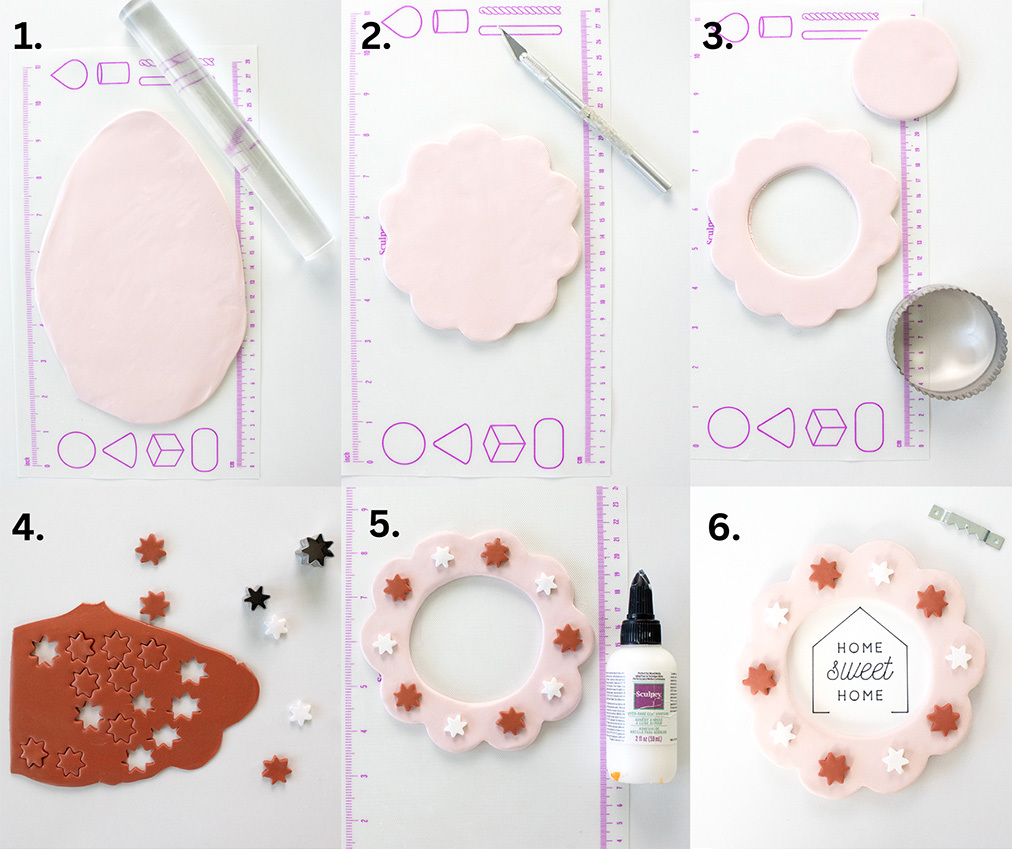
Step 1) Roll out your light pink clay.
Step 2) Using a small craft knife, create scalloped edges for your frame (if you don’t want to freehand it, you can use a cutter for this or trace a shape if you like).
Step 3) Using your circle cutter, cut a hole out in the middle.
Step 4) Cut out mini starbursts from your white and terra cotta clay using your cutters.
Step 5) Attach the starbursts to your frame using Sculpey Oven-Bake Clay Adhesive.
Bake according to clay package instructions.
Step 6) Once removed from the oven and cooled, cut out a piece of white cardboard to place on the back of your frame. Glue on the bottom and two sides but leave the top unglued so that you can slide your desired art in and out of the frame. If you would also like, you can attach a hanger to the back of your art in this step so you can hang your frame on the wall.
Insert your desired art and enjoy!
Striped Frame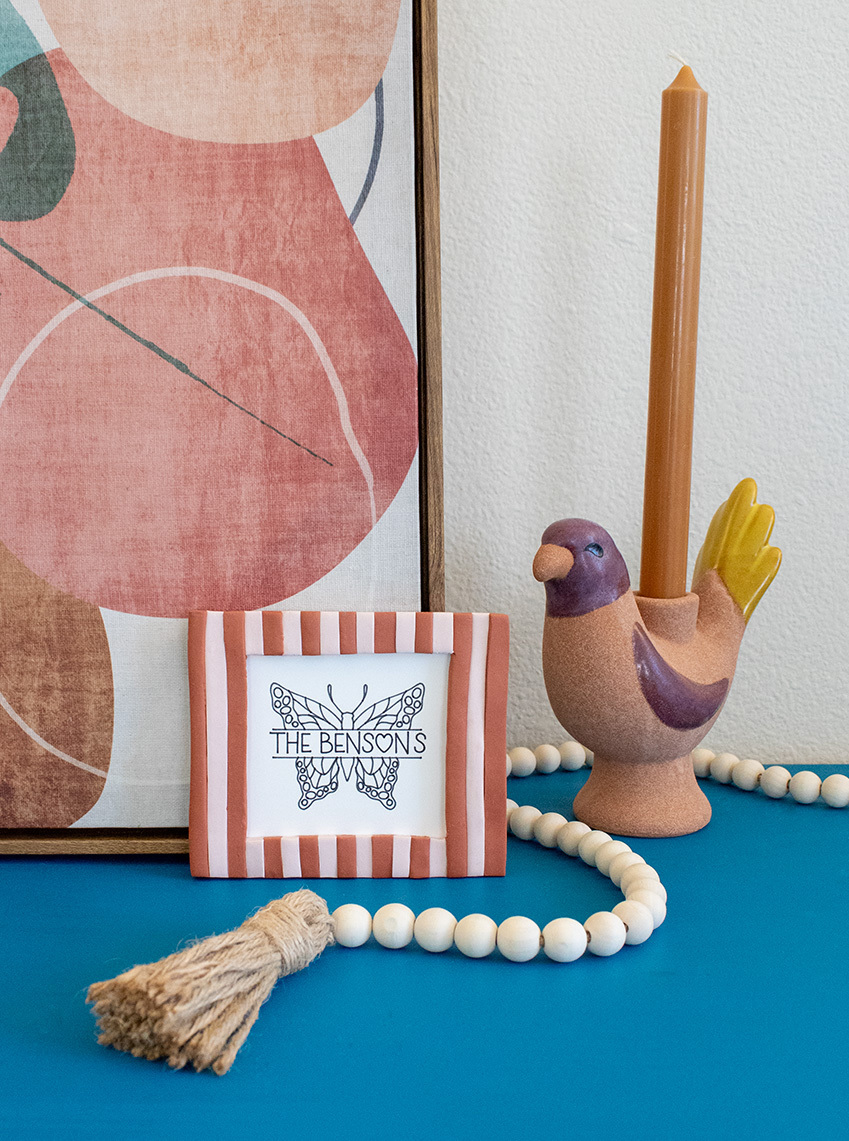
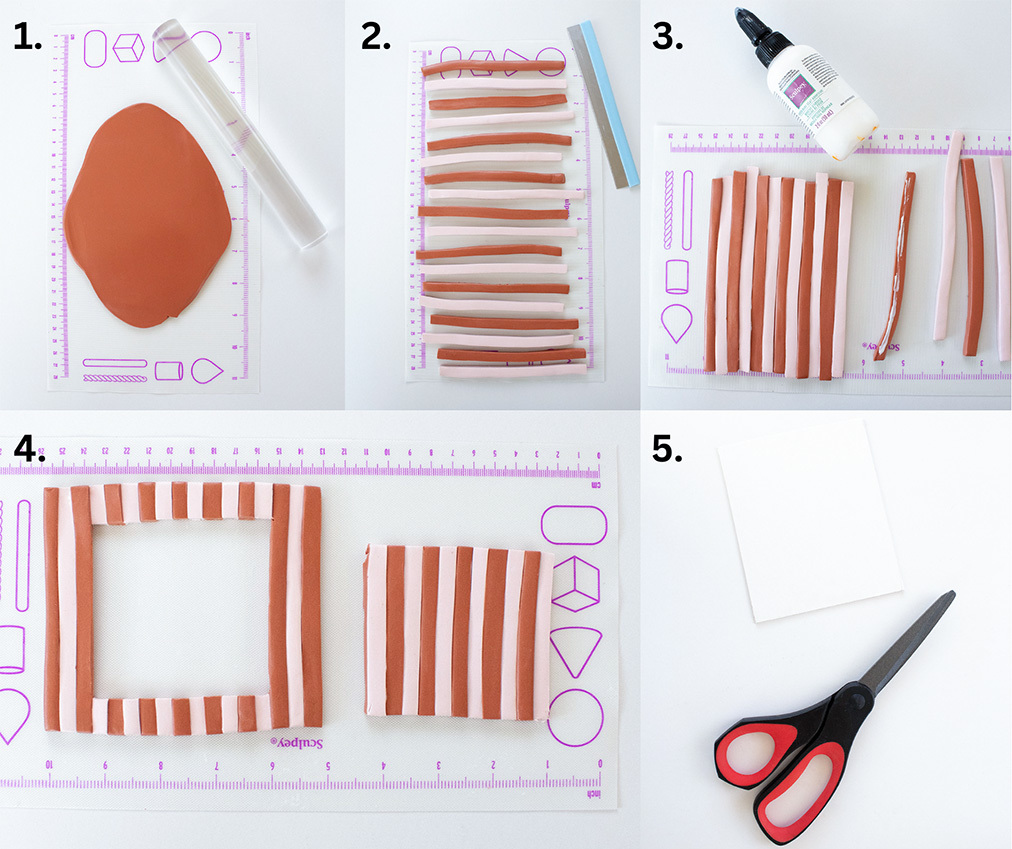
Step 1) Roll out your terra cotta and light pink clay separately.
Step 2) Using a clay blade, cut your clay into long strips.
Step 3) Glue your clay strips together using Sculpey Oven-Bake Clay Adhesive.
Step 4) Use your clay blade to even out the sides of your frame and use your small craft knife to cut a square hole in the middle.
Bake according to clay package instructions.
Step 5) Once removed from the oven and cooled, cut out a piece of white cardboard to place on the back of your frame. Glue on the bottom and two sides but leave the top unglued so that you can slide your desired art in and out of the frame. If you would also like, you can attach a hanger to the back of your art in this step so you can hang your frame on the wall.
Insert your desired art and enjoy!


Comments: