


How To Make A Mug With The Cricut Mug Press
This is a sponsored post written by me on behalf of Cricut. All opinions are 100% my own.
In case you missed the big news, Cricut recently announced their newest product the Cricut Mug Press and today I am so excited to share all of the details with you!
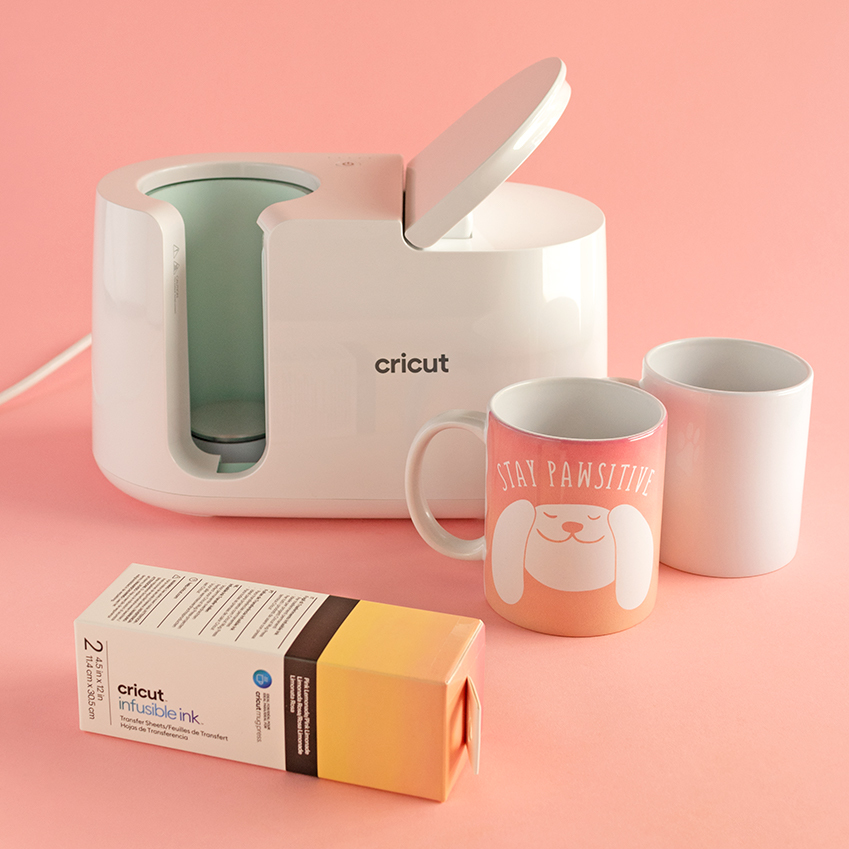
The Mug Press is a new and easy way to create beautiful, personalized mugs for birthdays, holidays, or any occasion! It works with infusible ink pens, markers, and even sheets that Cricut has now made to be perfectly sized for mugs. All you have to do is cut out your design, attach it to your mug, and let the Mug Press do the work for you! If working with infusible ink pens or markers, note that you will need to layer your mug with three sheets of butcher paper, too.
When working with the Mug Press, it is important to be mindful that it does get hot. But what I love is that Cricut has included an auto-off feature that turns your machine off after a certain amount of time for extra peace of mind. Designs are microwave and dishwasher safe and a one-touch setting applies the right amount of heat and pressure so you don’t have to configure a thing! You literally only have to push a button - so easy.
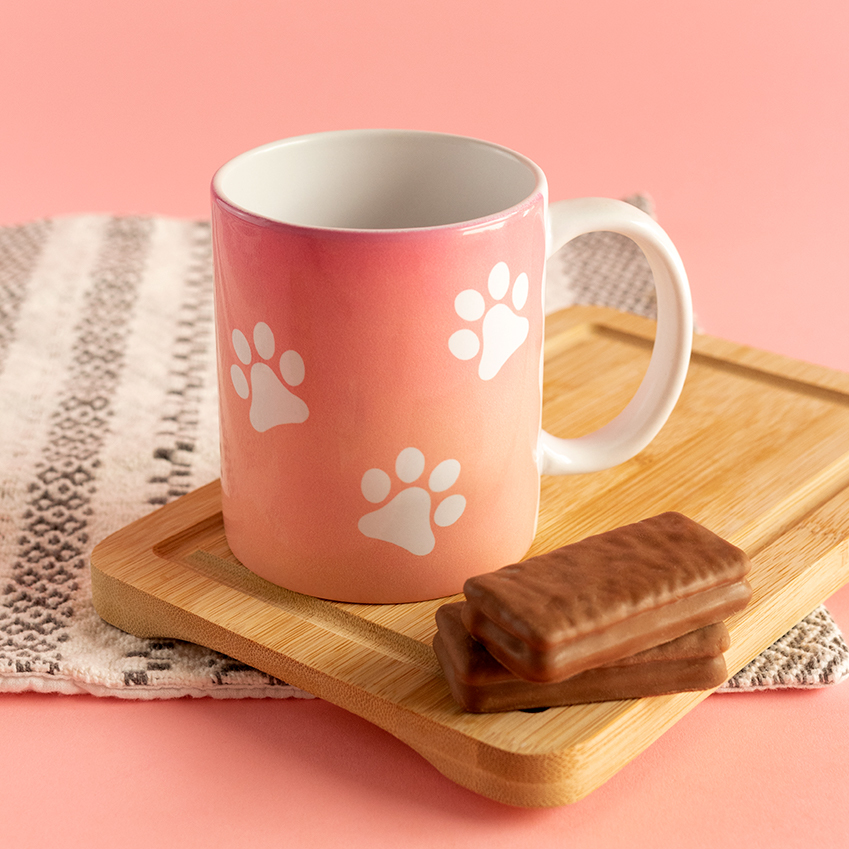
The Mug Press is designed to fit straight-walled infusible ink compatible mugs that range from 11-16oz. What’s also nice is that you can purchase perfectly sized, poly coated mugs from Cricut now, too! When working in Design Space, be sure to select the correct mug size and edge type that you want (for example straight, ripped, scallop, wavy, or zig zag edge). I’ve been making mugs with silly tea and coffee puns and I seriously cannot get enough of it.
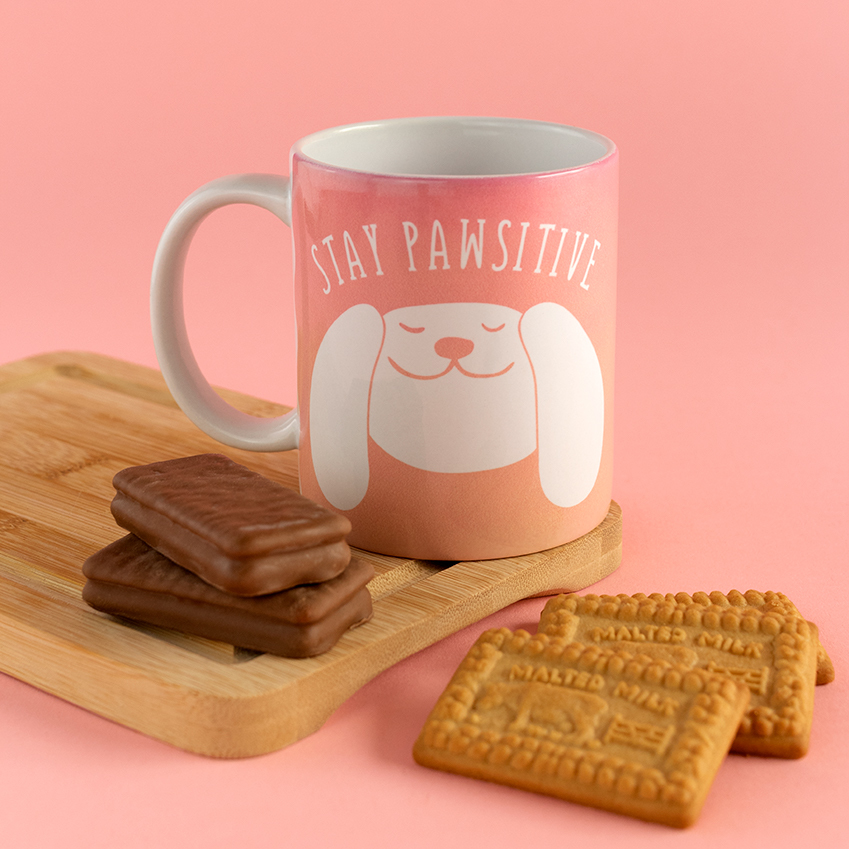
Keep on reading to learn how to make the punny “Stay Pawsitive” mug I made for a friend of mine who’s crazy about dogs. I cannot wait to give it to her and see her reaction when I tell her that I made it!
What You'll Need
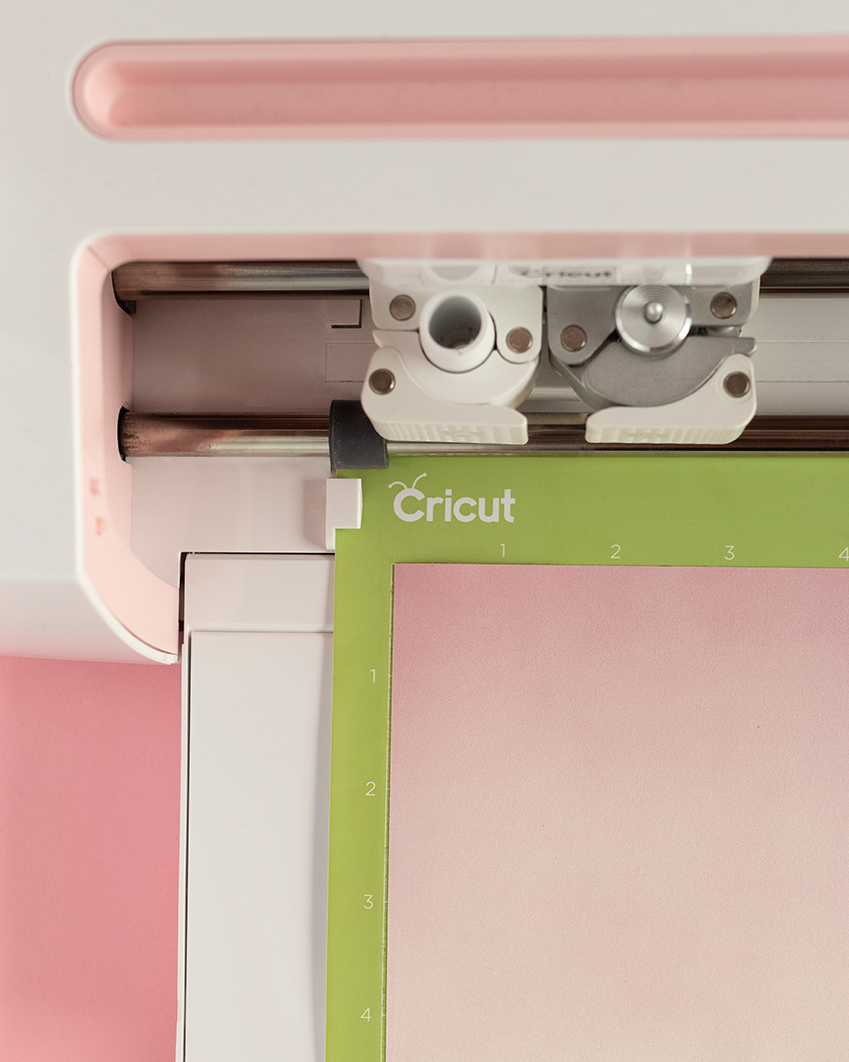
Cricut Joy, Maker, or Explore Machine
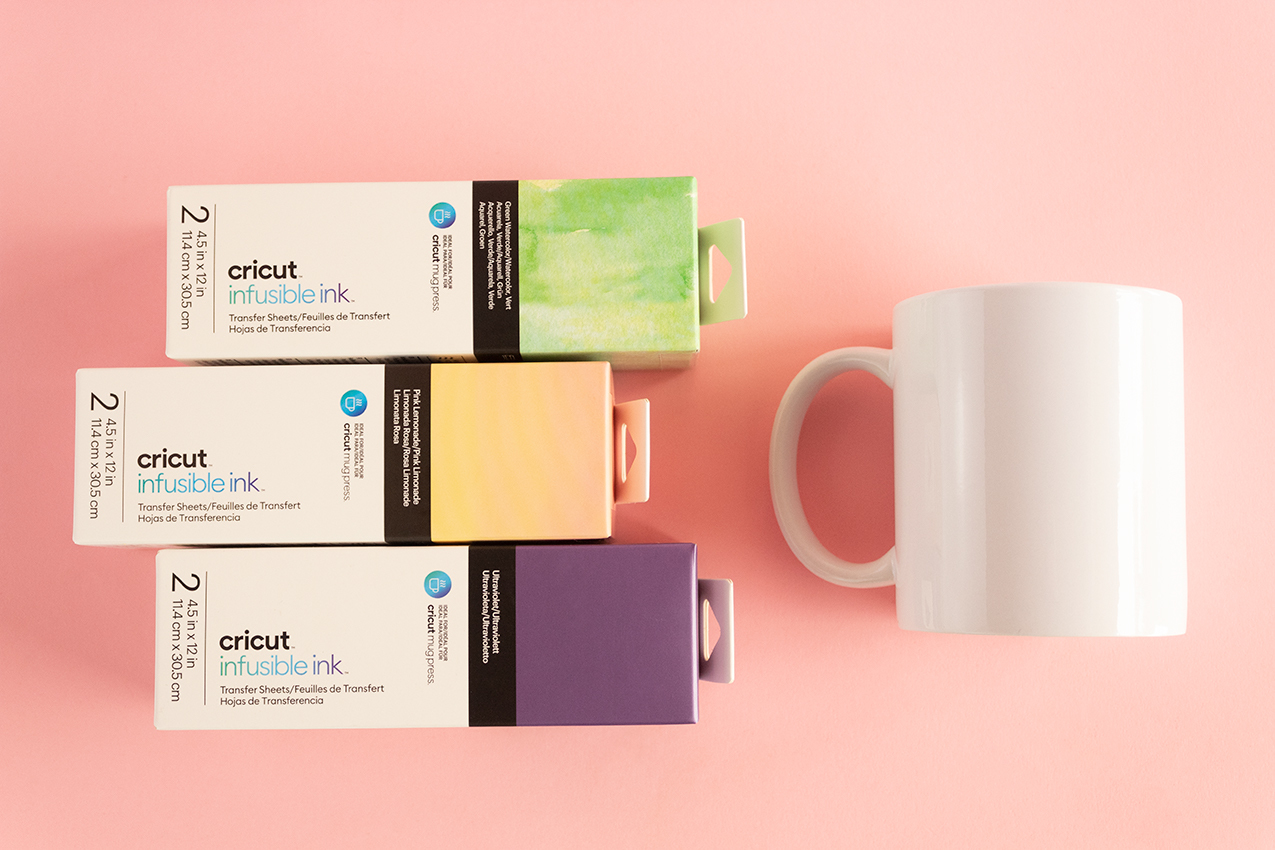
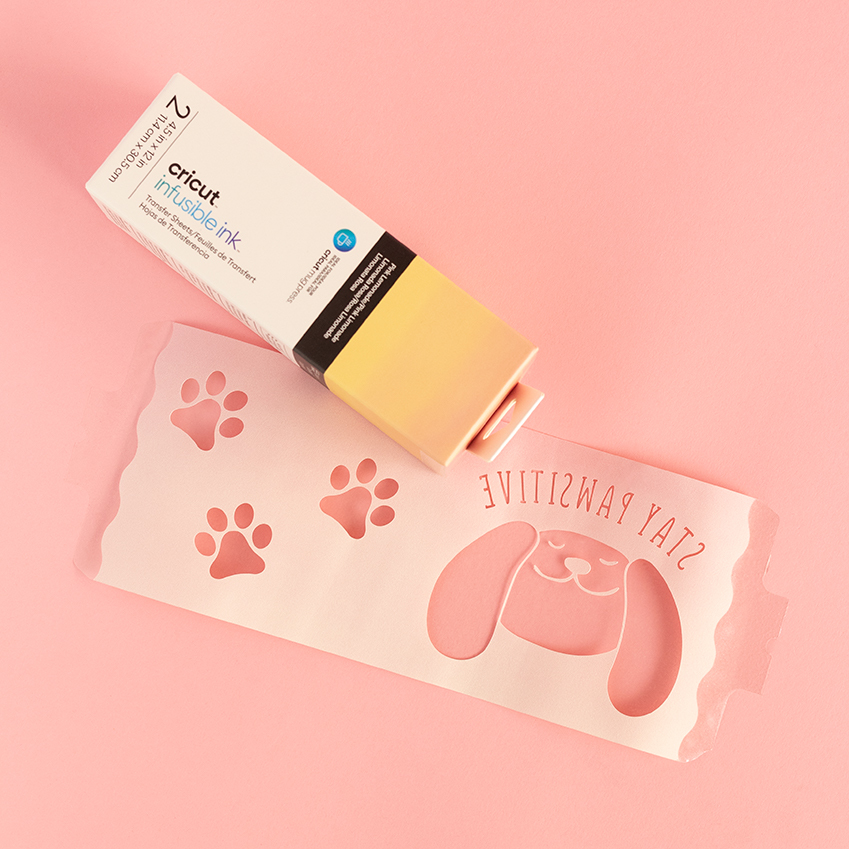
Cricut Infusible Ink Transfer Sheet
Lint Roller
Cricut Heat Resistant Tape
“Stay Pawsitive” Design Space File
How To
Step 1) Open the Design Space file linked above and cut out the project with your Cricut Maker, Joy, or Explore machine. Be sure to mirror your project before cutting and follow all instructions on Design Space!
Step 2) Remove unneeded pieces from your design so that it looks like the image below.
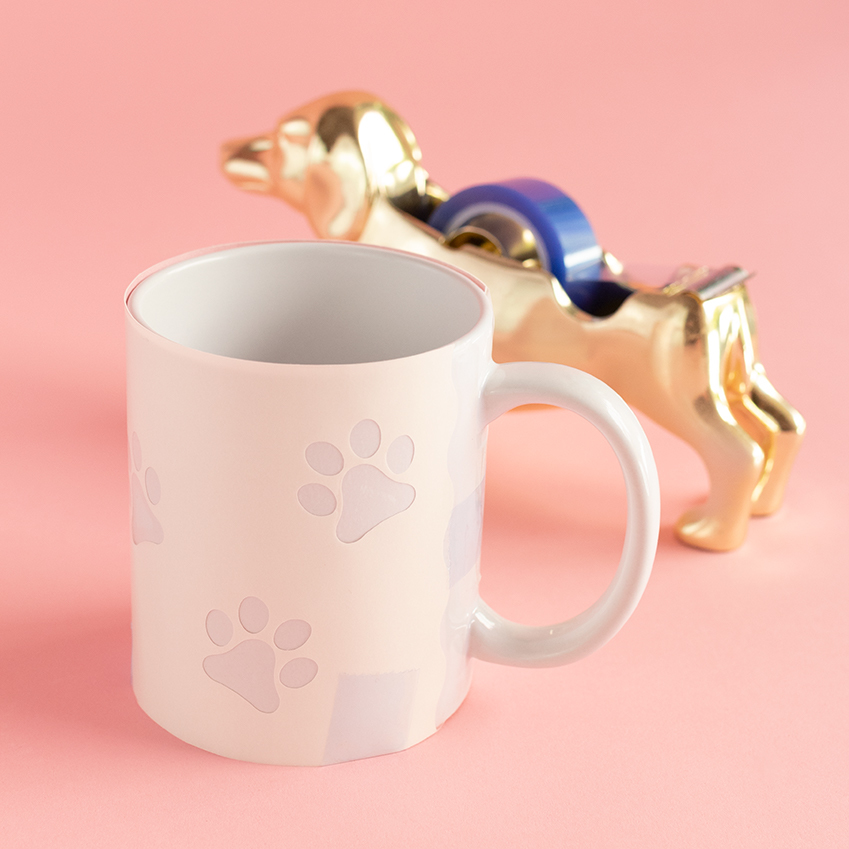
Step 3) Use a lint roller to clean off any excess dust that might be on your mug. Then, wrap your design around your mug and secure it into place. Add heat resistant tape to any spots that need extra securing. Tip: Make sure that there is even spacing between the handle and the design on both sides when wrapping your design around your mug.
Step 4) Turn on your Mug Press. When it makes a beeping sound it is ready to be used and will be hot inside. Carefully grab your mug by the handle and place it into your mug press so that the handle sticks out from the opening. Then, push down on the top lever securing your mug into place - making sure that your design is completely covered. Let your Mug Press do its thing and when it beeps again, it’s complete!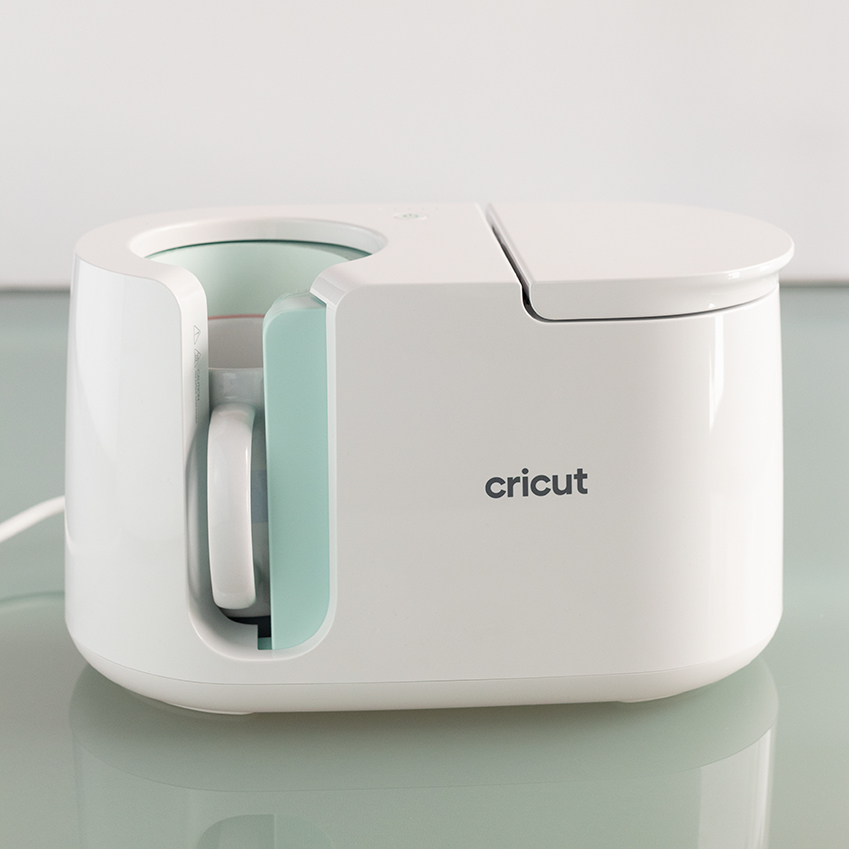
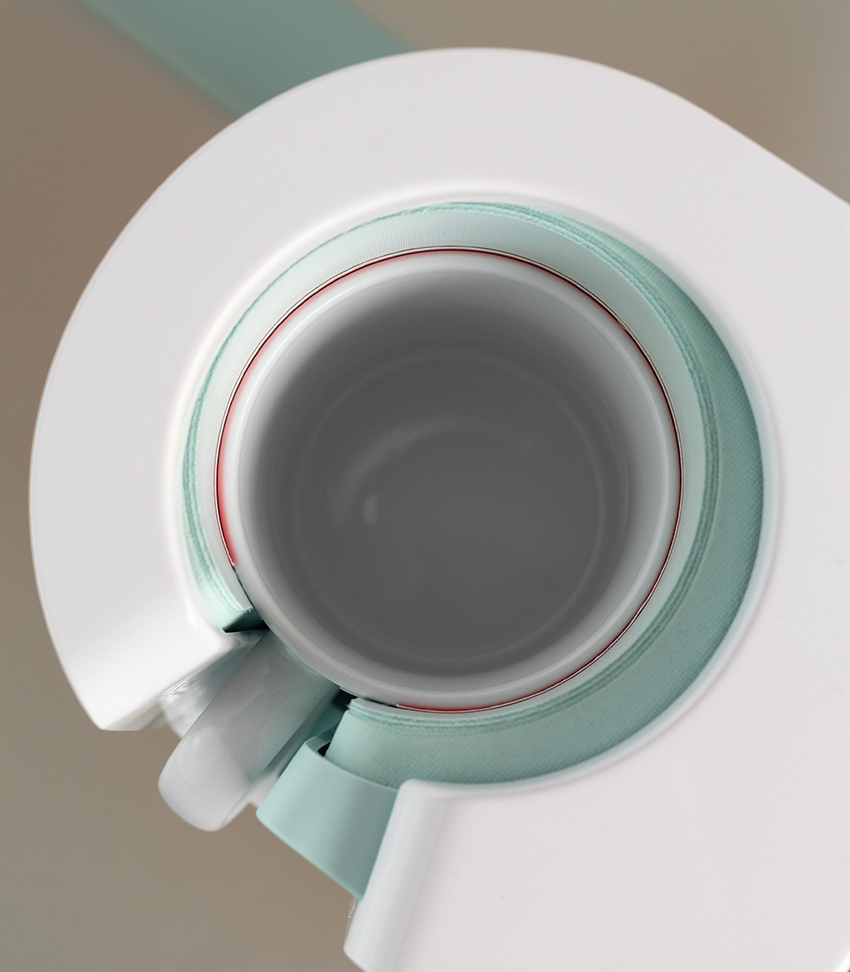
Step 5) Lift the top lever again to release your mug. Carefully grab it by the handle and remove it from the Mug Press. It will be hot so be sure to place it on a heat resistant surface such as the EasyPress Mat until it has completely cooled.
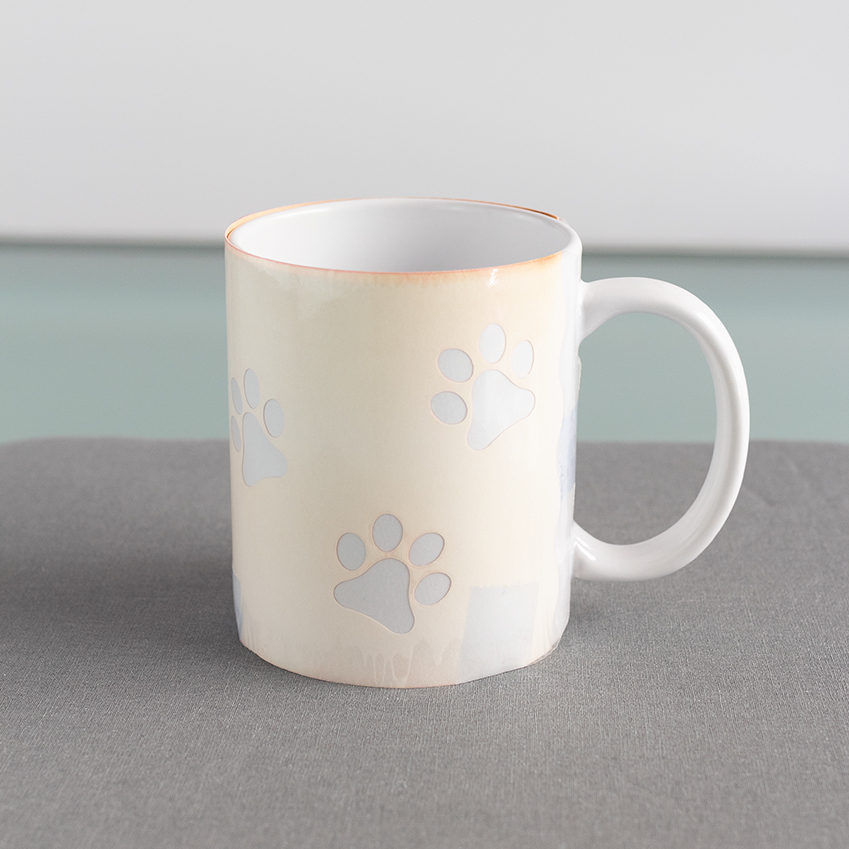
Step 6) Remove the tape and infusible ink sheet to reveal your gorgeous new mug! Happy mug making!


Comments: