


DIY Clay Matchbox With Sculpey Soufflé
This is a sponsored post written by me on behalf of Polyform Products. All opinions are 100% my own.
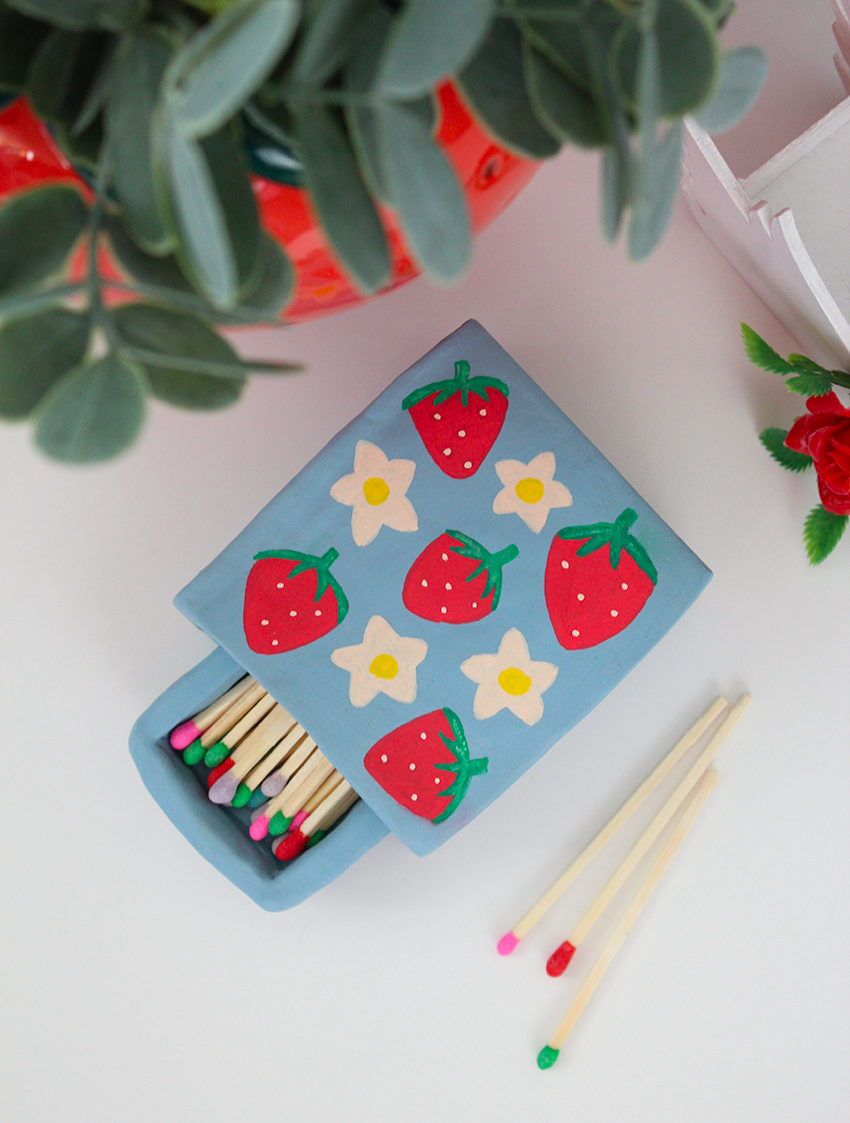
I've been wanting to DIY a cute matchbox for awhile, so when I heard about Sculpey's newest Soufflé color, Hydrangea, I figured it was the perfect time (and color) to finally give this project a whirl!
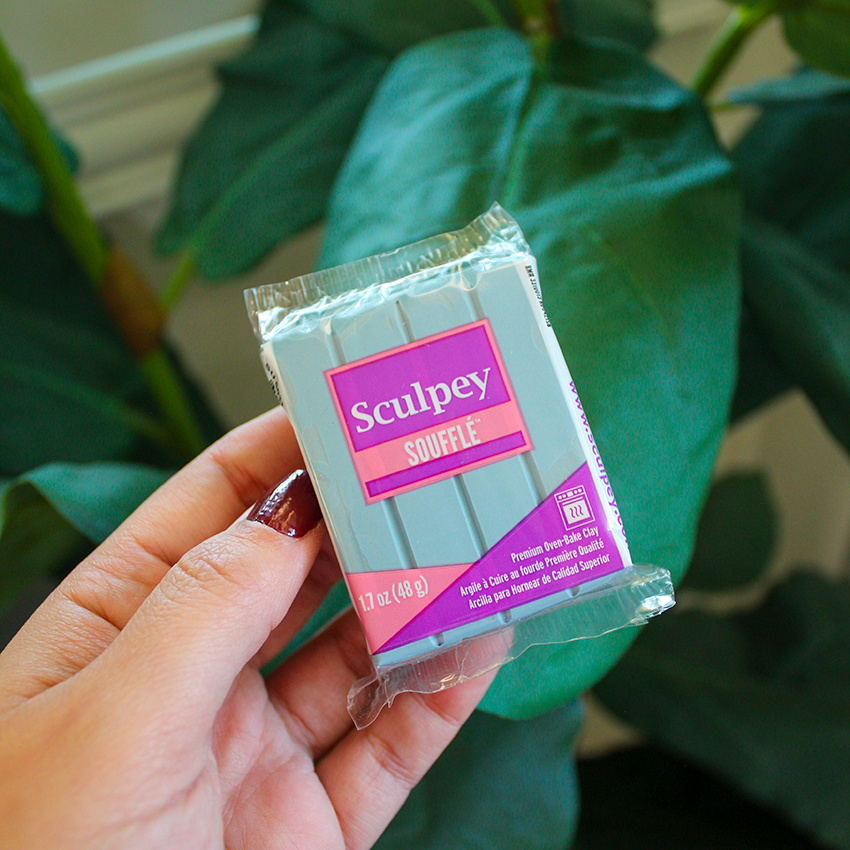
If you've never worked with Sculpey Soufflé, it is a lightweight clay that is strong and flexible, holds details, and stays soft until you bake it (that means no air drying)! I made this matchbox for myself but I highly recommend making this for someone as a handmade gift - can you imagine the look on their face when they open it?! 😍
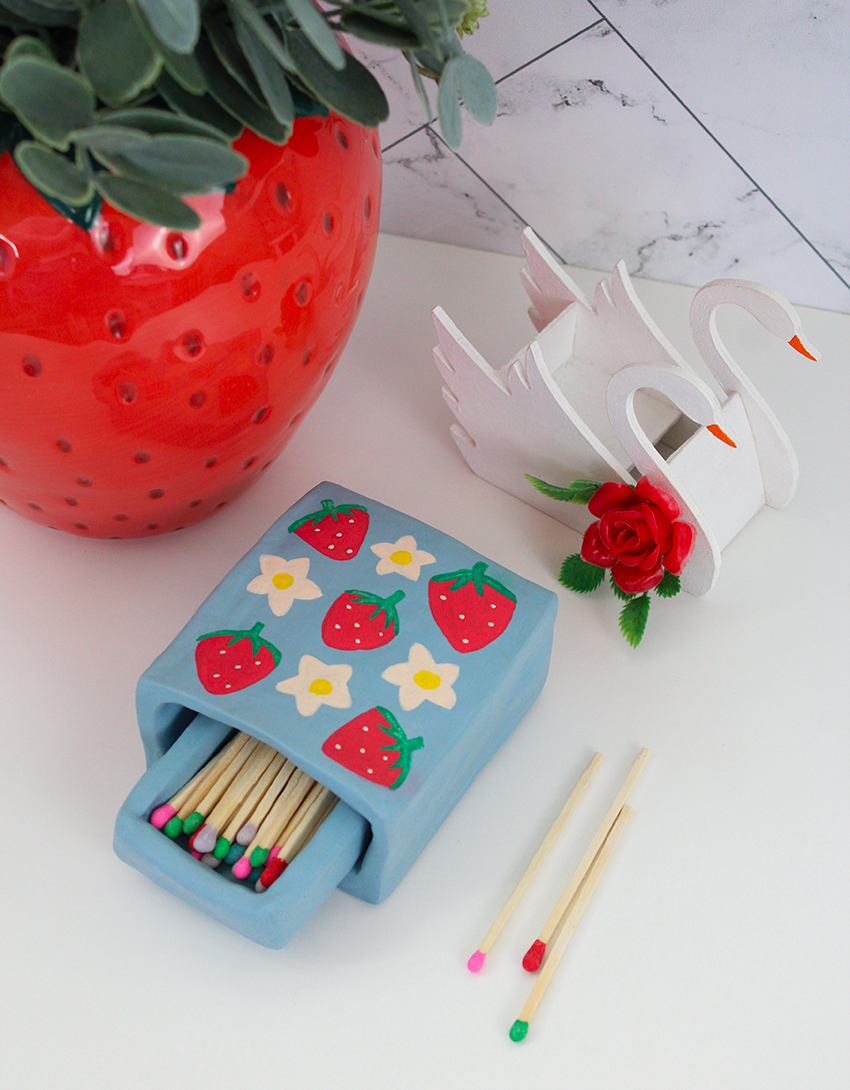
I will say that this project does require a bit of engineering and measuring to ensure that you can slide the matchbox "drawer" in and out of the box. I found that it was easiest to sculpt the inner drawer first and then to proceed with the outer box.
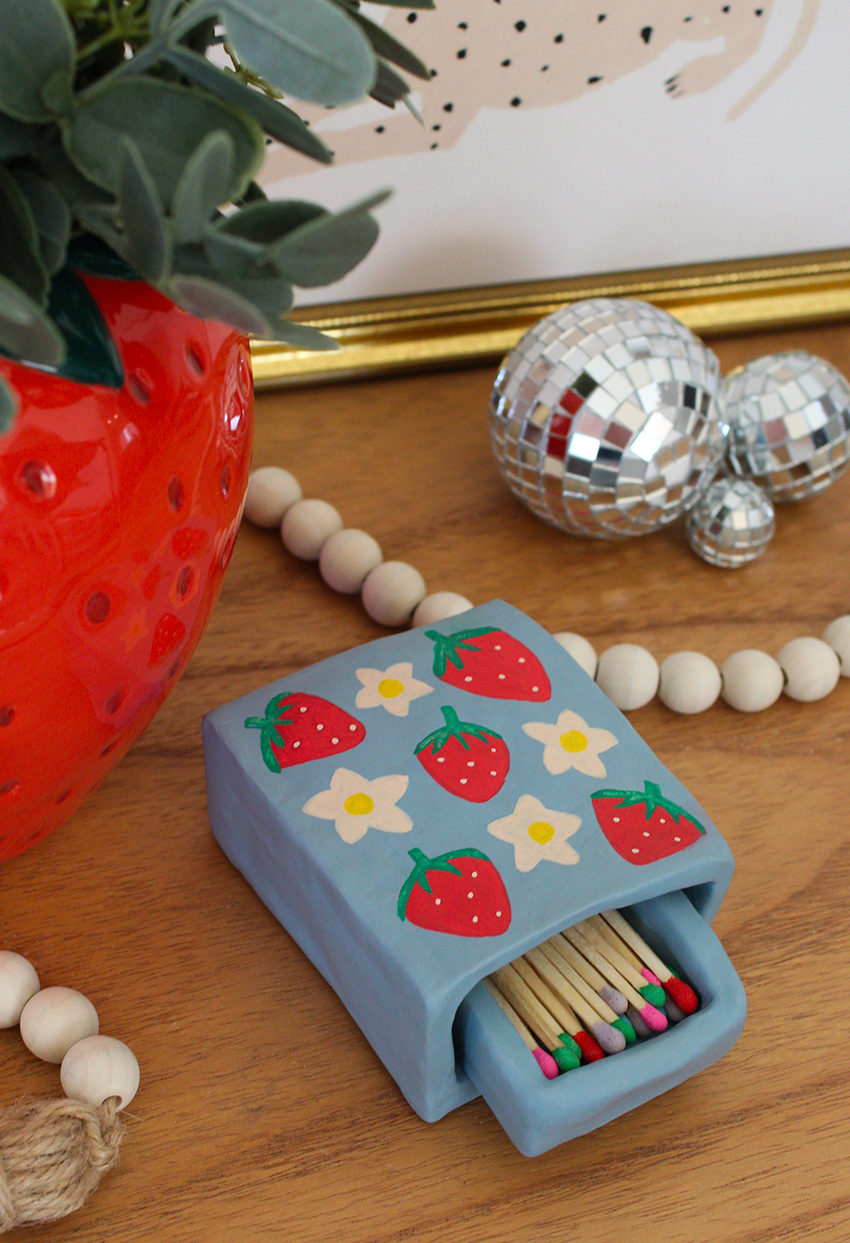
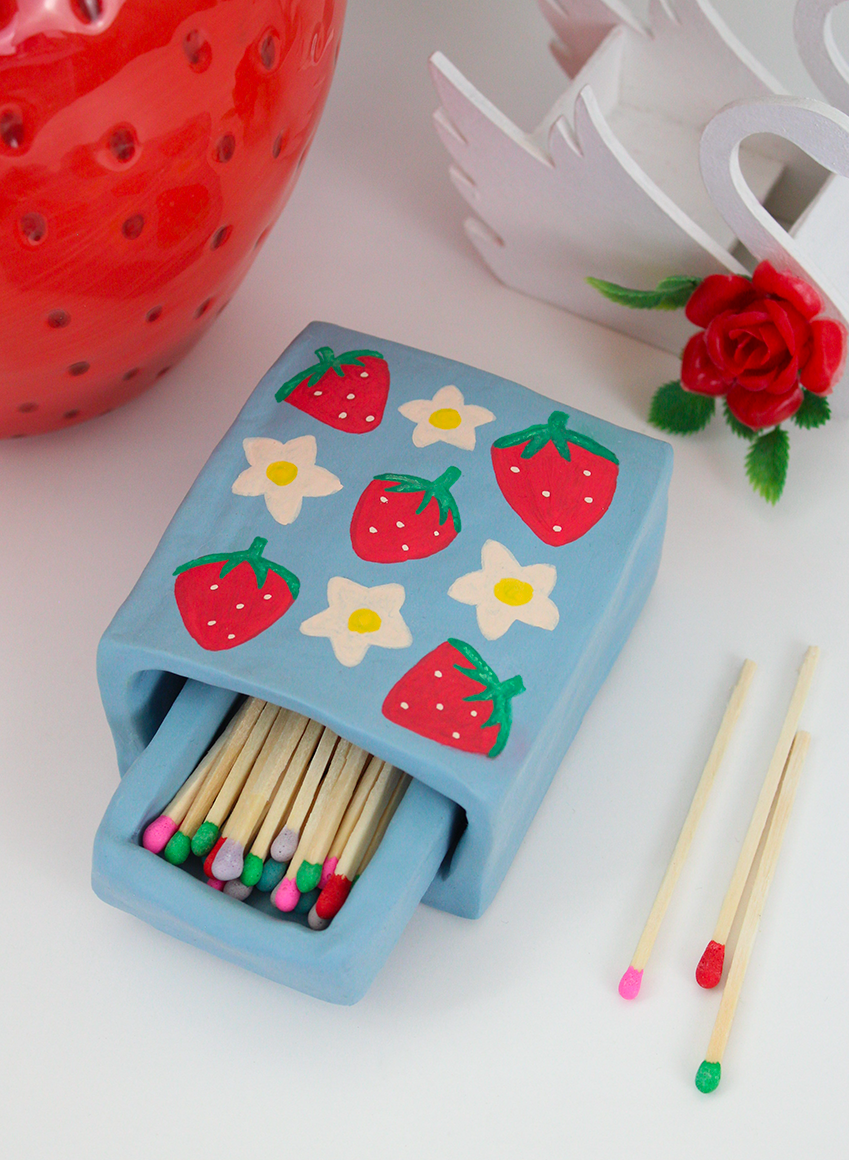
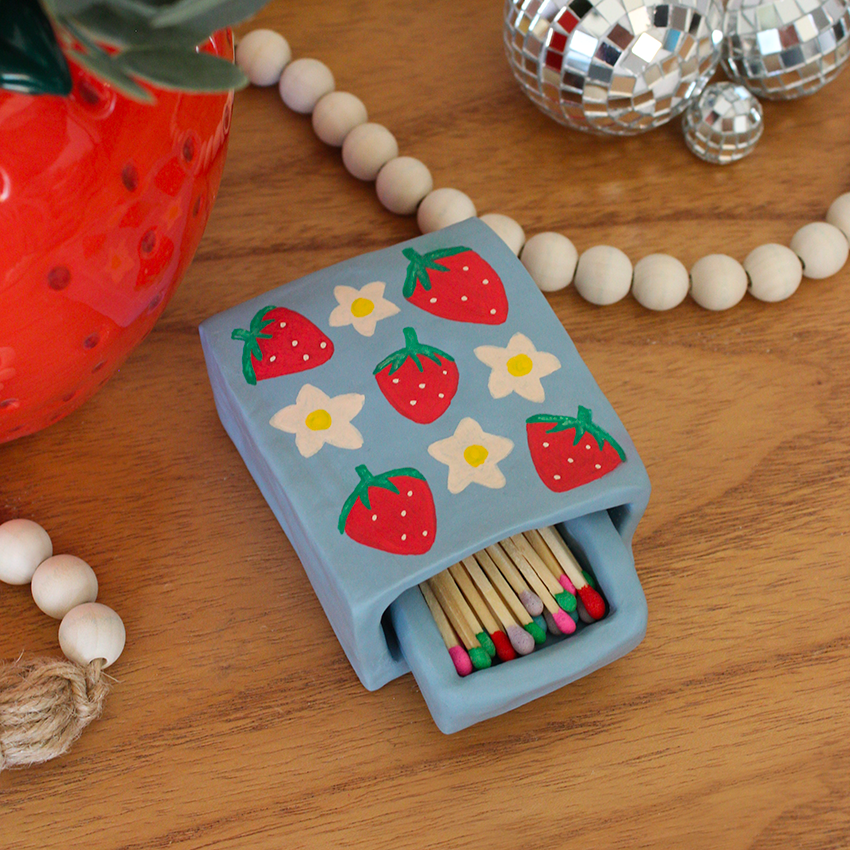
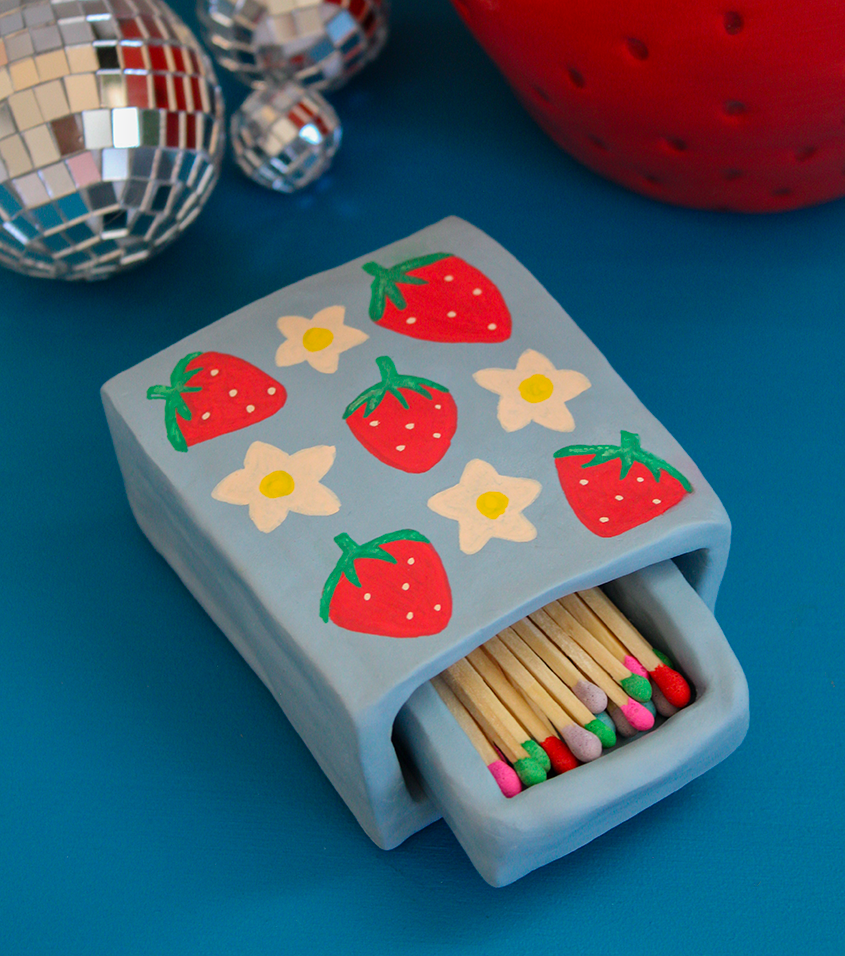
The Hydrangea color is such a beautiful shade and I'm obsessed with how it really makes the red strawberries I added on top pop. To learn how to build your own beautiful clay matchbox, keep on reading!
What You'll Need
Sculpey Soufflé™ Oven Bake Clay in Hydrangea (5 packs)
Sculpey Tools™ 8-Inch Acrylic Clay Roller
Sculpey Tools™ Oven-Safe Work Mat
Paint Pens
Matches
Optional: Isopropryl Alcohol + Cotton Swabs (to remove any lint from your clay before baking)
How To
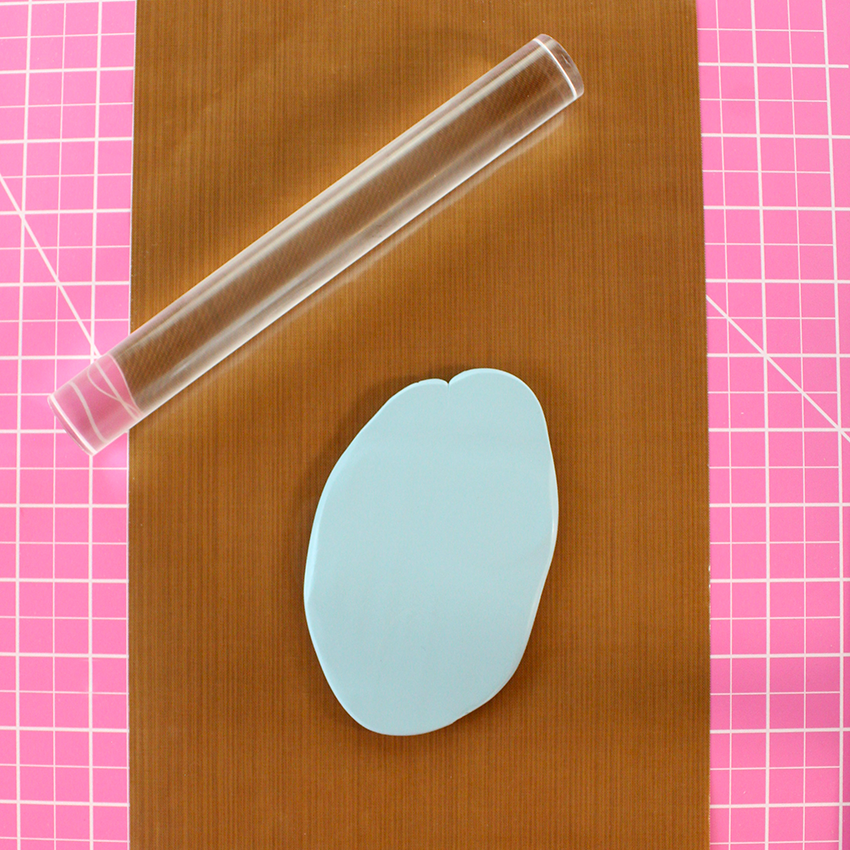
Step 1) Roll out your clay.
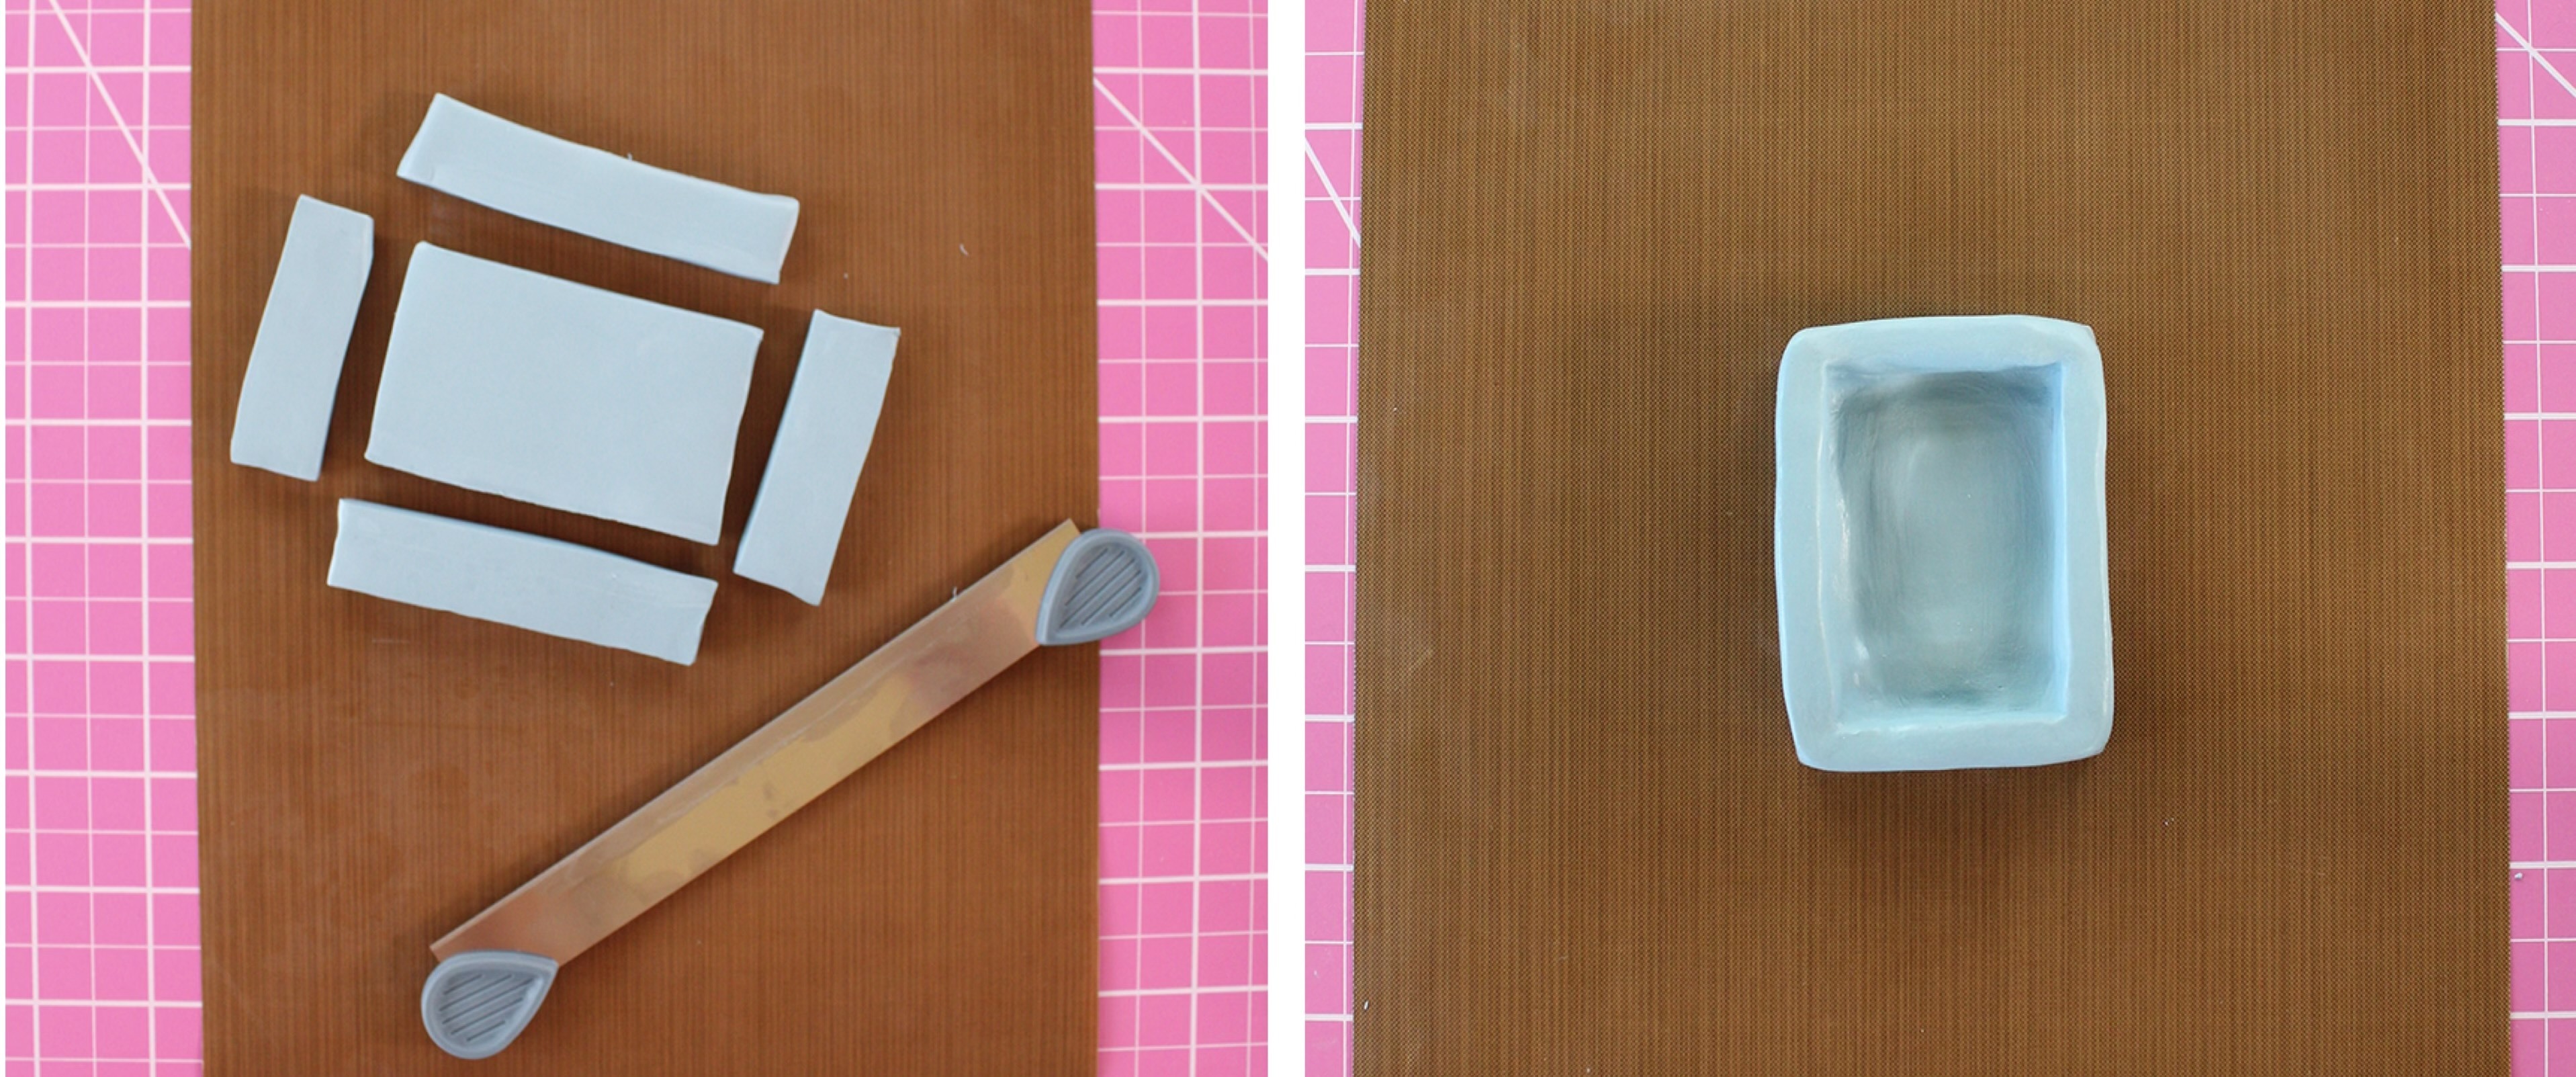
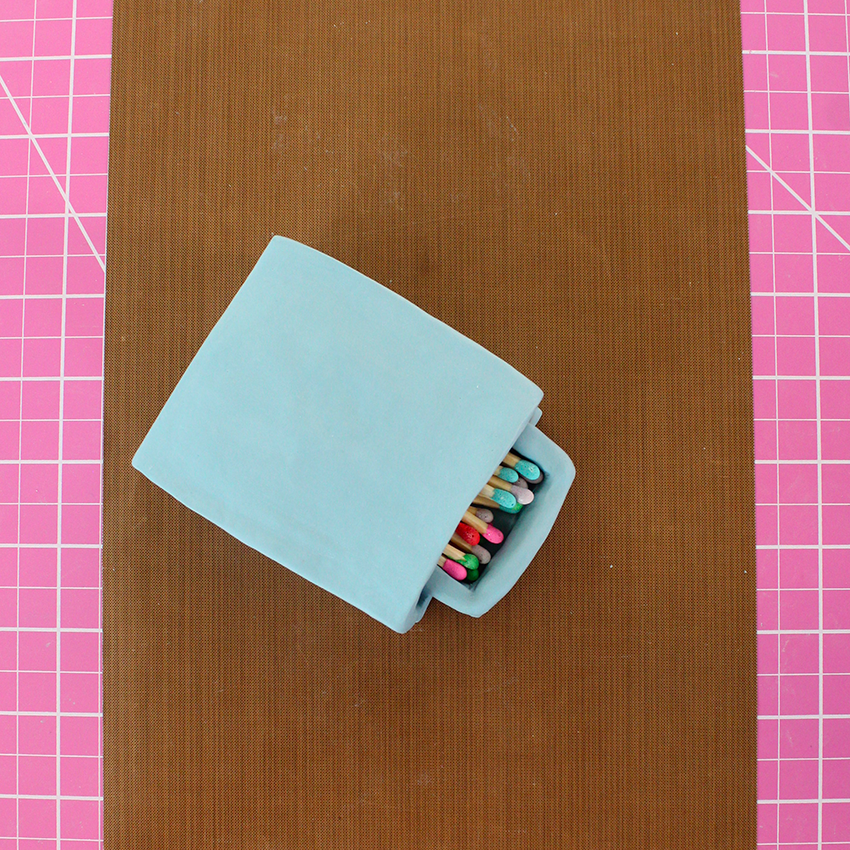
Step 2) Begin cutting pieces that will form the inner drawer/match tray of your matchbox. I used matches I had as a guide for how long the drawer should be. I also used the cross hatch method for where I wanted to join the clay and then I slowly worked all of the sides together until it formed the inner drawer/match tray.
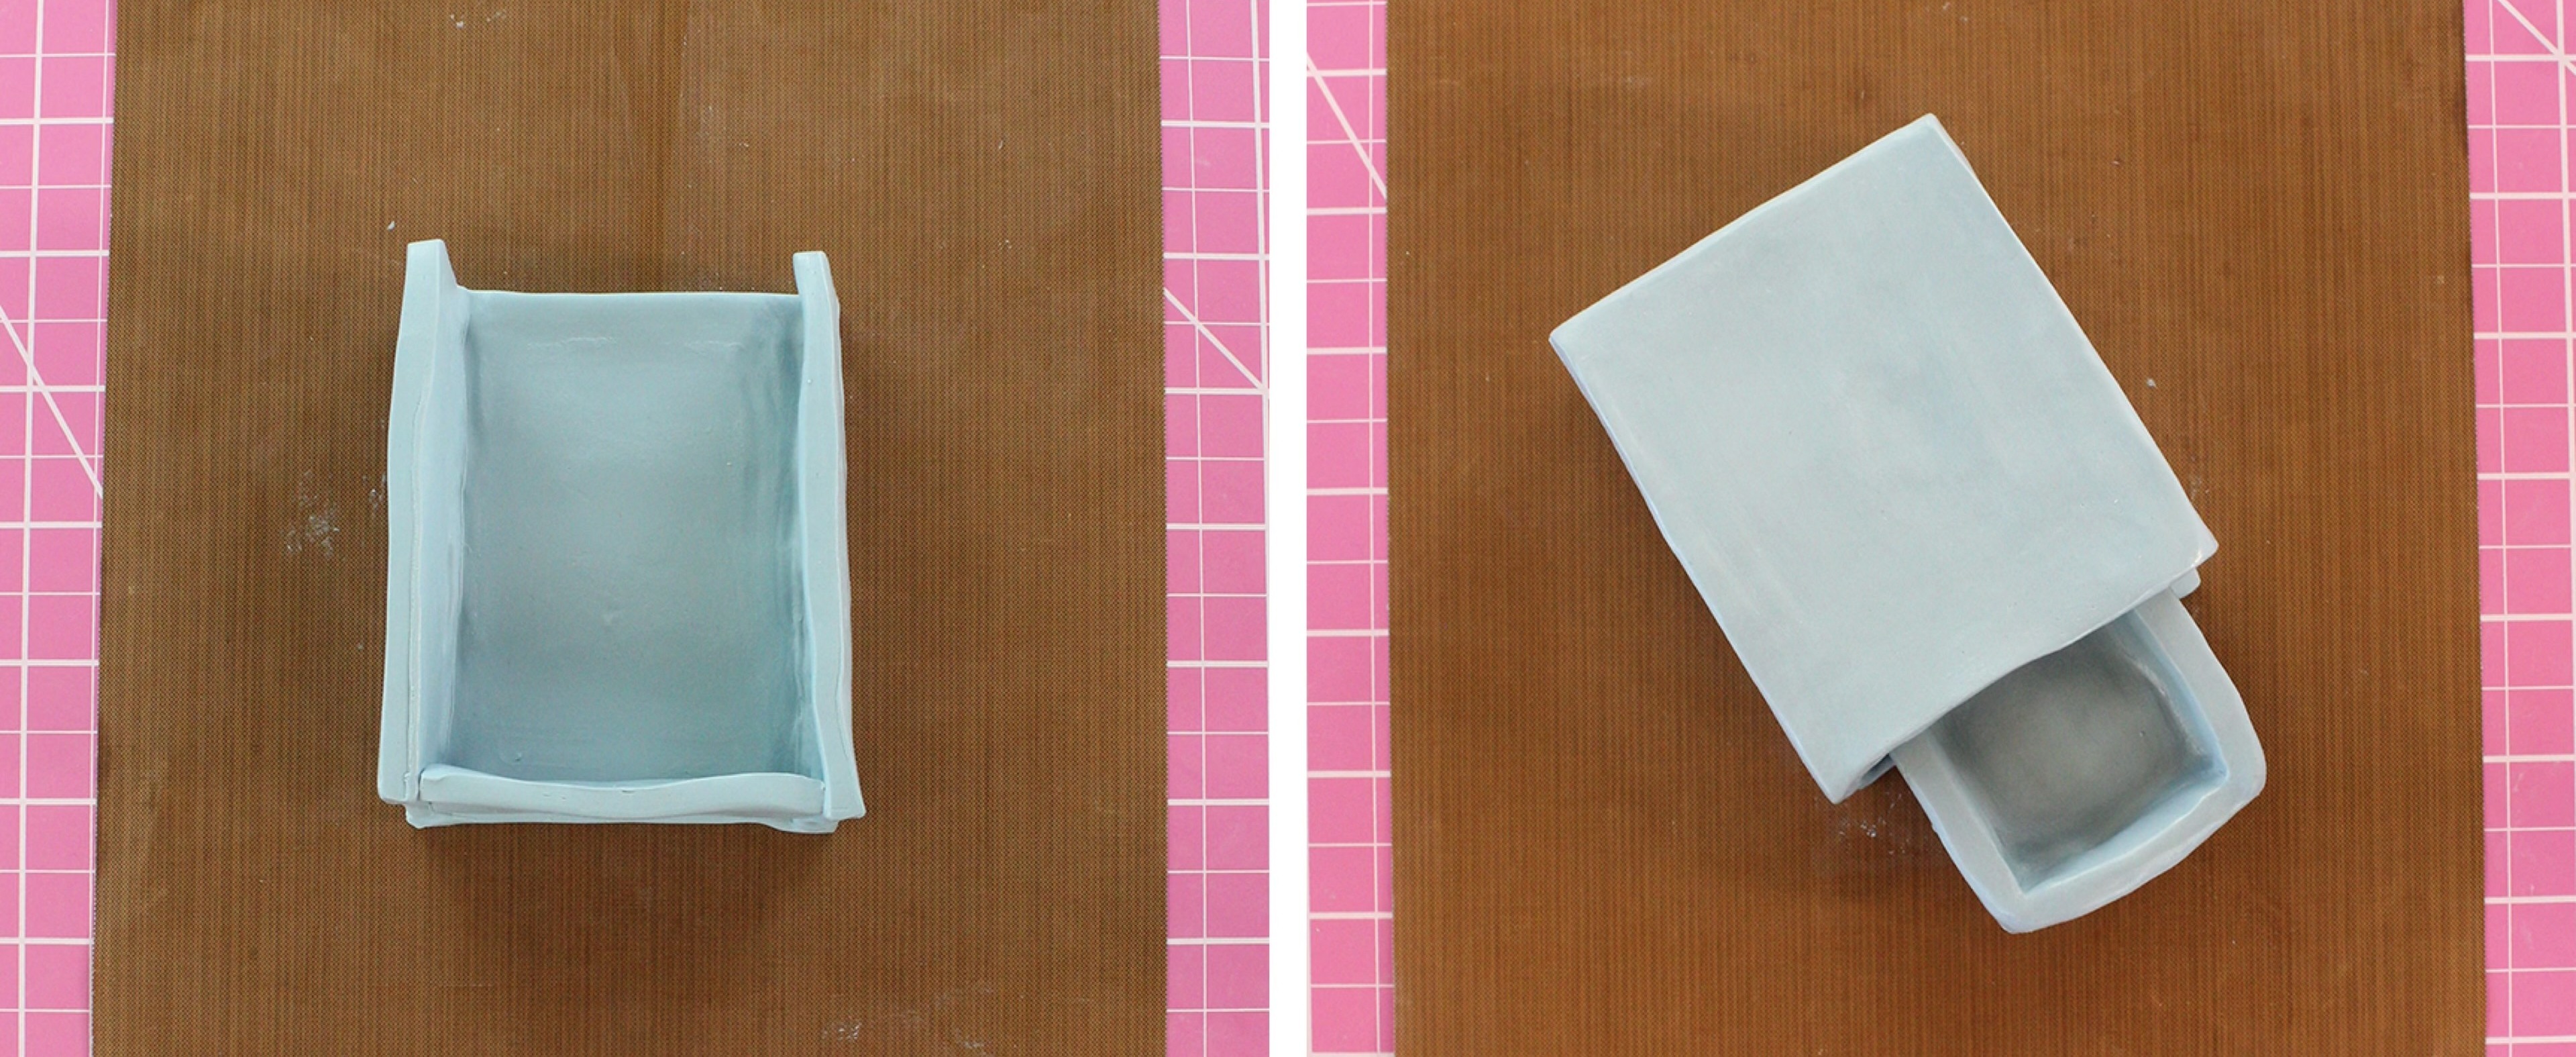
Step 3) Making the outer box is similar to the process above but you will need to make sure the gap this time is on the side so the drawer can slide in and out. Use the drawer as a guide for how big the outer box should be and confirm that the drawer will slide in and out when you are done.
Helpful Tip: If you want to remove lint from your clay before baking, dab a cotton swab in isopropyl alcohol and rub it against the lint. This works like magic!
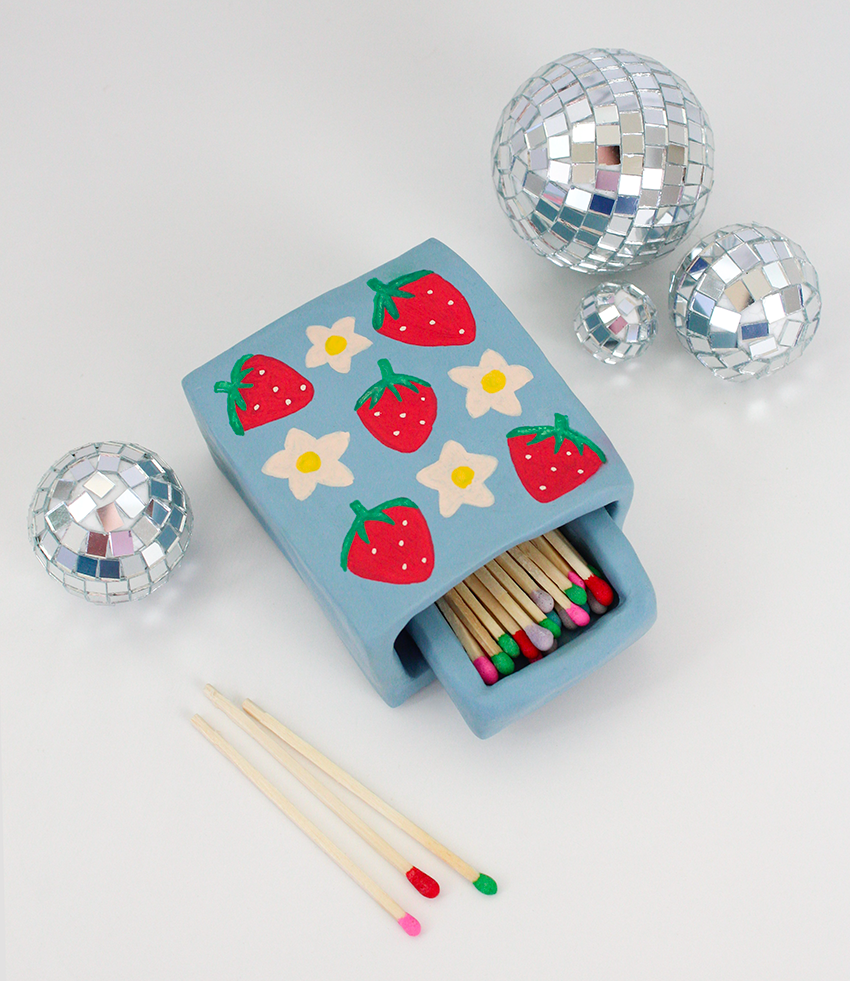
Step 4) Bake your clay according to package instructions. Once it is completely cooled, fill it with matches.
Step 5) Use paint pens to decorate your matchbox! I did a strawberry floral design but you can do whatever you like! Hope you had as much fun as I did making this matchbox!


Comments: