


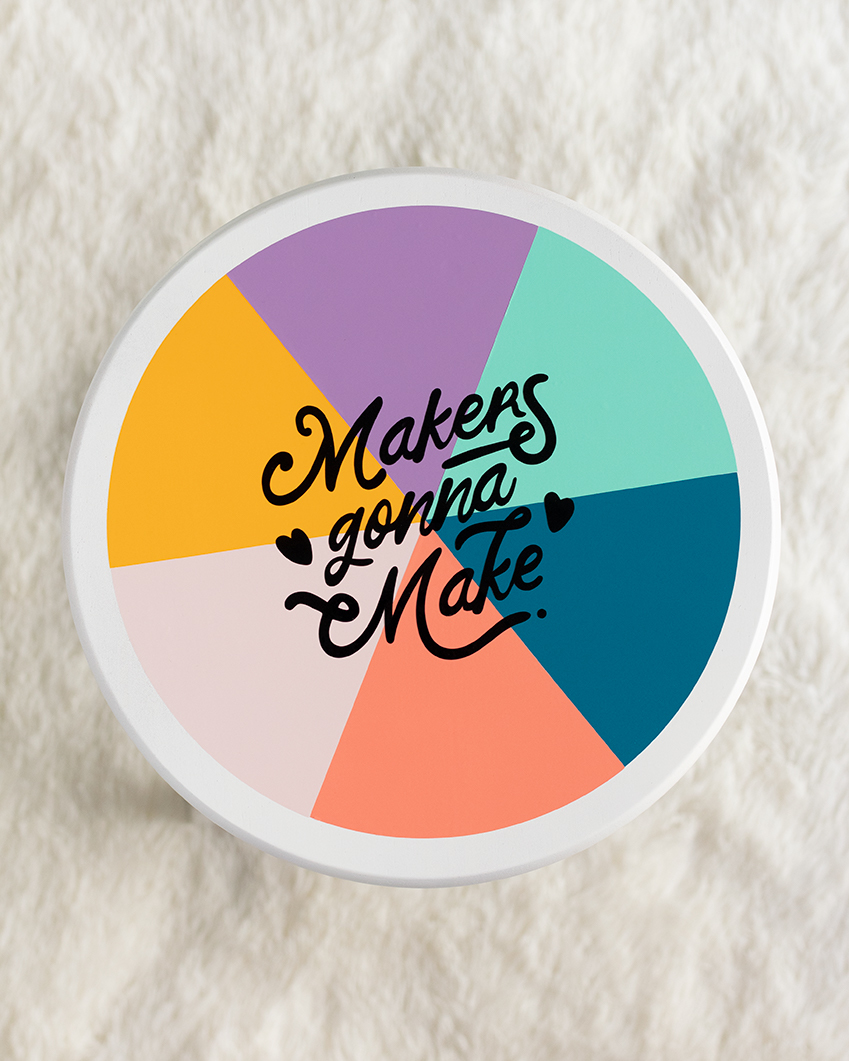
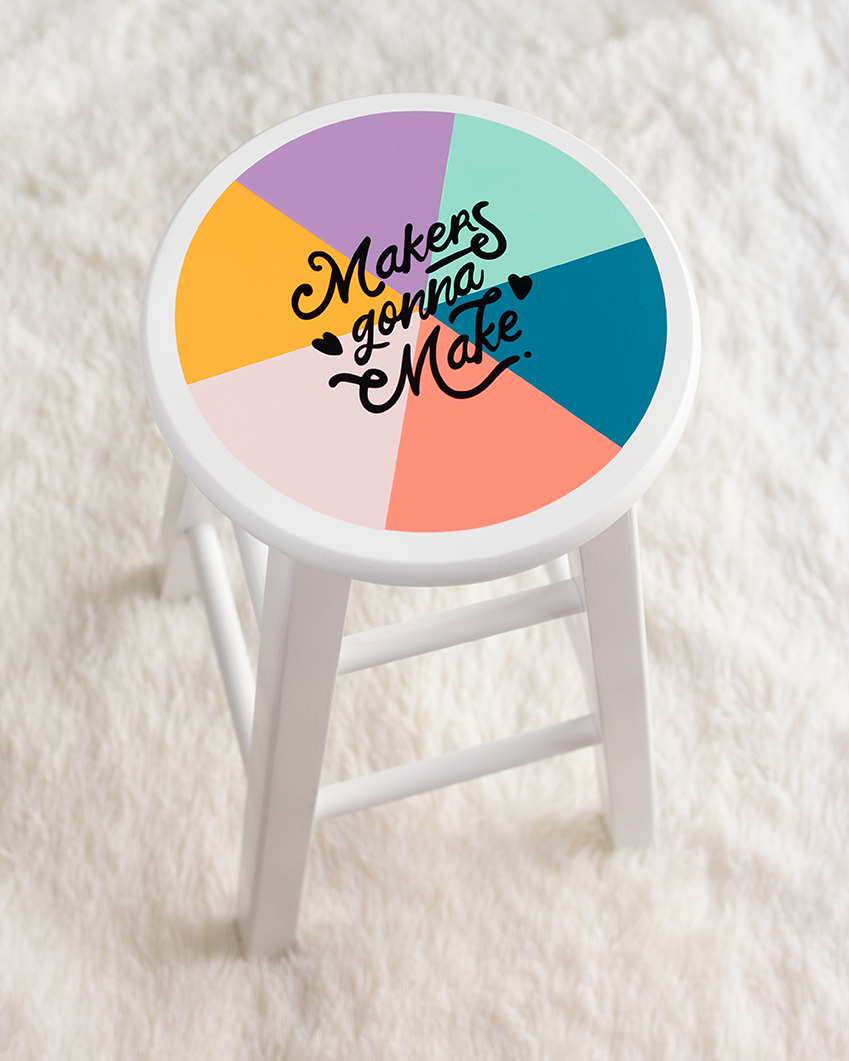
DIY Color Wheel Stool
This is a sponsored post written by me on behalf of Cricut. All opinions are 100% mine.
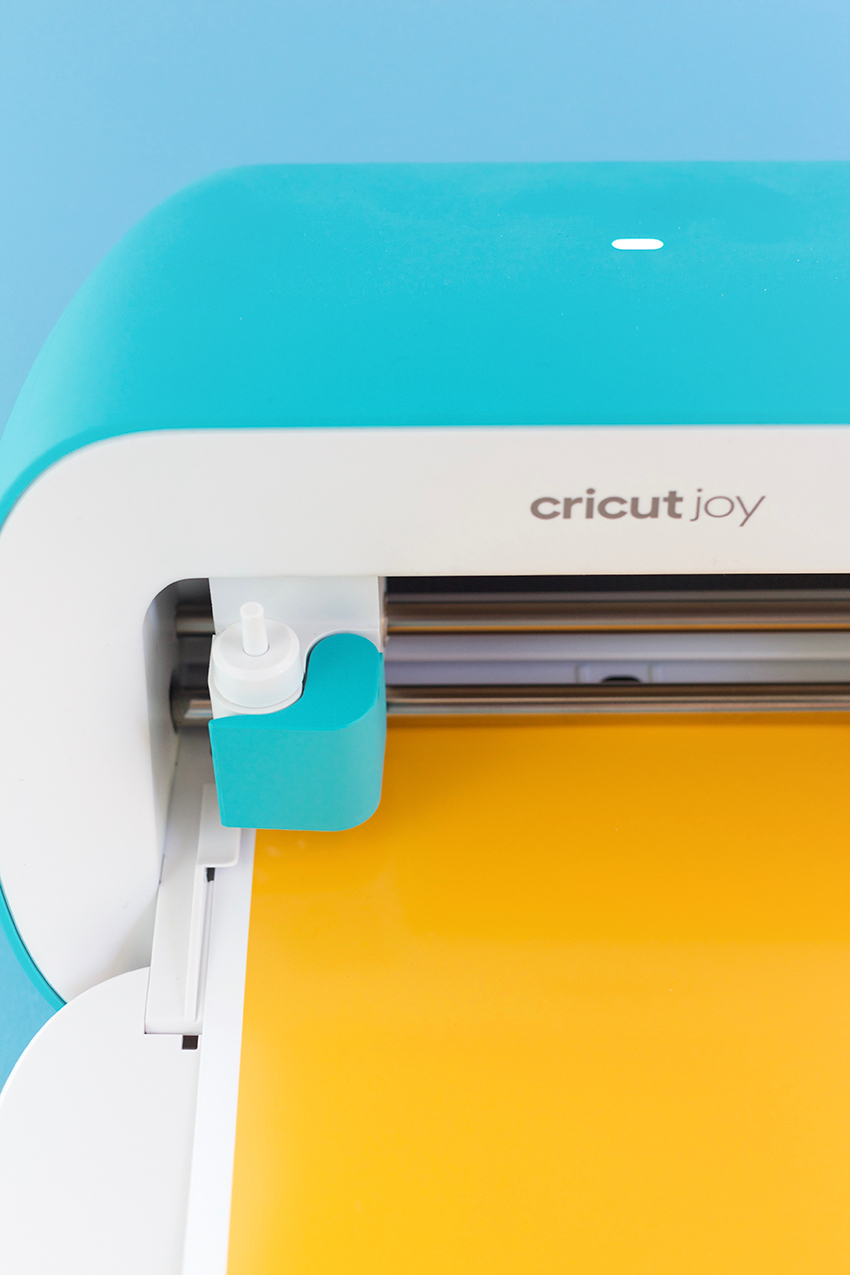
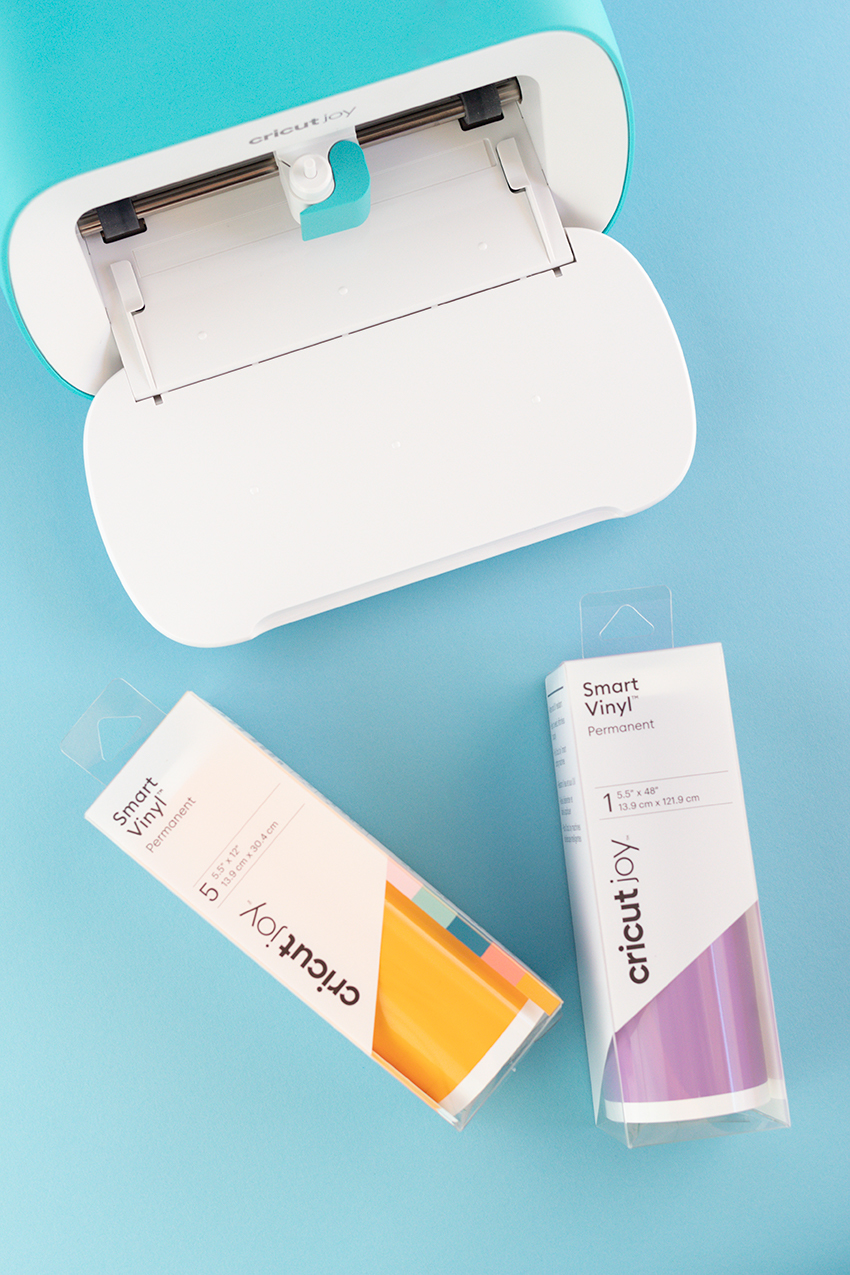
The Cricut Joy has been a total game changer for me and my crafts. For those who may not know, the Cricut Joy is Cricut's smallest smart cutting machine (and it's portable, too)! This machine gets moved around A LOT in my house, depending on what projects I'm working on in different rooms. I used to put off a lot of projects that required intricate cutting because let's be real, who wants to manually do that? But that's where the Cricut Joy comes in, making projects like these more accessible and easy to do. You can create quick personalized projects for both yourself and others in almost no time. Plus, the Cricut Joy uses Smart Materials that are designed to work without a cutting mat, so there's less materials needed to start making!
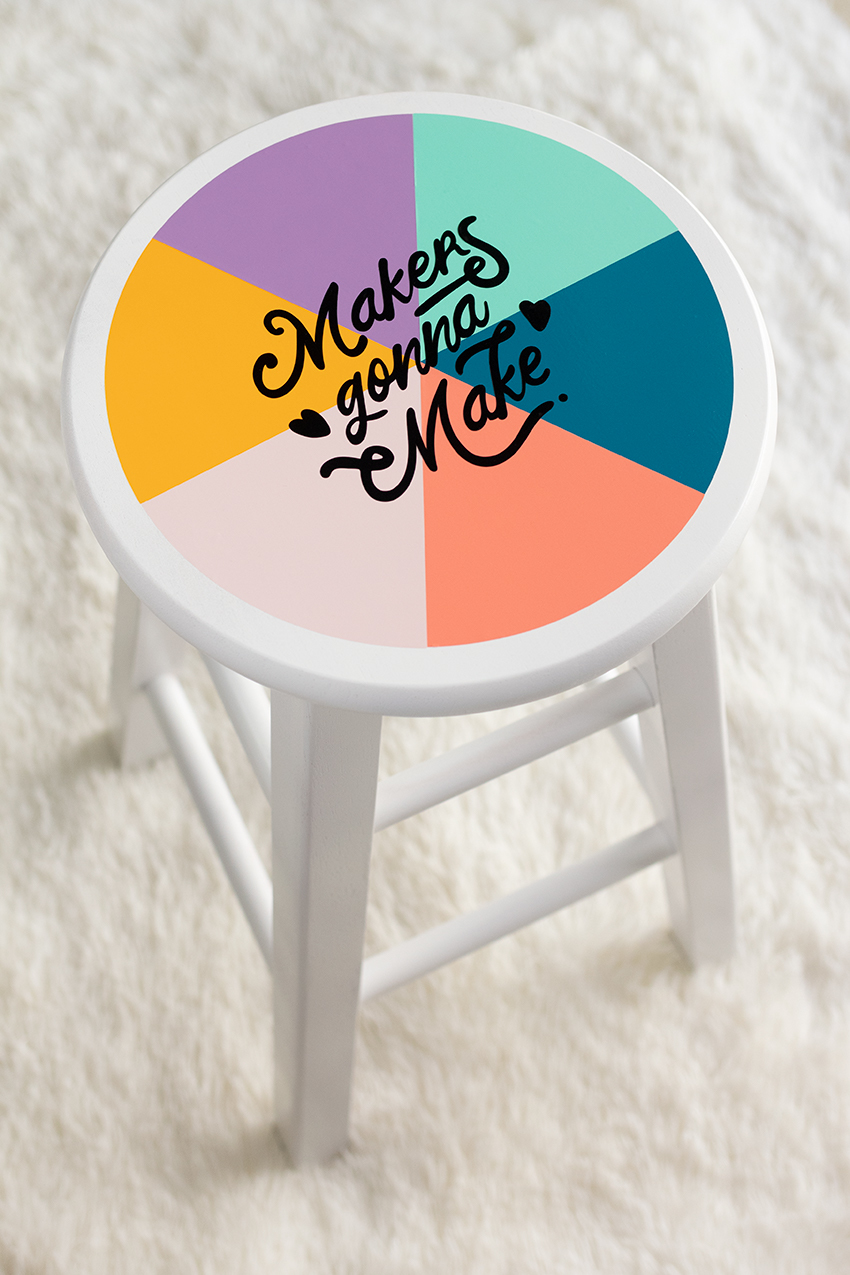
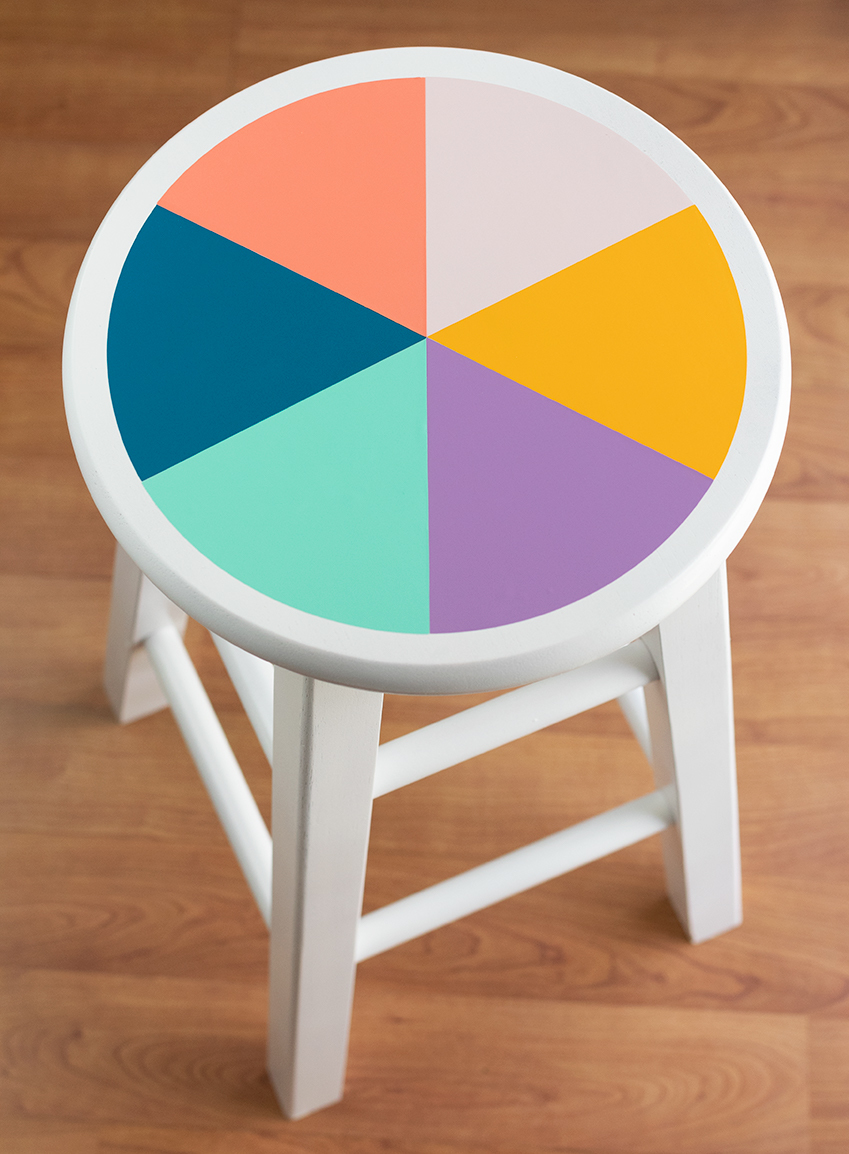
Today I'm showing you how I put together this DIY Color Wheel Stool for my craft room using the Cricut Joy. Home Improvement projects like this one have been getting done a lot more thanks to this machine. You can make stencils, decals, labels, and so much more with the Cricut Joy. To learn how to make your own stool just like this one, keep on reading!
What You'll Need
Color Wheel Stool File in Design Space
White Stool
Cricut Joy™ Smart Vinyl™ – Permanent in Black and Light Purple
Cricut Joy Smart Vinyl Sampler, Beachside – Permanent
How To
Step 1) Open the Color Wheel Stool file in Design Space and get all of your Smart Vinyl colors together. Cut out each of the pieces from the file using your Cricut Joy. Note: You can size these shapes down depending on the size of your stool.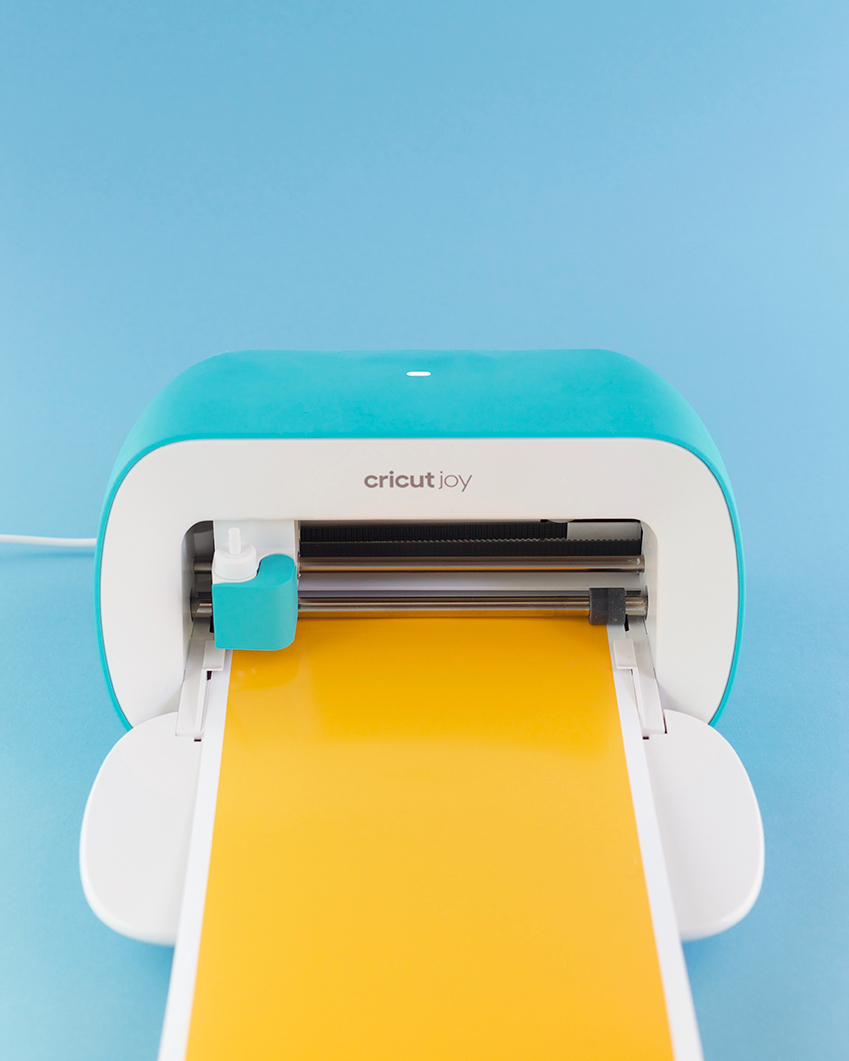
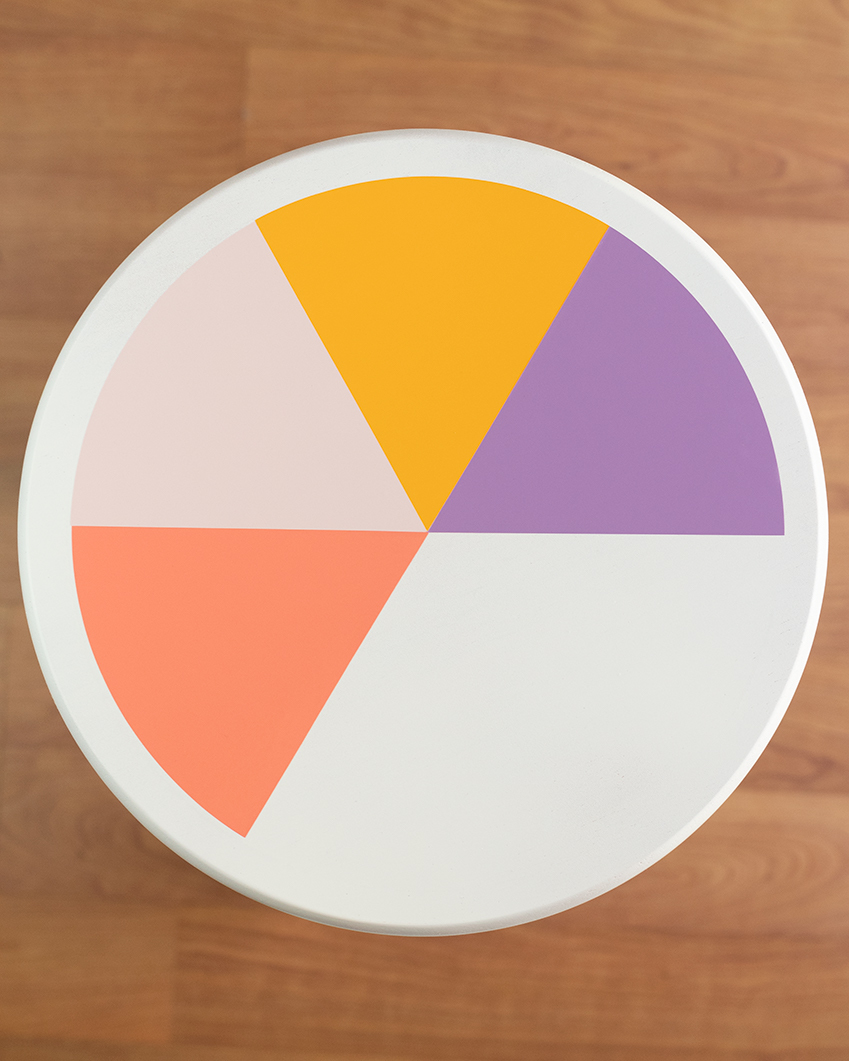
Step 2) Gather all of the cut pieces that will make up the color wheel. One by one, apply them to the top of your stool like in the images below.
Step 3) Once you've applied all of the colors for the color wheel, start weeding out the "Makers gonna Make" letters with the weeding tool.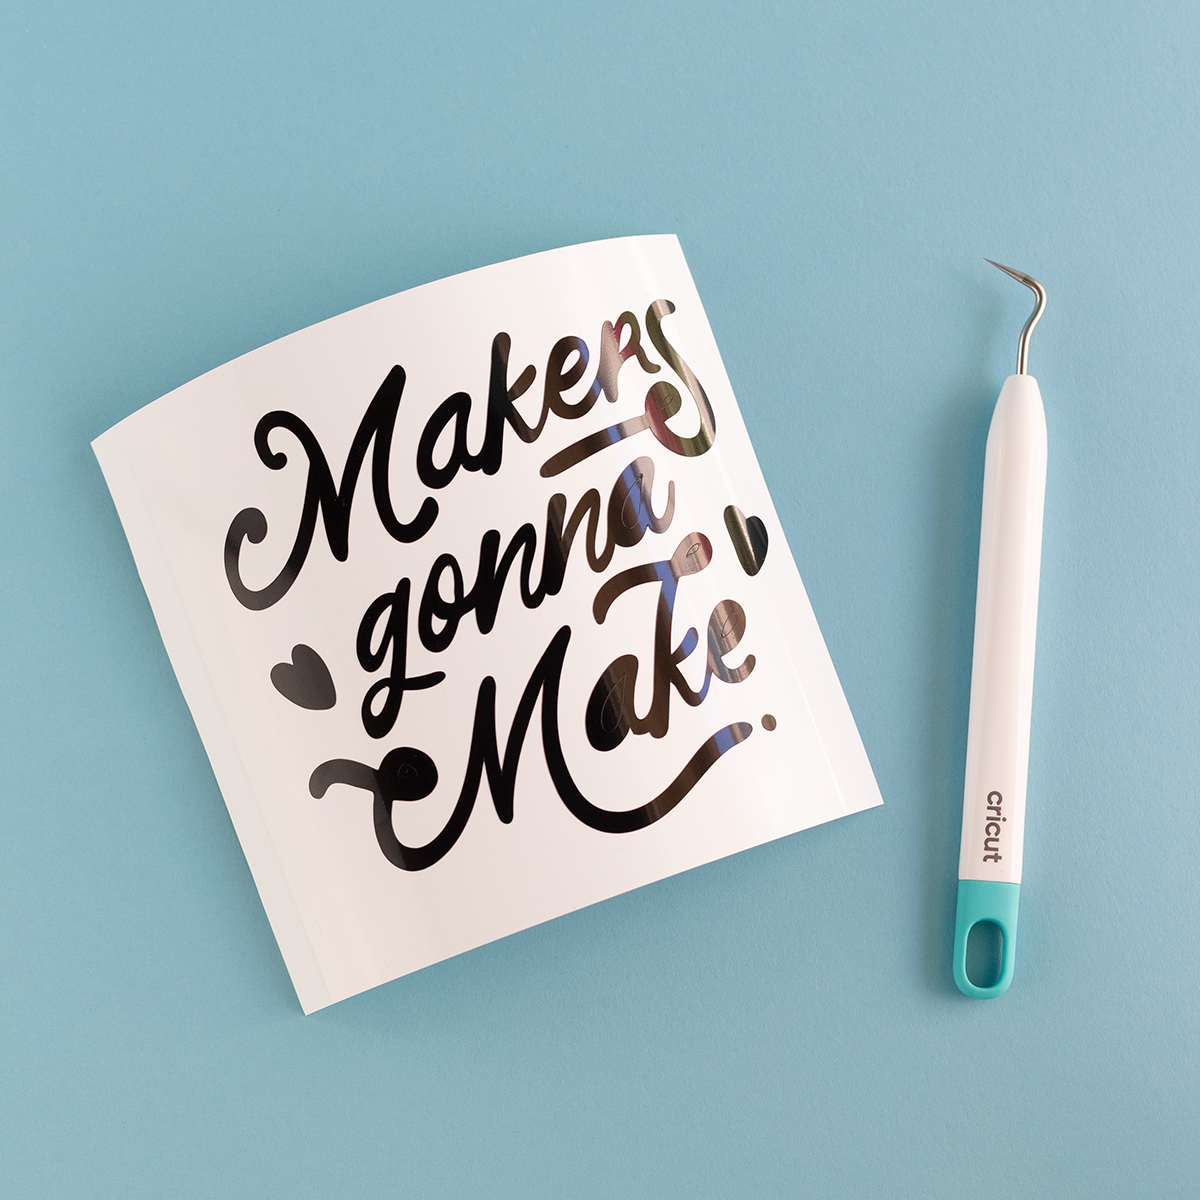
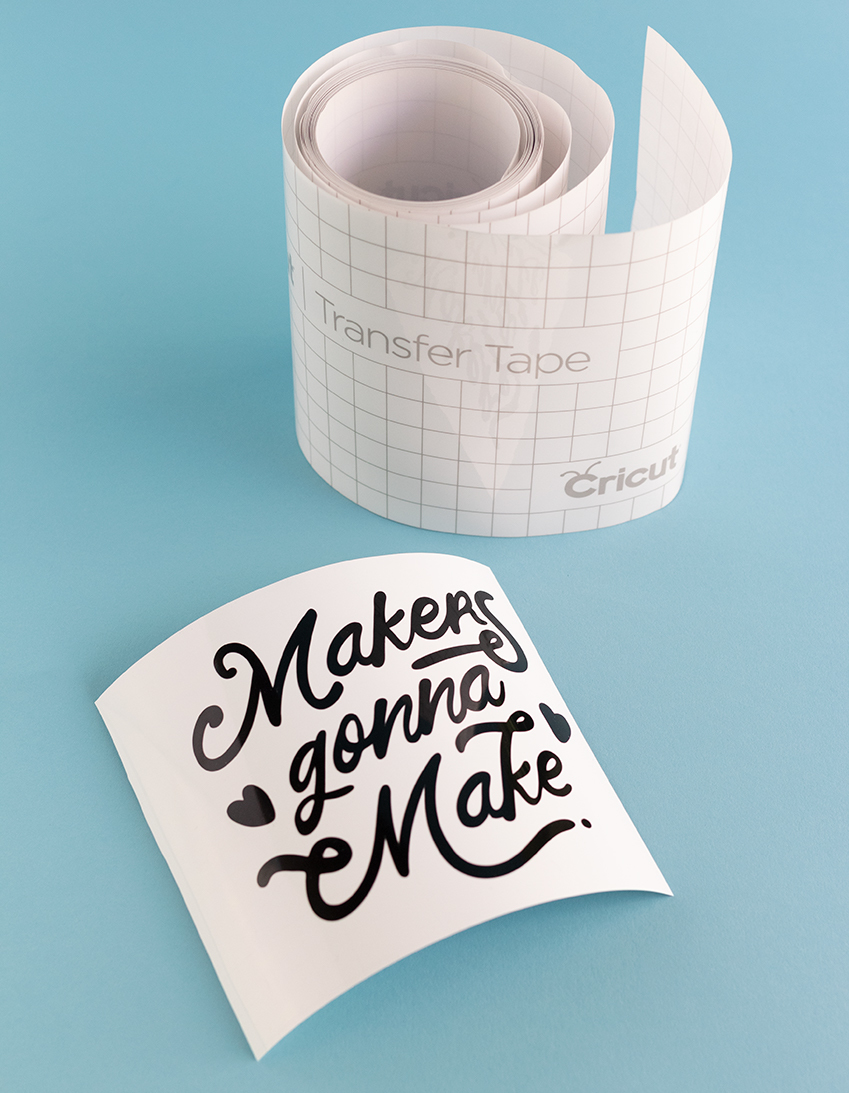
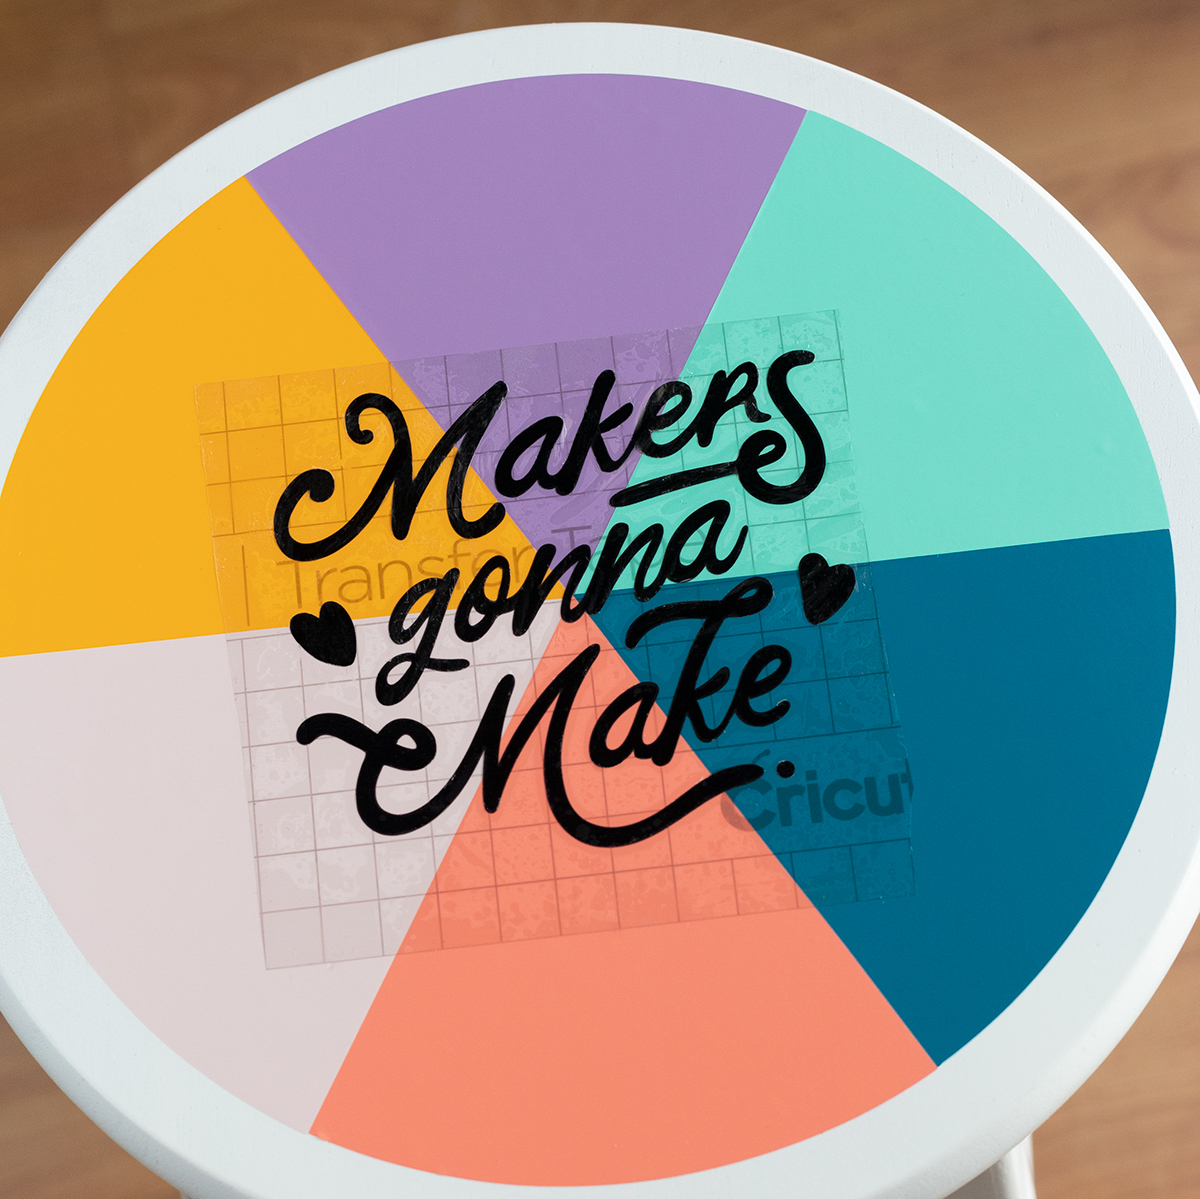
Step 4) Apply transfer tape to the letters and then place the transfer tape in the center of your color wheel similar to the image below. Press down to make sure your Smart Vinyl grips onto your stool and then carefully lift up your transfer tape to see your completed design!

The perfect addition to any craft room, am I right?! For more weekly home renovation tutorials and project inspiration, be sure to visit the Cricut Blog! Happy making!


Comments: