


2 Easy Crafts With The Cricut Foil Transfer System
This is a sponsored post written by me on behalf of Cricut. All opinions are 100% mine.
YOU GUYS, I am so excited about today's post because I'm sharing not one - but two easy projects that you can make with the brand new Cricut Foil Transfer System! This new 3-in-1 interchangeable tool is making it easier than ever to add beautiful foil embellishments to your crafts - with no heat or cords required. Keep on reading to learn more about this awesome new tool!
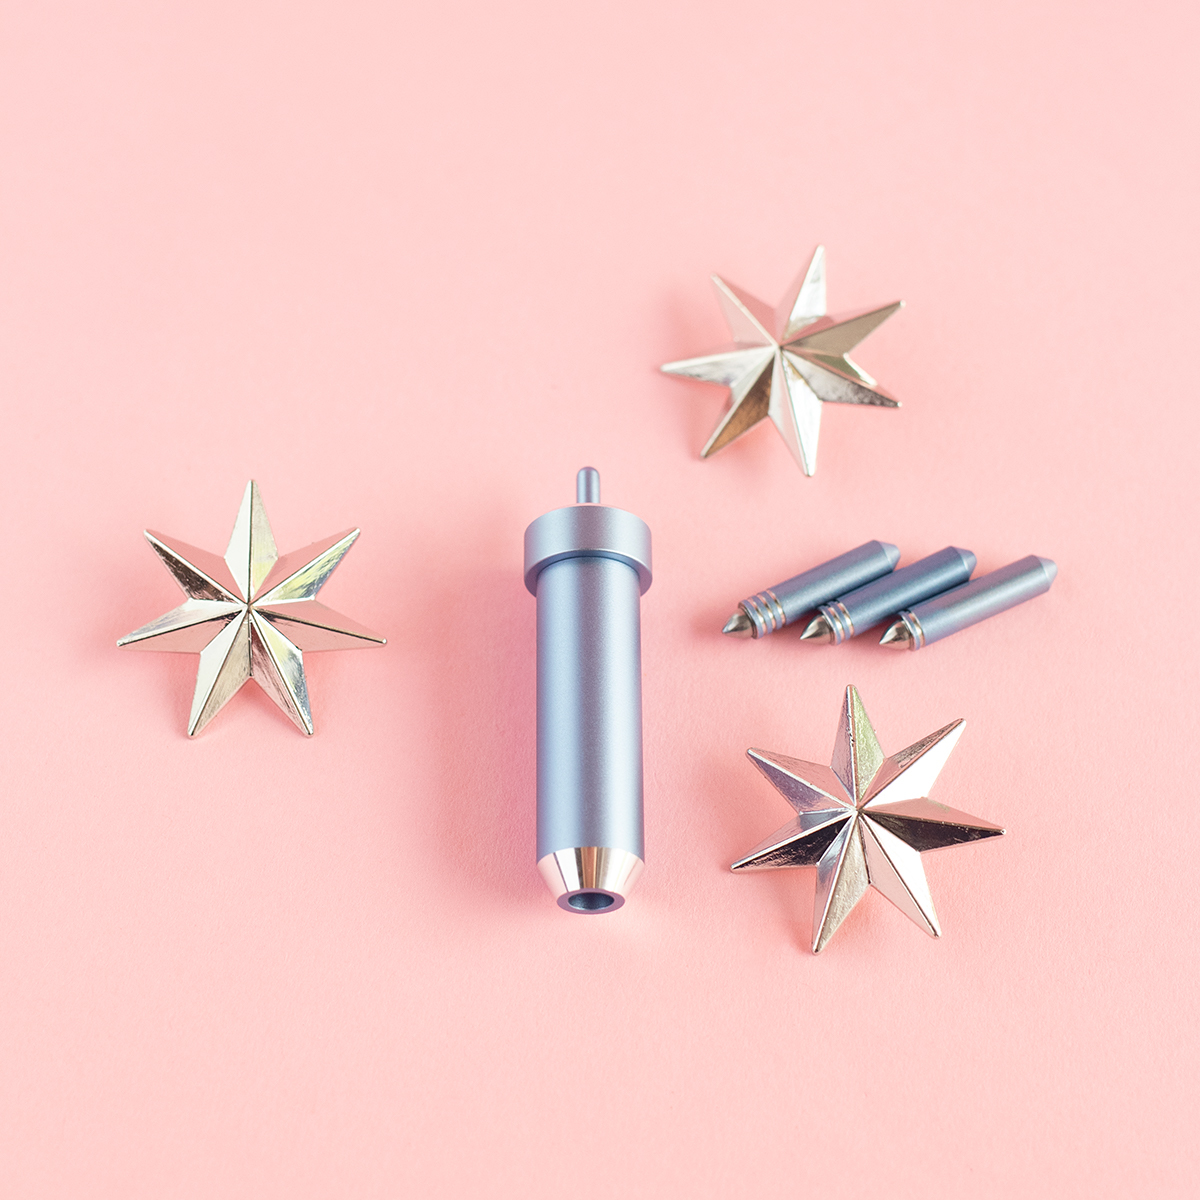
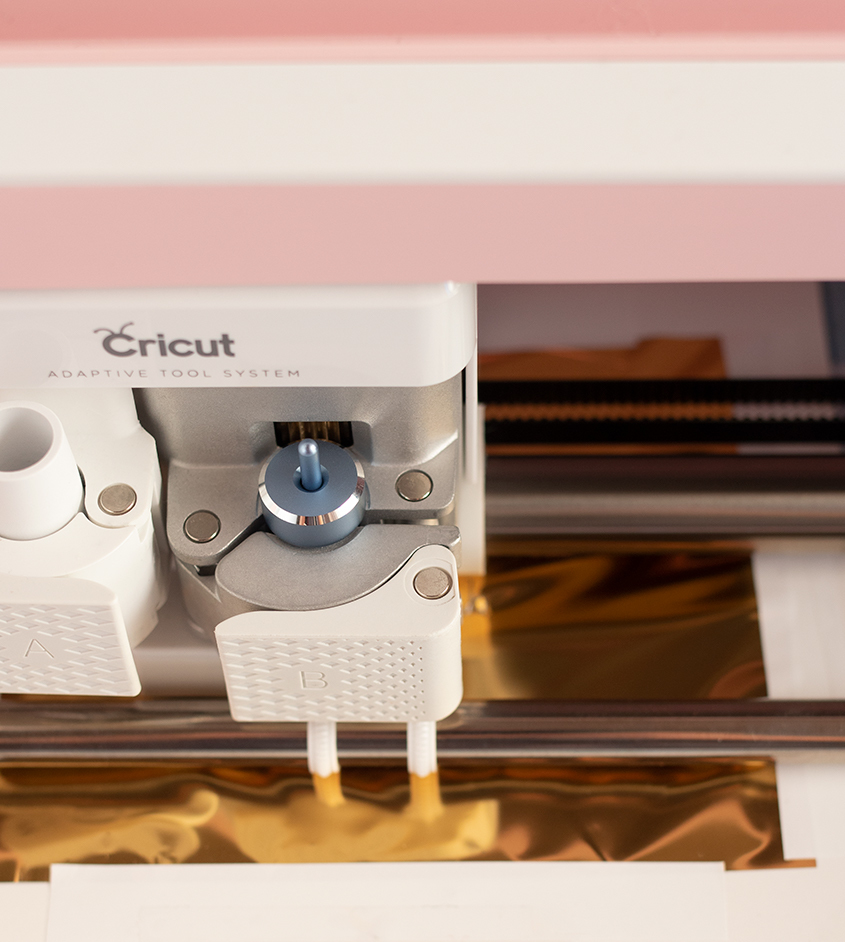
The Cricut Foil Transfer Kit comes with 1 housing, 3 interchangeable tips, 12 foil transfer sheets, and tape. The tips allow you to choose between fine, medium, and bold foil effects - and you can tell them apart by the small silver lines indented on each tip. For example, one line is for fine whereas three is for bold. I love that it’s interchangeable because it allows you to have more control depending on the type of project you’re working on!
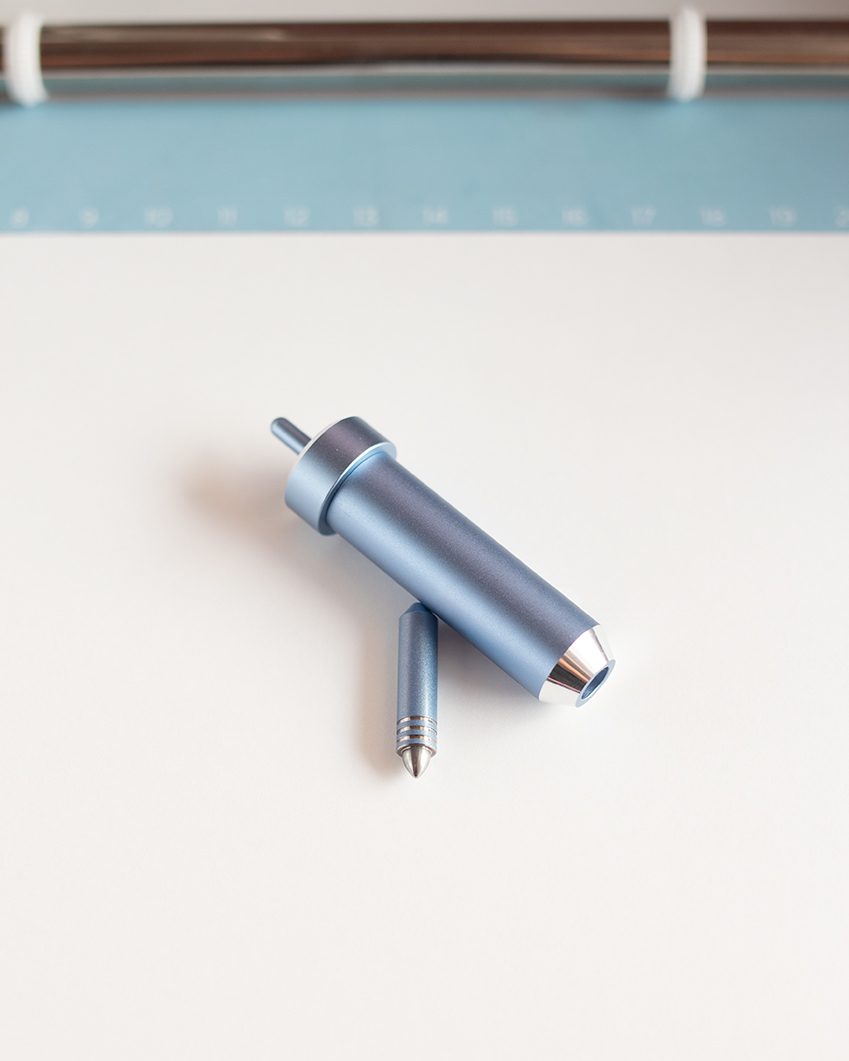
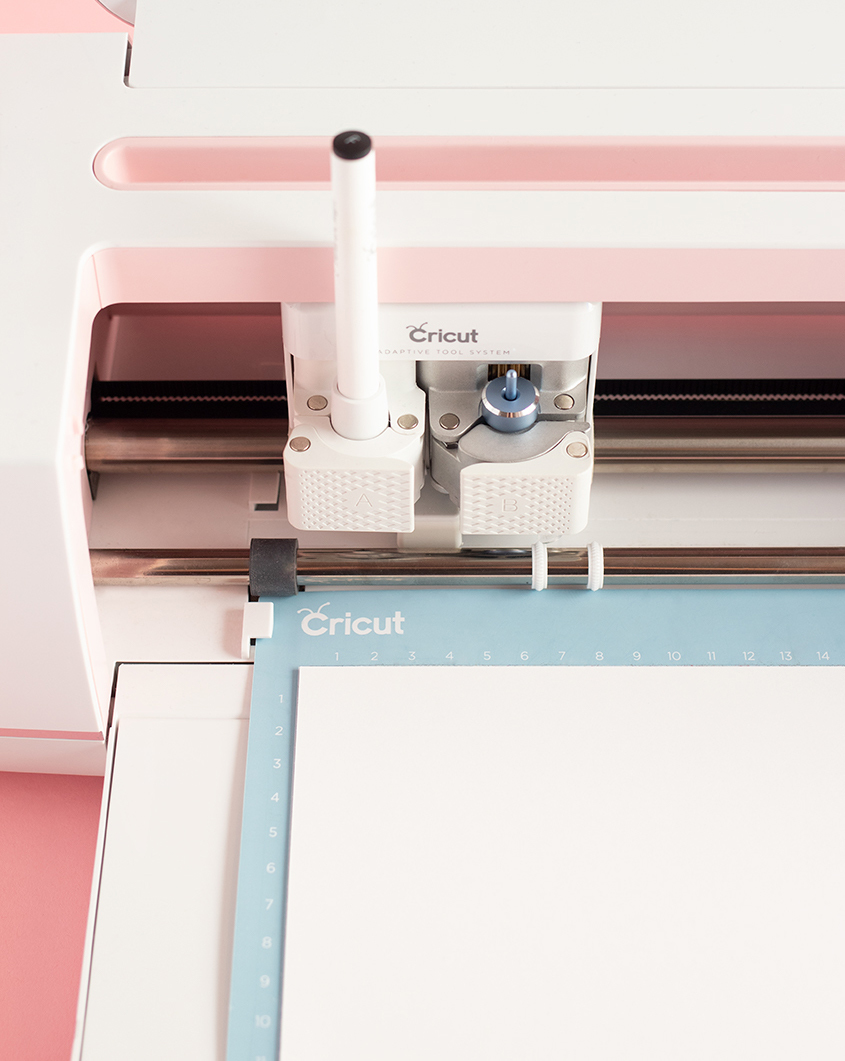
Curious about how it works? The Cricut Foil Transfer System is compatible with both the Maker and Explore machines and it uses a unique pressure-activated system that is seamlessly integrated with Design Space. All you have to do is follow the prompts on your screen! Elevate the look of cards, gift tags, invitations and so much more - because let’s be real, who doesn’t love a little extra shimmer and shine?


Below is a current list of suggested materials that you can use with the Cricut Foil Transfer Tool. Please note that for the Explore machines, some tips might not work on some materials so be sure to check out this thorough list on the Cricut website with even more details!
Deluxe Paper
Watercolor Paper
Pearl Paper
Vellum
Matboard
Poster Board
Copy Paper
Glossy/Matte Photo Paper
Alright, now are you ready to start crafting?! Learn how to make a Pumpkin Spice Latte Gift Card Holder for a friend or a Gold Star Gift Tag for your favorite teacher below!
What You'll Need
Pumpkin Spice Latte Gift Card Holder
Foil Transfer Kit - Bold Tip (this one has 3 lines on it)
Emerald Foil Transfer Sheet + Tape from the Cricut Jewel Sampler
Light & Dark Orange Cardstock
Glue
Gold Star Gift Tag
Foil Transfer Kit - Medium Tip (this one has 2 lines on it)
Gold Foil Transfer Sheet + Tape
Gold Foil Cardstock
How To
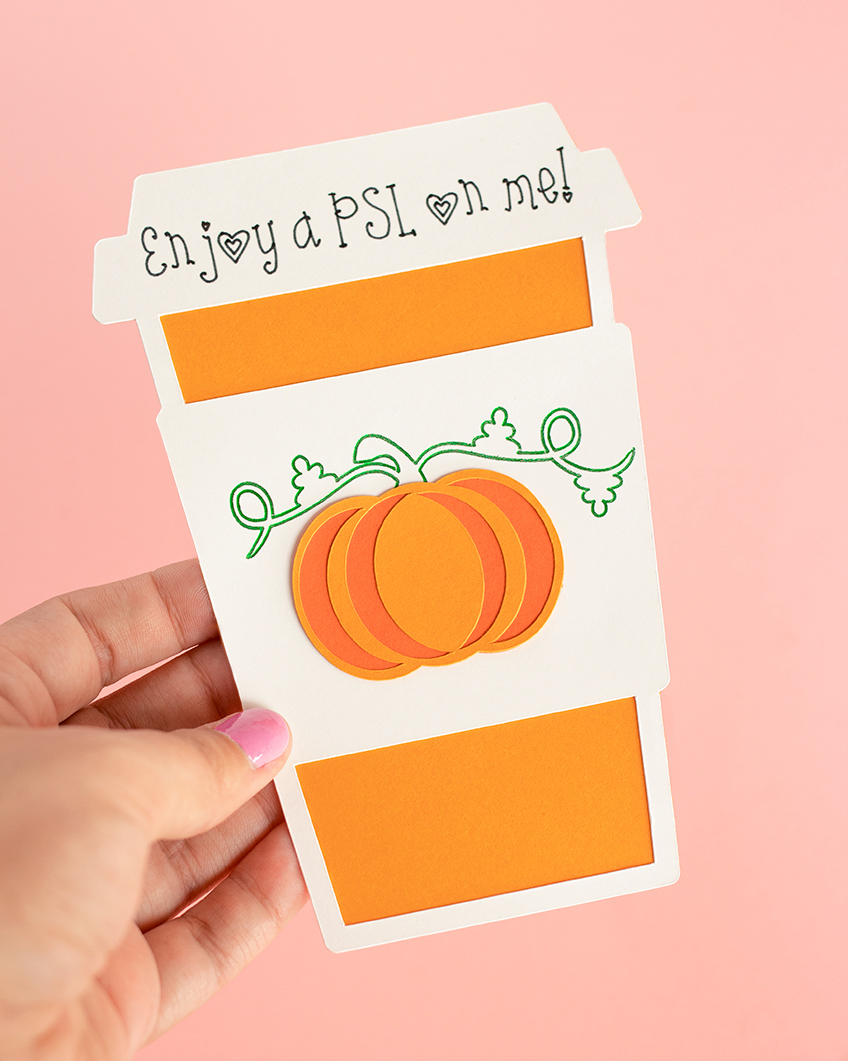
Pumpkin Spice Latte Gift Card Holder
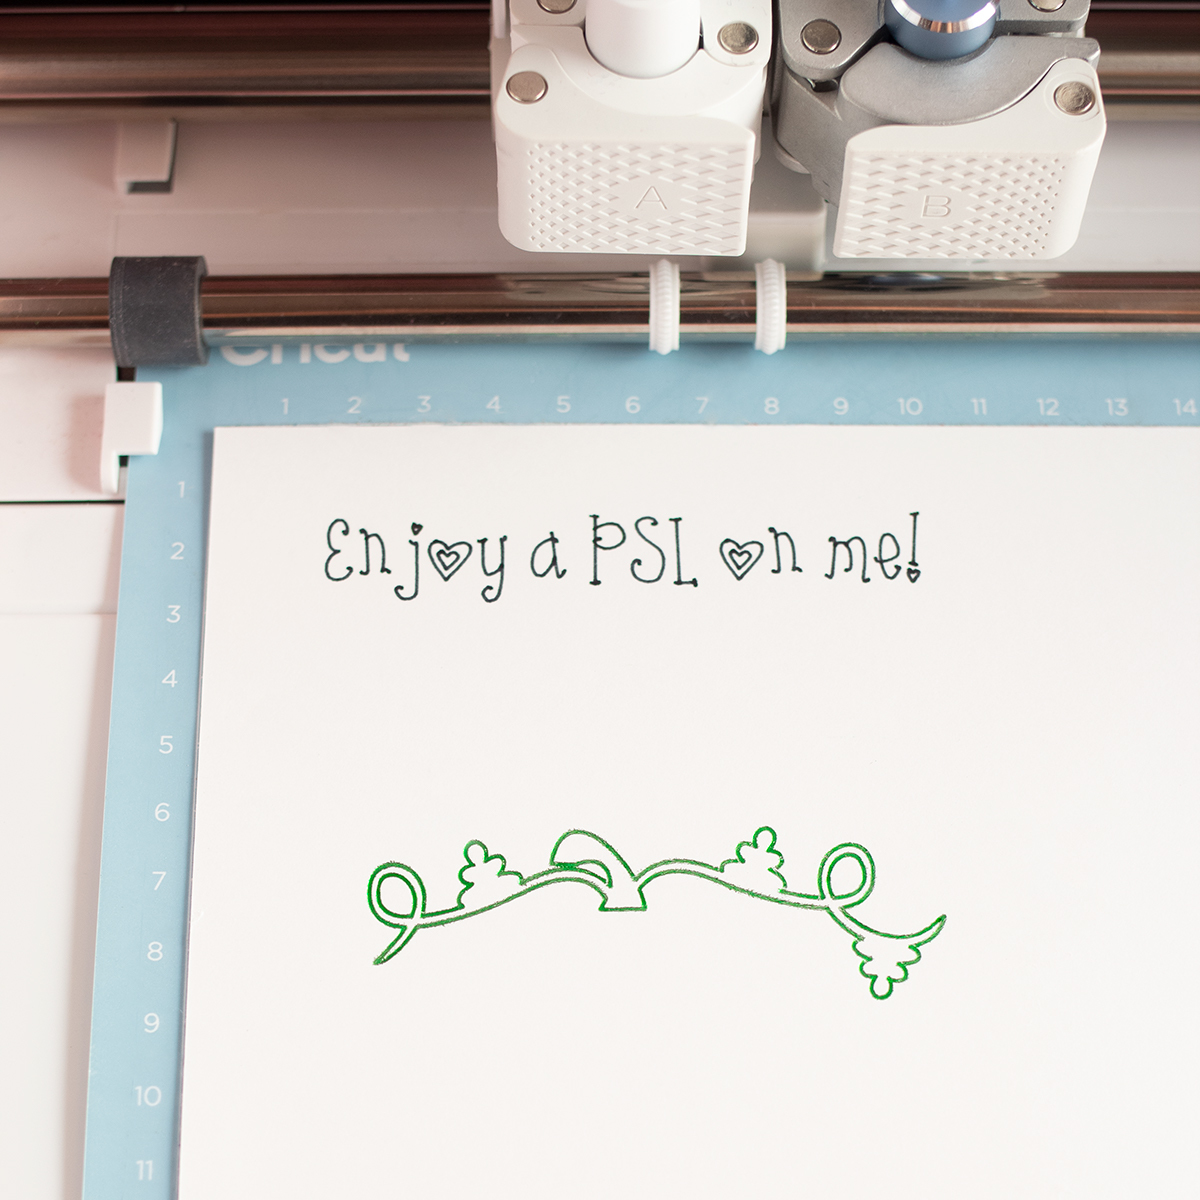
Step 1) Open the Design Space file linked above and follow the prompts on your screen to make the project (be sure to use the bold foil transfer tip for this project)! Your machine will begin by using the pen to write the words on your project.
Step 2) When prompted to tape on the foil, make sure that you tape it on all four sides so that it is smooth on your base material. The tape should not cover any part of the design area (see example below). I also cut my foil so that it fit exactly where I wanted it to.
Step 3) Allow your Maker to finish cutting all of the pieces, then start assembling! For the orange rectangle, add glue only to the sides and bottom (not the top) and attach it to the back of your gift card holder. That way you can slide a gift card inside! See images below for reference: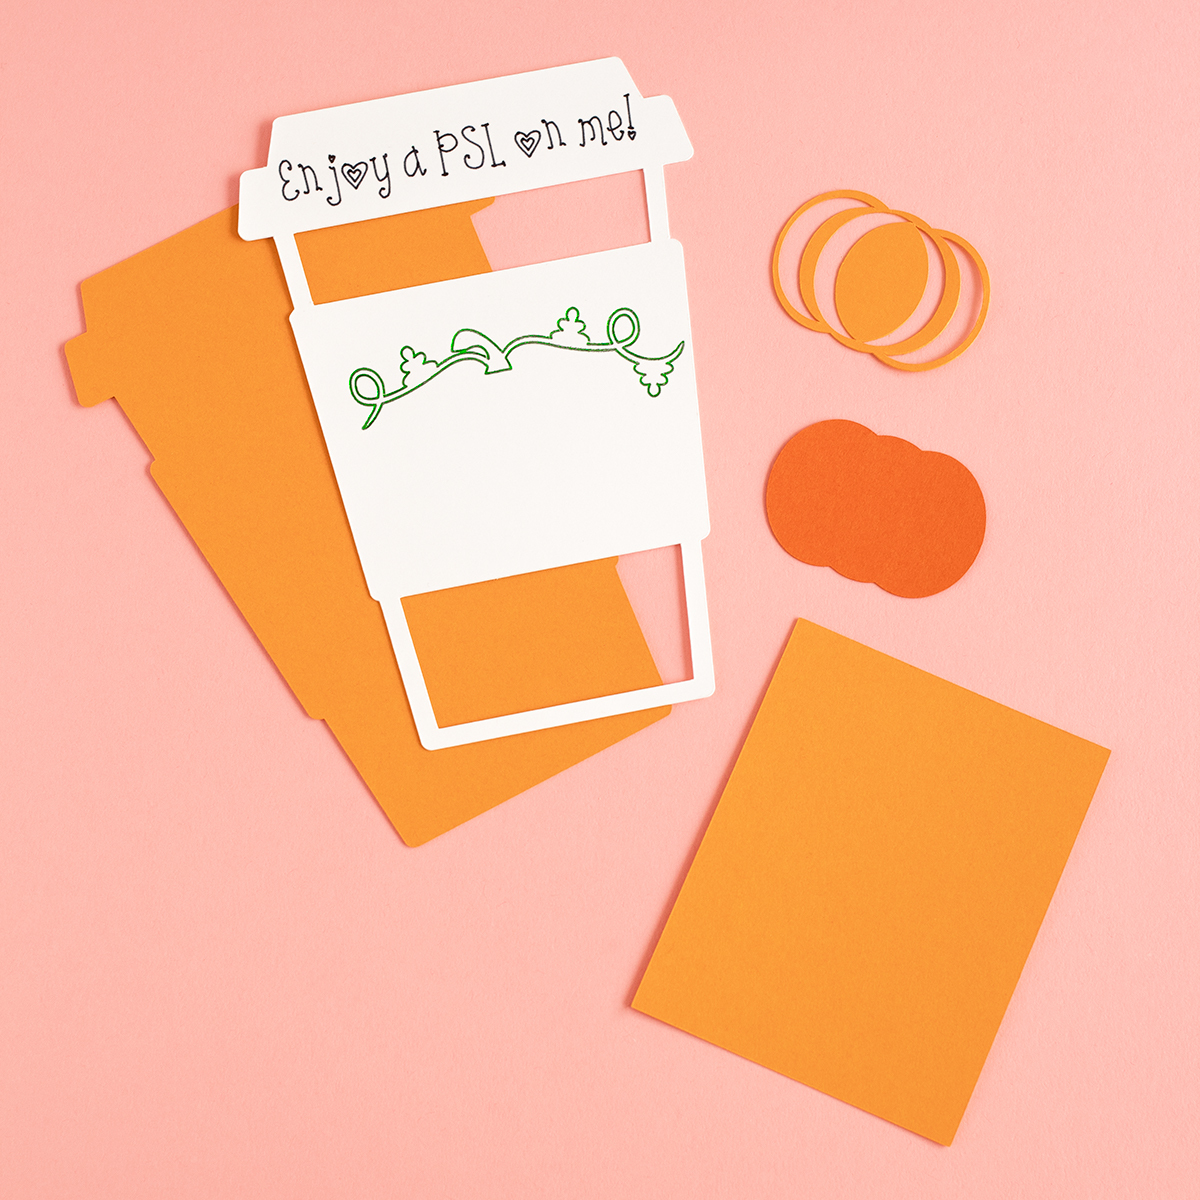
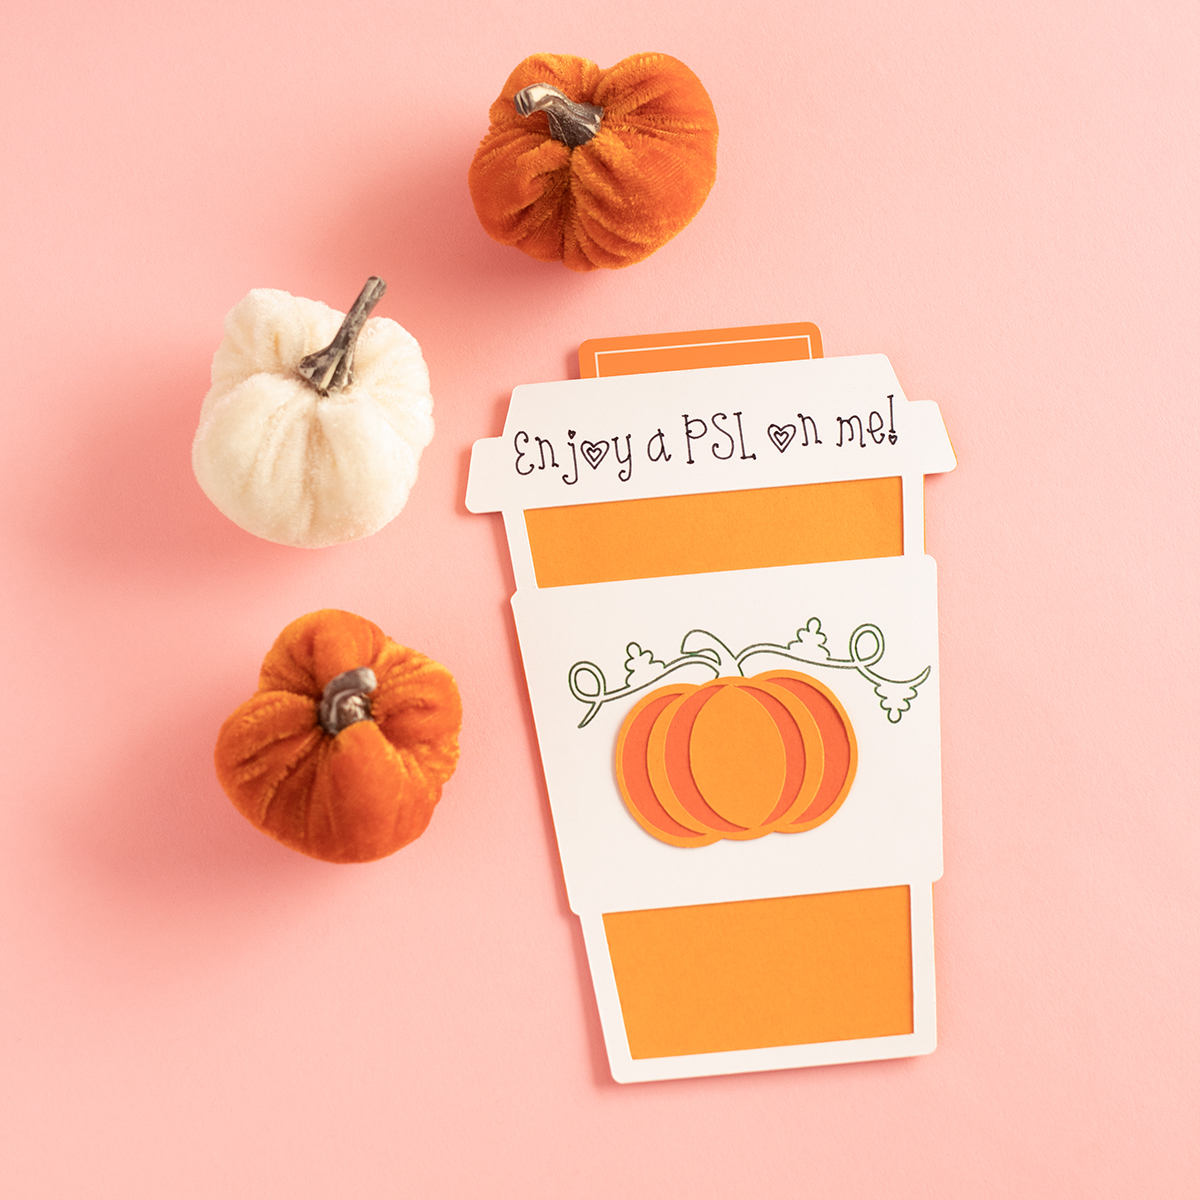
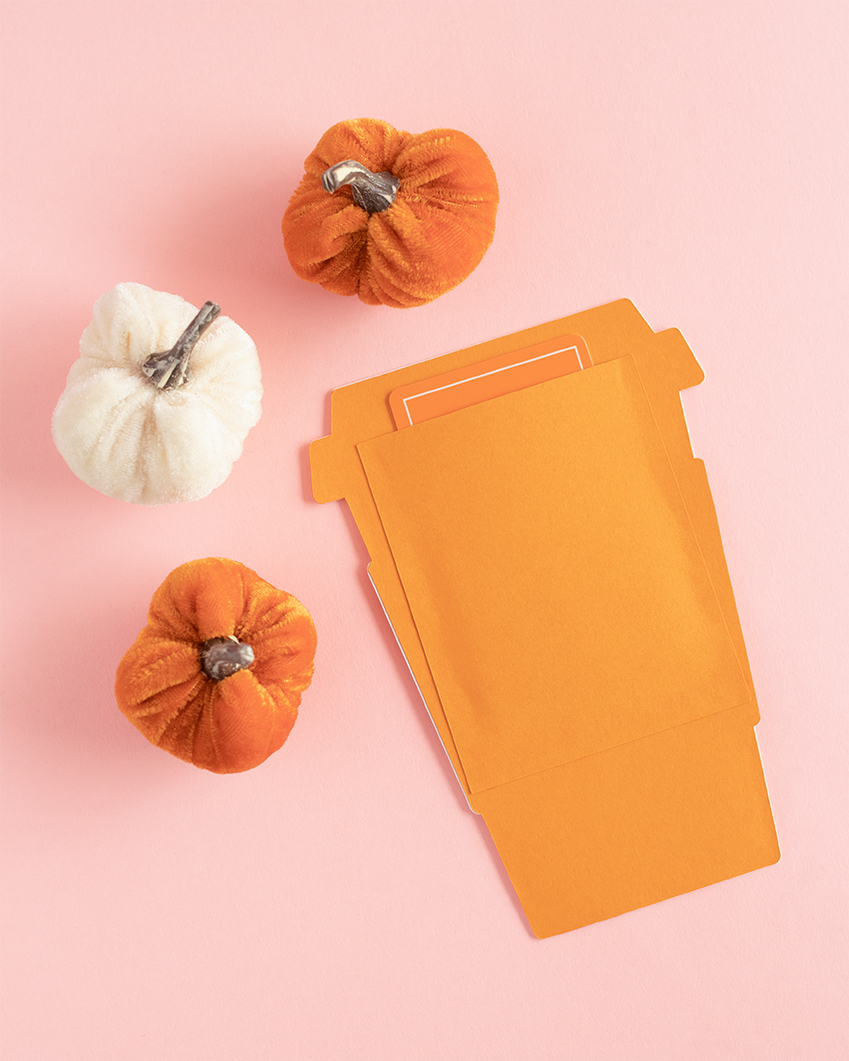
And that's it! Spread a little kindness and gift a PSL to someone special!
Gold Star Gift Tag
Step 1) Open the Design Space file linked above and follow the prompts on your screen. Be sure to use the medium foil transfer tip for this project. Just like the project above, when prompted to tape on the foil, make sure that you tape it on all four sides so that it is smooth on your base material. The tape should not cover any part of the design area. I also cut my foil so that it fit exactly where I wanted it to. For this project, make sure that your gold cardstock has the gold part facing down so that the gold foiling ends up on the white backing.
Step 2) Once your foil has been transferred, follow prompts for your machine to cut out your gift tag. Once your gift tag is cut, it's ready to be added to a gift!


Super easy, right?! What are some projects you plan to make with the new Foil Transfer System?


Comments: