


Cricut Maker Q&A + A DIY Locket Card
This is a sponsored post written by me on behalf of Cricut. All opinions are 100% mine.
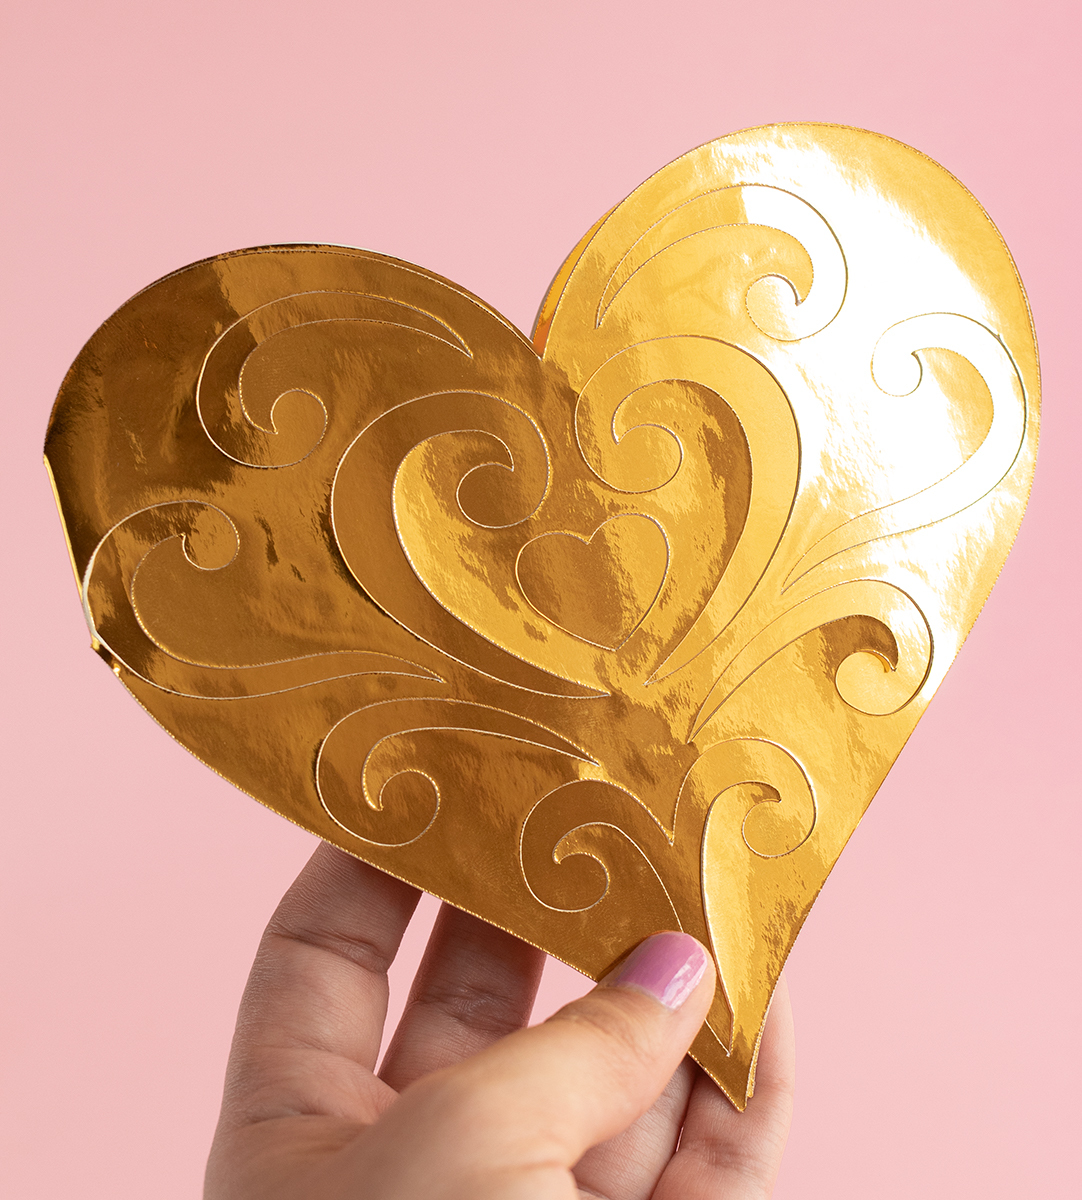
My husband recently bought me a locket necklace and it was major inspiration for this DIY Locket Card I made with my Cricut Maker. This is such a special card to give for an anniversary, birthday, wedding, Mother’s Day - you get the idea.
But before we get into the DIY, I’m also answering some questions about my Cricut Maker in case you’ve been on the fence about getting one. And if you want even more information about the Maker, be sure to check out my Cricut Maker Questions Answered post here!
Alright now, let’s get to it:
What Surprised You About Your Cricut Maker?
What surprised me the most about my Maker was the wide range of materials that I could cut with it. Sure, I had heard that the Maker could cut a lot of materials but it wasn’t until I started actually using it and experimenting with it that I realized how impressive it really was. For example, basswood and chipboard were both materials that I wanted to work with more but I never really did because they were heavier duty than what I was used to. The Cricut Maker made working with these materials a whole lot easier since it did all of the intricate cutting for me! In the next section below I’m talking about 3 of my favorite and most used Cricut materials - and notice how they all vary when it comes to texture, thickness, and durability!
What Are Your Favorite Cricut Maker Materials?
The Cricut Maker can cut over 300 materials, and while I haven’t even come close to cutting that many materials yet with my machine, I have experimented with a lot and let me tell ya - I’m impressed every time I try a new one.
These are some of my favorite materials to use with my Maker:
Vinyl - The day you start working with vinyl, your crafting world changes for the better. Cricut sells both removable and permanent vinyl which are both great for so many different projects. For example, I love using permanent vinyl on crafts such as mugs and coasters and removable vinyl on nail decals and wall decor.
Felt - If you can never seem to cut felt as smoothly as you’d like, give the Cricut Maker a try. I have definitely struggled to cut intricate patterns out of felt in the past but now it’s a go to material for my machine. You can make stuffed animals, decor pieces, and so many more fun projects with felt and your Maker.
Chipboard - I love how strong and durable Cricut’s chipboard is for more heavy duty crafts. It’s a great material for making puzzles, holiday signs, banners...the list goes on. If you haven’t worked with chipboard yet, it is definitely one to try!
What Do You Wish You Knew Before Your First Cricut Maker Project?
I don’t think I fully understood that my life as a crafter would totally change after I got my Cricut Maker. Ok, you might think that sounds a bit dramatic but I can’t tell you how many projects I’ve envisioned and then avoided because of all the intricate cutting that would be involved. (The locket card that I’m sharing below is an example of this.) I would often think, will anyone really take the time to make this? I’m so passionate about the projects that I make and I want people to feel like they can make them, too. And when I got my Maker, those project ideas and visions that I had became a whole lot easier to access, make, and share with all of you.
Keep on reading to learn how to make your own DIY Locket Card!
What You'll Need
LightGrip Machine Mat, 12" x 12"
Picture of Choice
Glue
Gold Foil Cardstock
How To
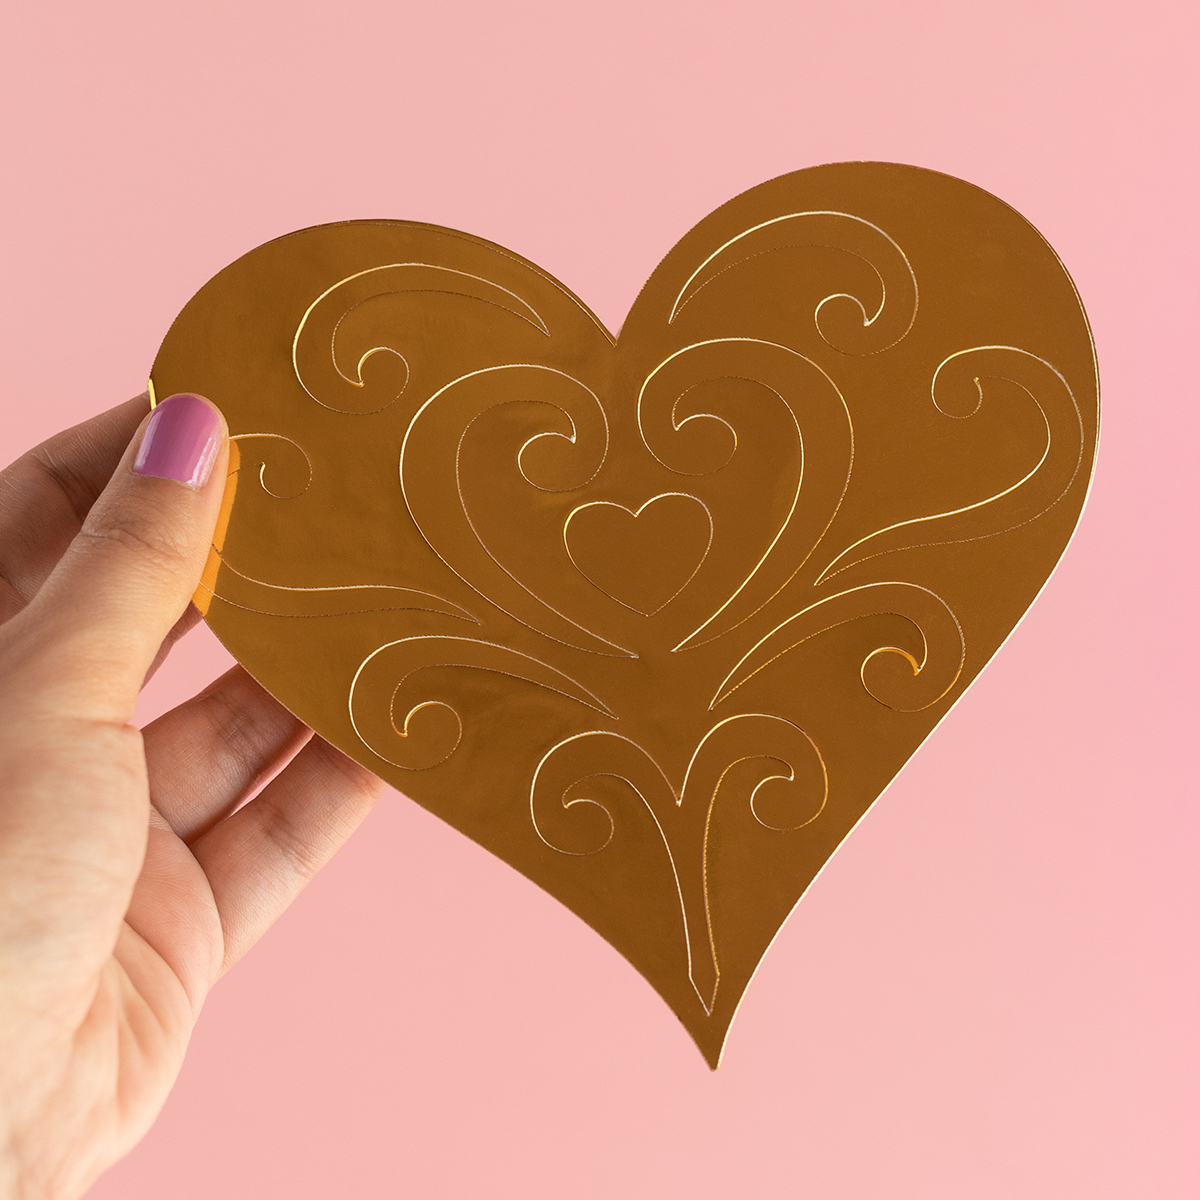
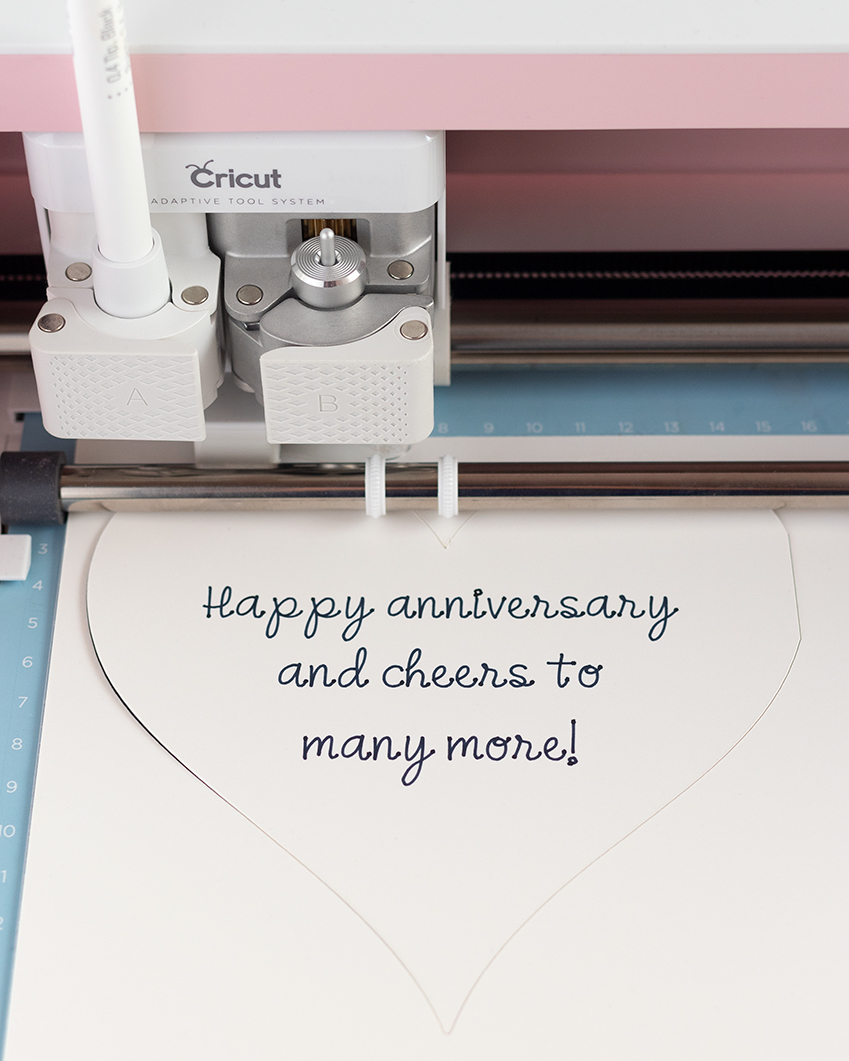
Step 1) Open the Design Space file linked above and cut out all the shapes. Please note that the gold foil should be face up during cutting for all of them except for the white heart with text - for that one the gold foil should be face down on the mat so that the writing is on the white backing. You can also edit the text but make sure it won't get cut off by the heart frame that will go over it!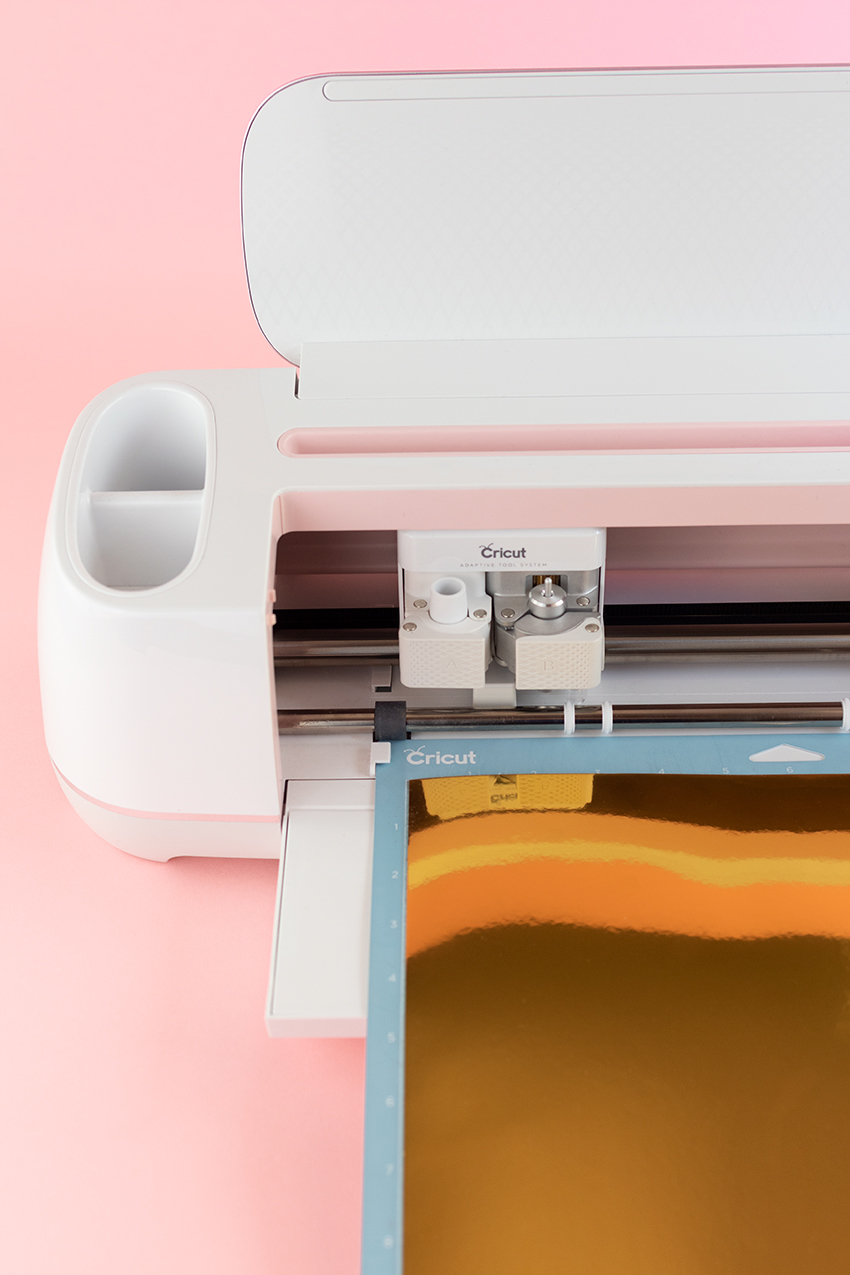
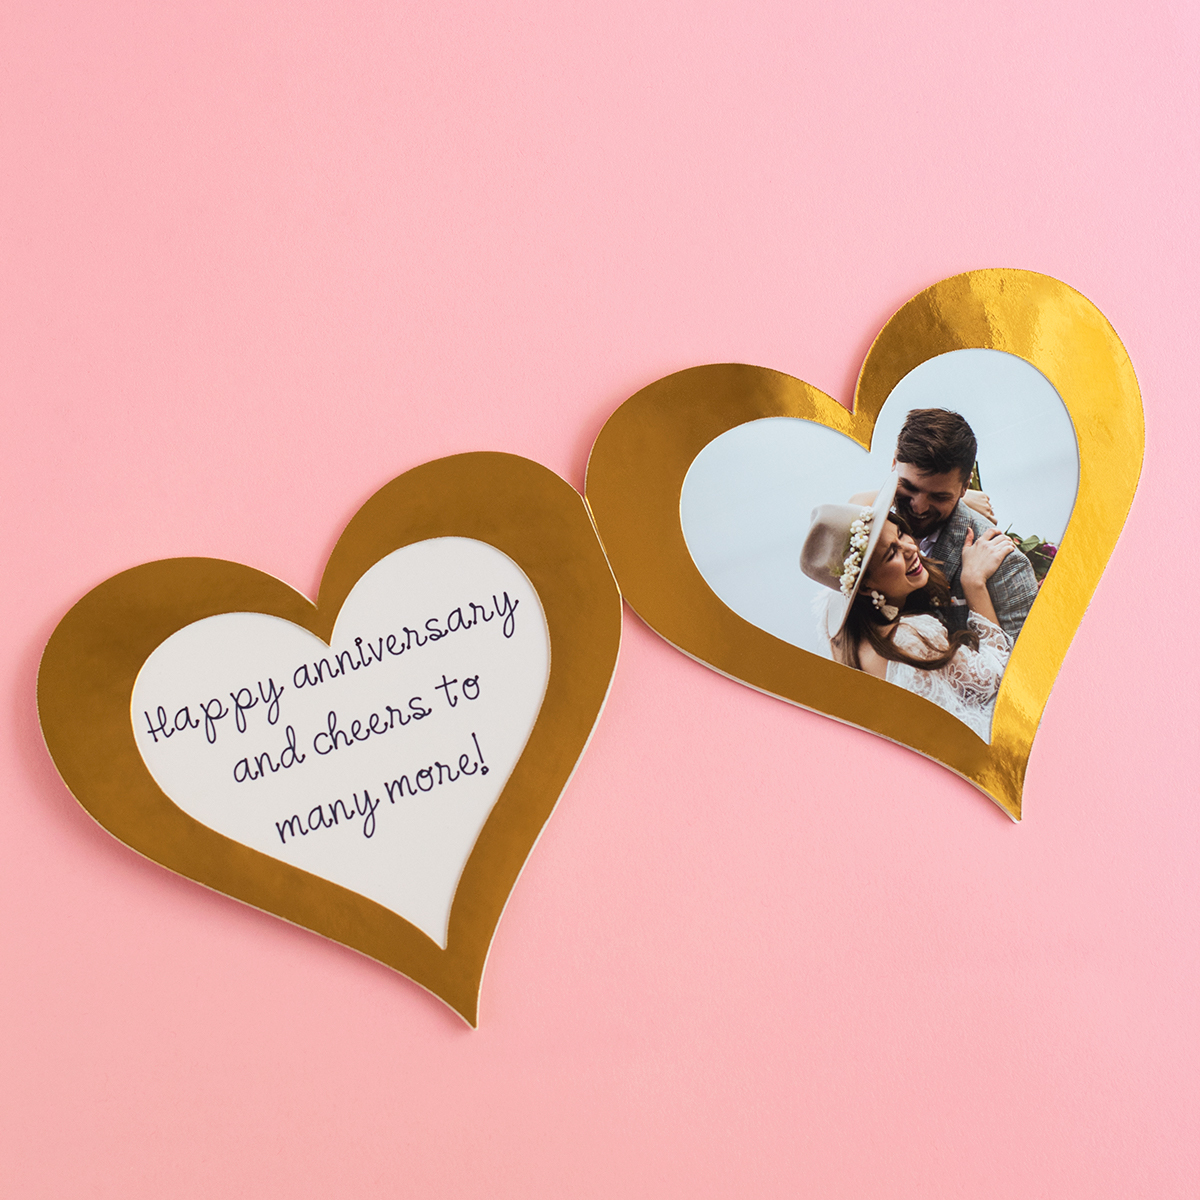
Step 2) Cut out the picture that you want to use so that it fits in the right heart frame. Glue it to the heart frame and then glue that piece onto the right side of the card base like in the image below.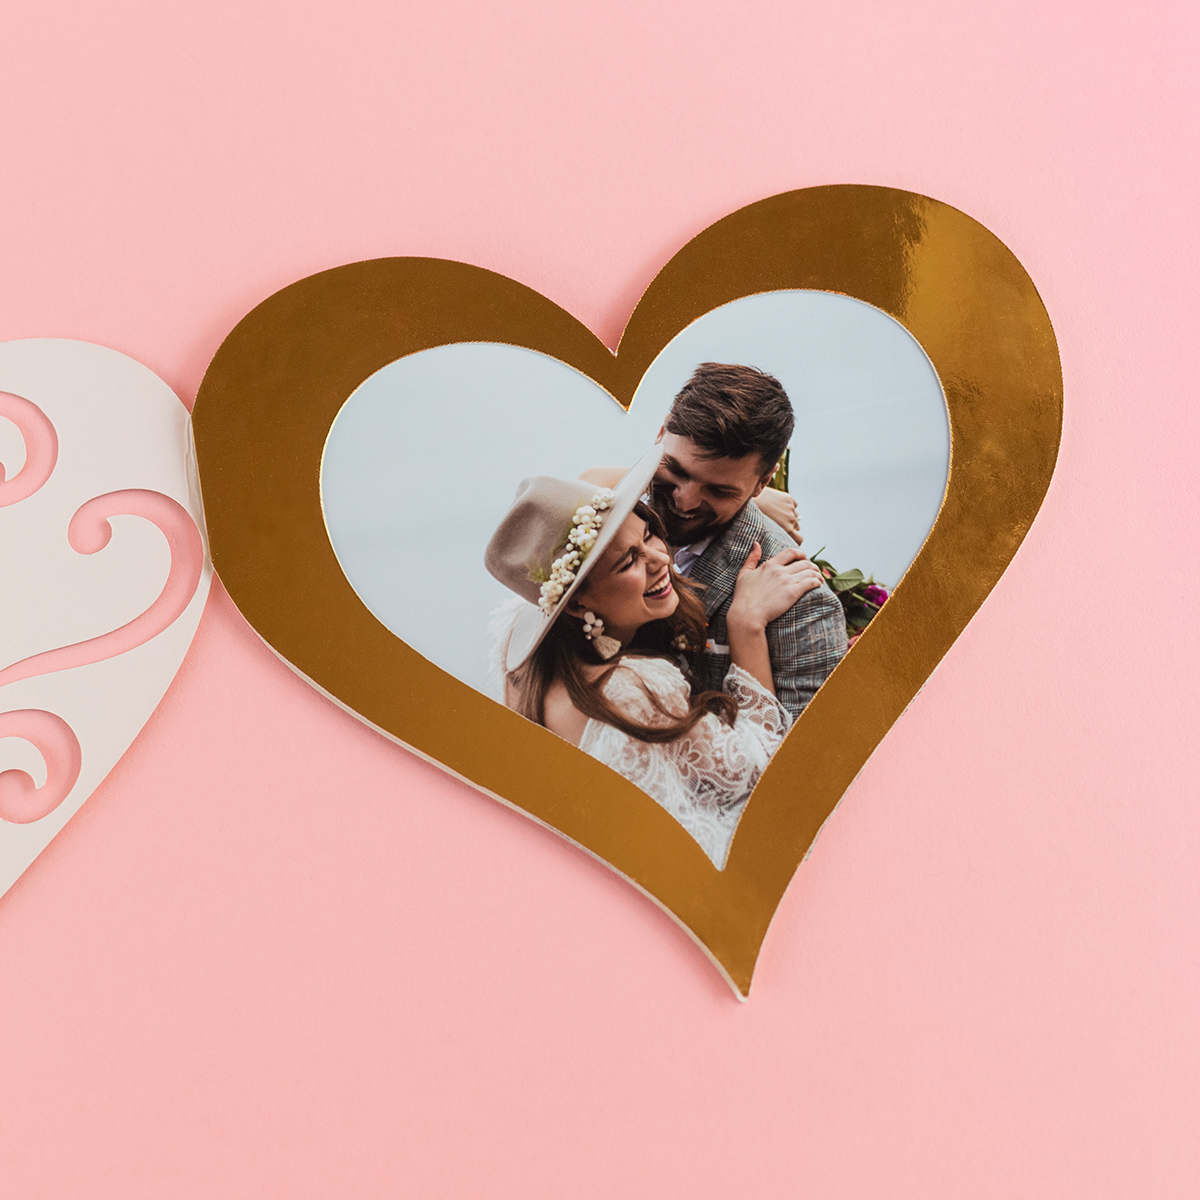
Step 3) Glue the heart with the text and the left heart frame together and then glue that piece onto the left side of the card base like in the image below. Allow to dry completely.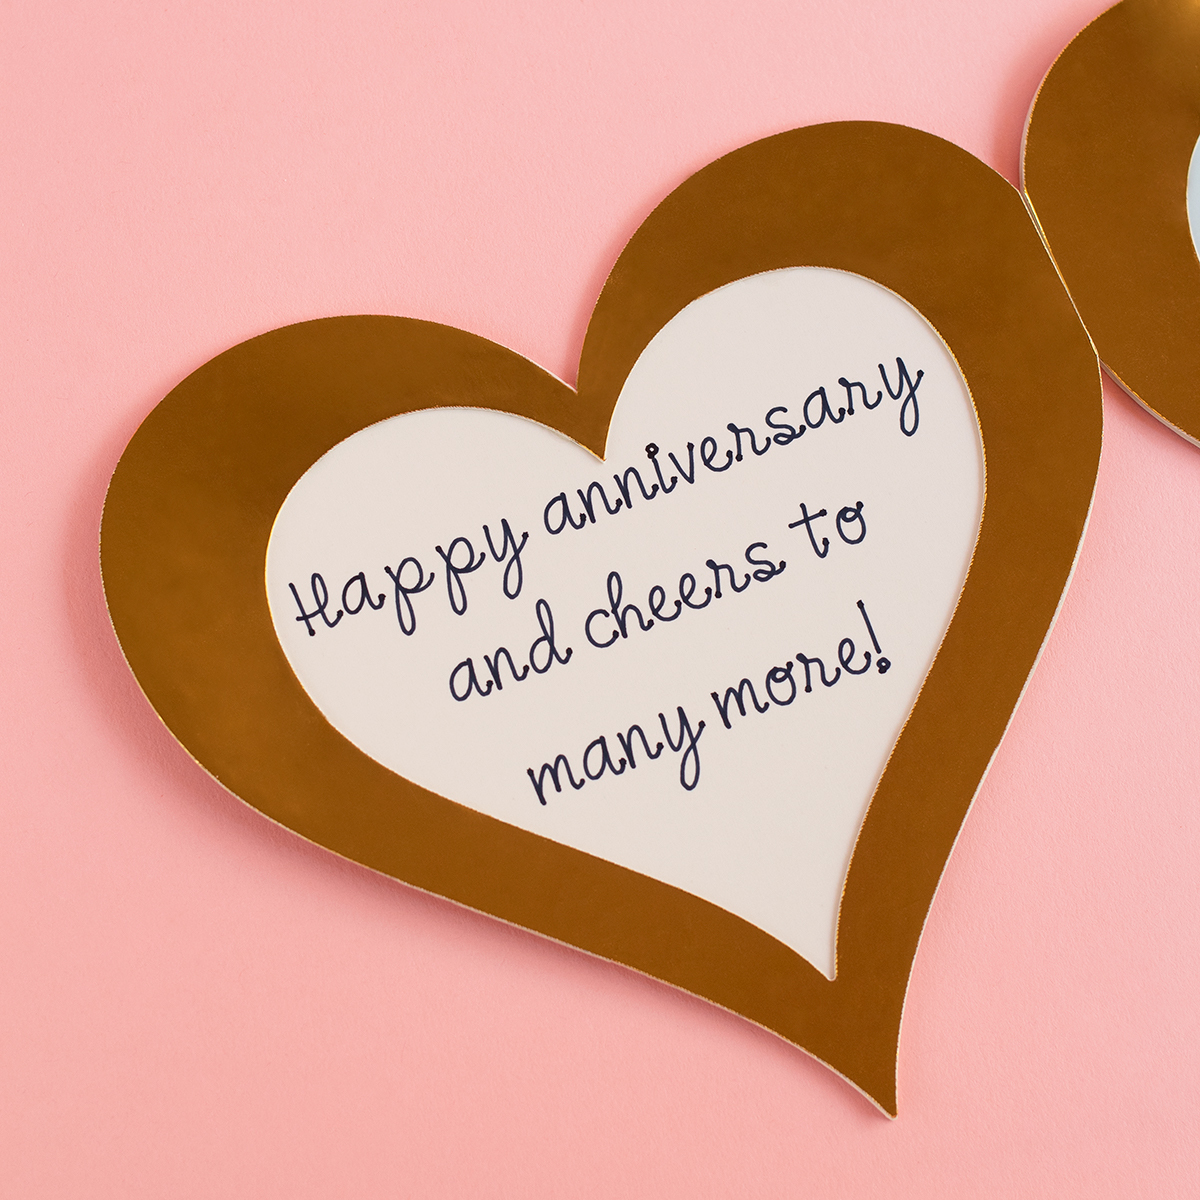
And that's all there is to it! Happy making everybody!


Comments: