


DIY Faux Stained Glass Present Ornament
This is a sponsored post written by me on behalf of Aleene’s. All opinions are my own.

Making ornaments is one of my favorite holiday traditions, so this year I partnered with Aleene’s to make a Faux Stained Glass Present Ornament for our tree! I used plexiglass with red and green stained glass paint for this project and I can’t get over how much it looks like real stained glass. I really wanted my ornament to look as authentic as possible so I also sprayed a coat of Aleene’s Gloss Acrylic Sealer on top for extra protection and a glossy shine. I have so many ideas for more faux stained glass projects in the future, but if you’re interested in giving this one a try, keep on reading!
What You'll Need
Aleene’s Acrylic Sealer - Gloss Finish
Adhesive Backed Lead Lines (Not Real Lead)
Stained Glass Paint in Red + Green
Paintbrush
Plexiglass Square
Craft Knife
Red Bow + Twine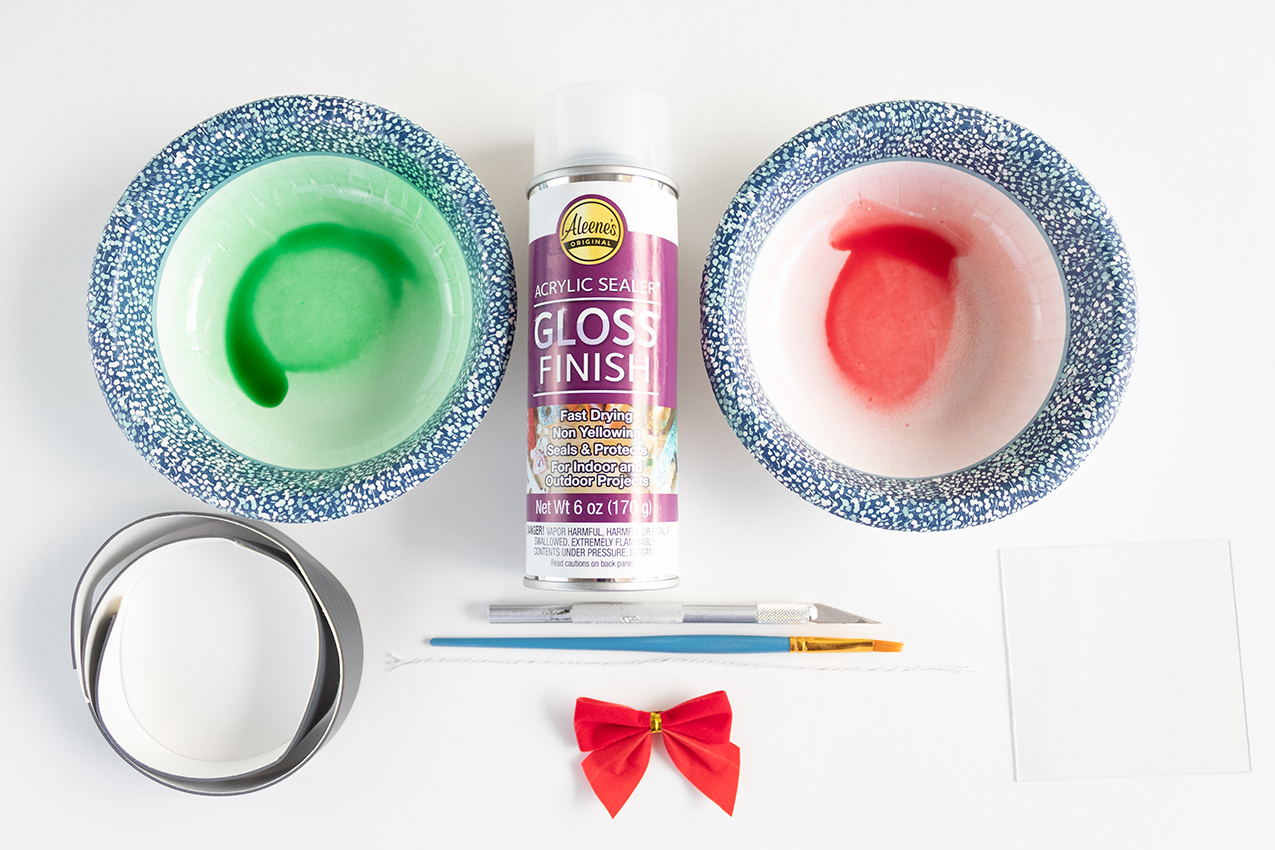
How To
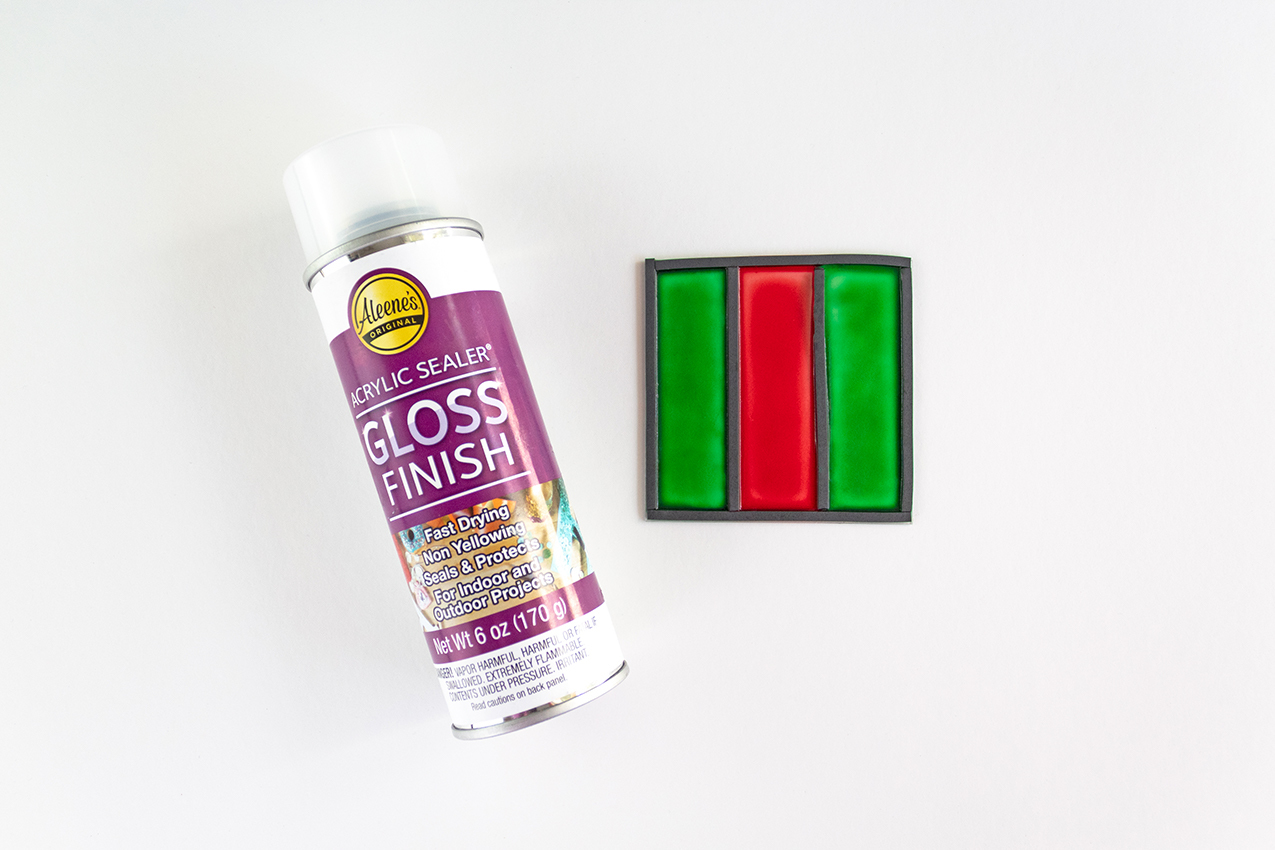
Step 1) Very carefully cut your lead lines with a craft knife and attach them to your plexiglass square so that they look like the image below. It’s important to make sure that the lead lines are on tight so that when it comes time to paint, there is no seeping or overlapping of colors. If any colors do seep through, just wipe it gently with a paper towel.

Step 2) Pour your stained glass paint into a bowl and use a paintbrush to carefully spread the colors across your ornament. When you’re done, make sure you allow the colors to dry completely.

Step 3) Add a coat of Aleene’s Acrylic Gloss Sealer to not only add a glossy finish to your ornament but to also help protect your paint.
Step 4) Attach your bow and twine on top of your present and your ornament is ready for the tree!


Comments: