Cricut Maker 3 - DIY Holiday Gift Card Holder
This is a sponsored post written by me on behalf of Cricut. All opinions are 100% my own.
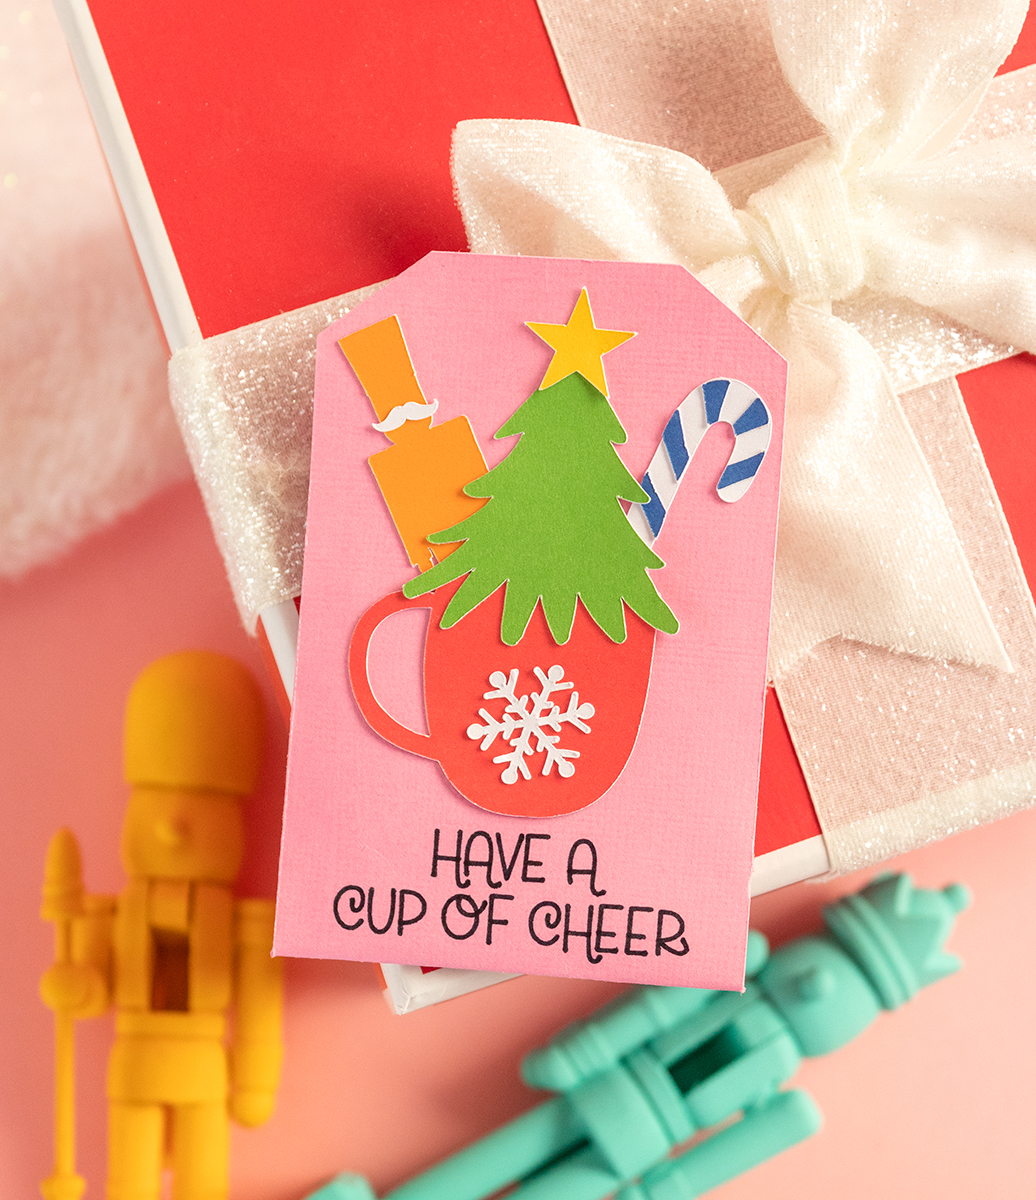
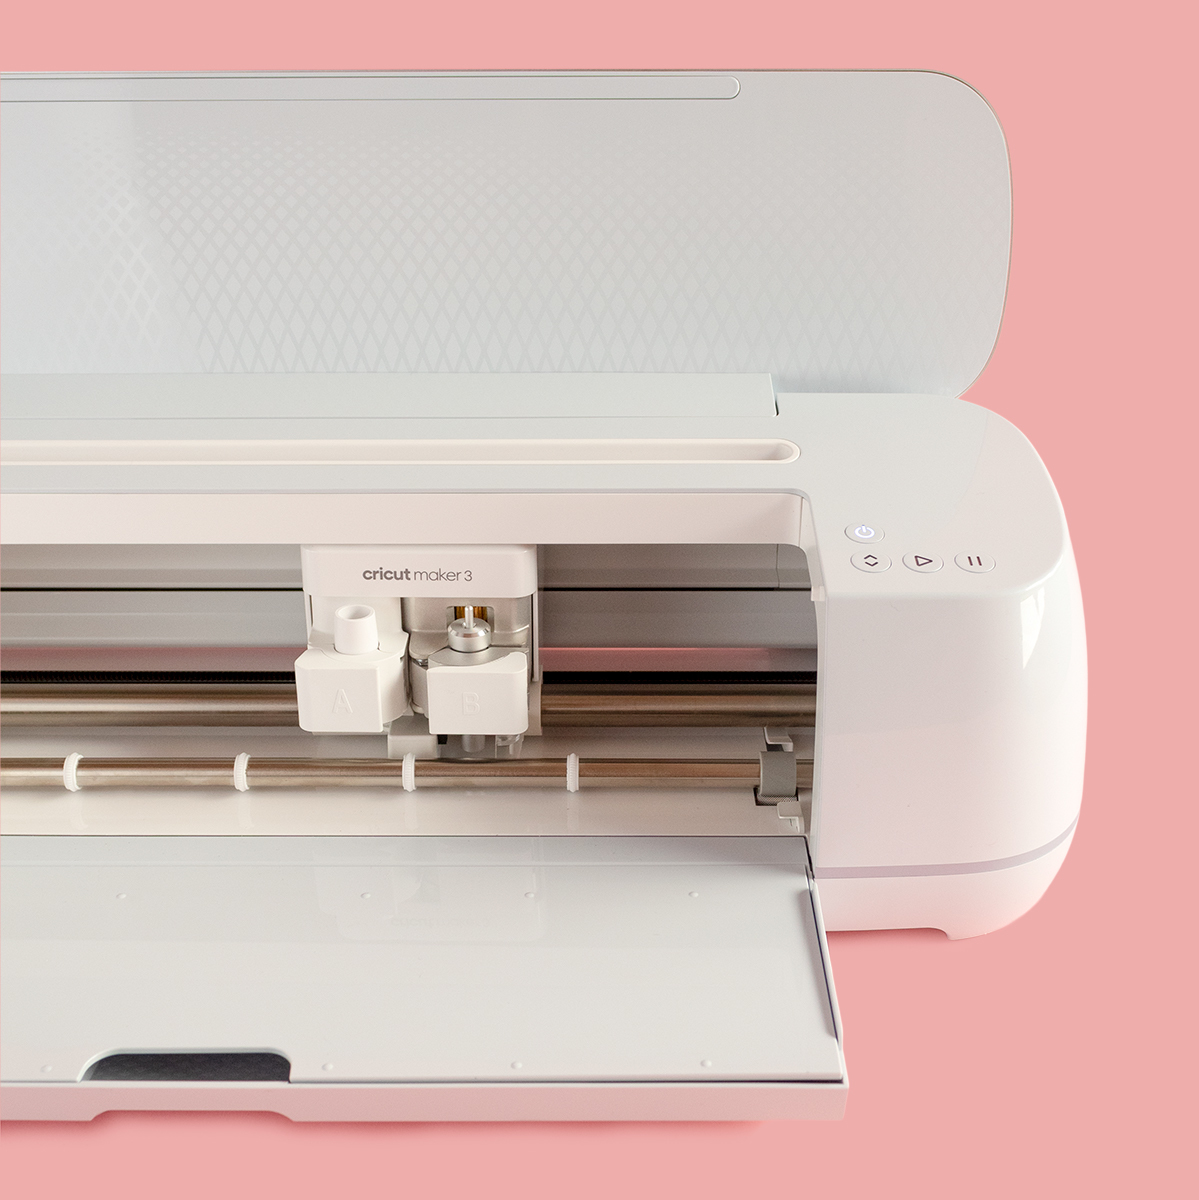
When I first got my Cricut Maker 3, I knew the FIRST thing I wanted to do was make a project using smart materials. If you don't already know, with the new Maker 3 you can cut smart materials such as iron on, vinyl, and sticker cardstock without a mat! Talk about a total game changer...
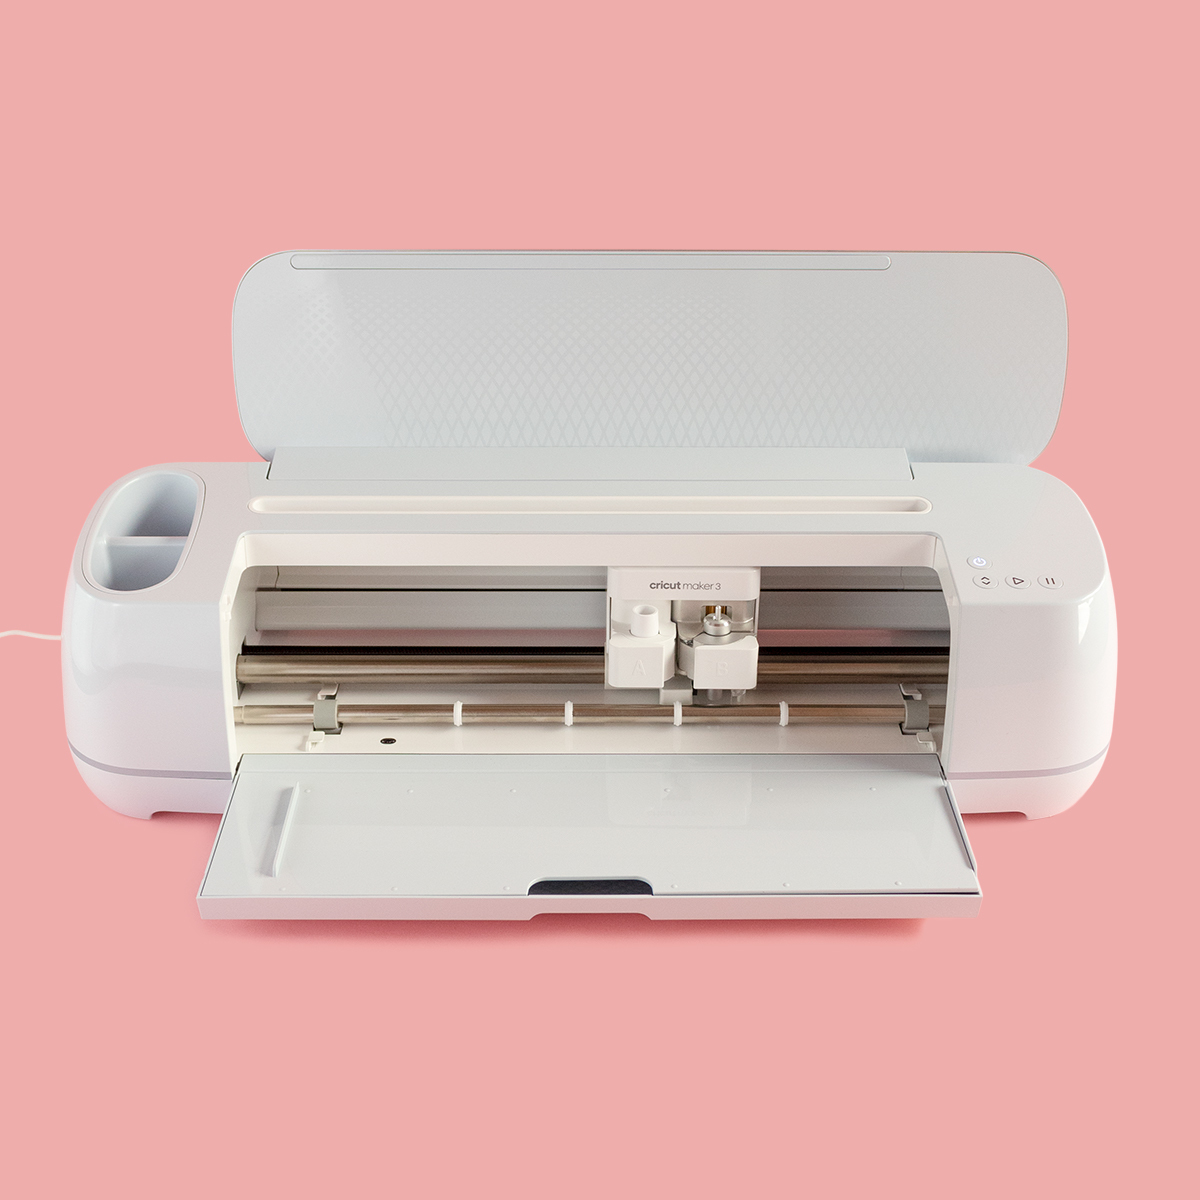
With the holidays coming up, I know I'll be gifting some gift cards to family and friends and what better way to make it more personal than with a homemade gift card holder. I used Smart Paper Sticker Cardstock for this project and loved how fast my Maker 3 was when cutting the project. Did you know the Maker 3 cuts 2X faster than the original Maker? You definitely notice the speed when it's cutting. I also love that all of the blades I used for my Maker, I can now use with my Maker 3, too.
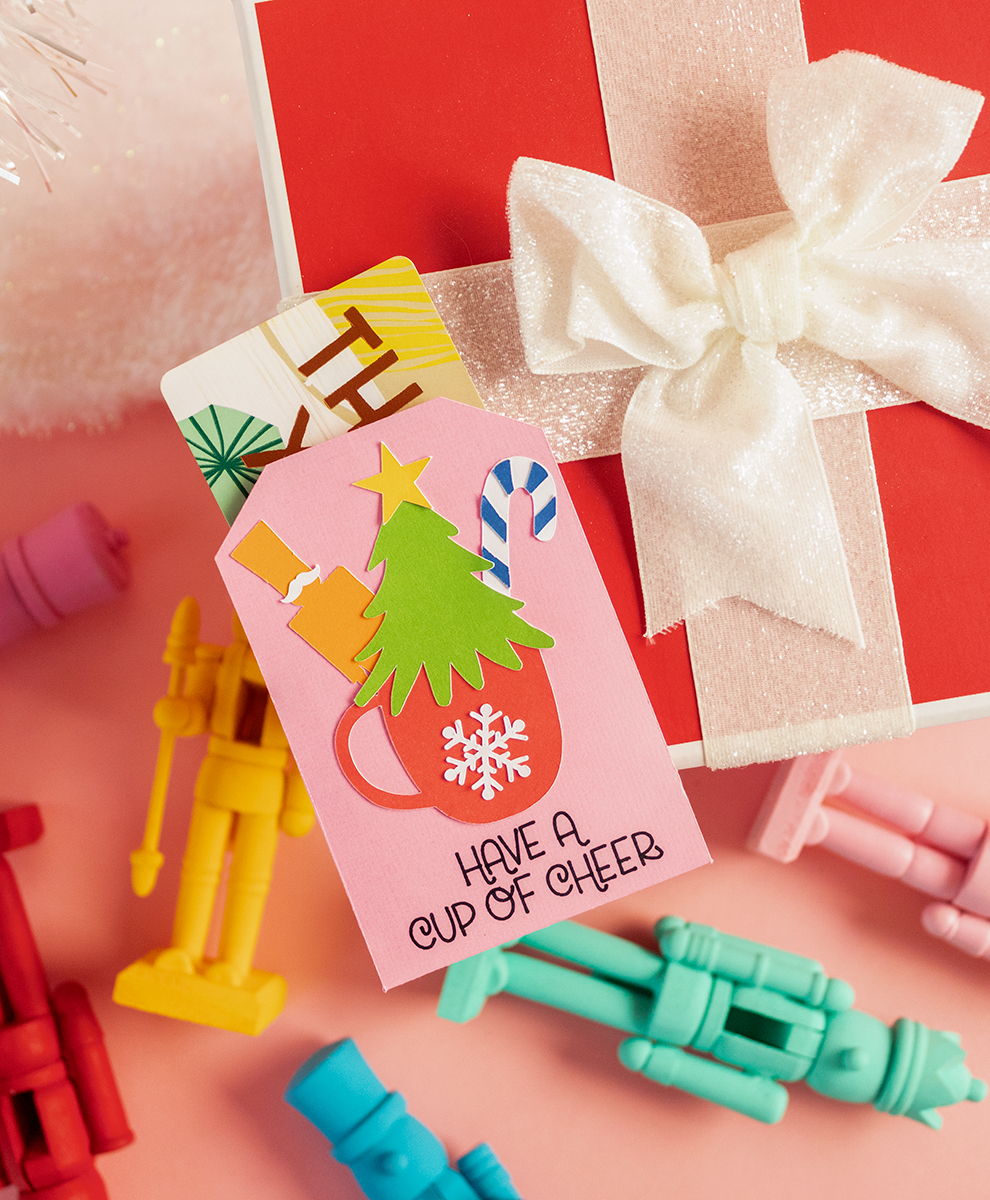
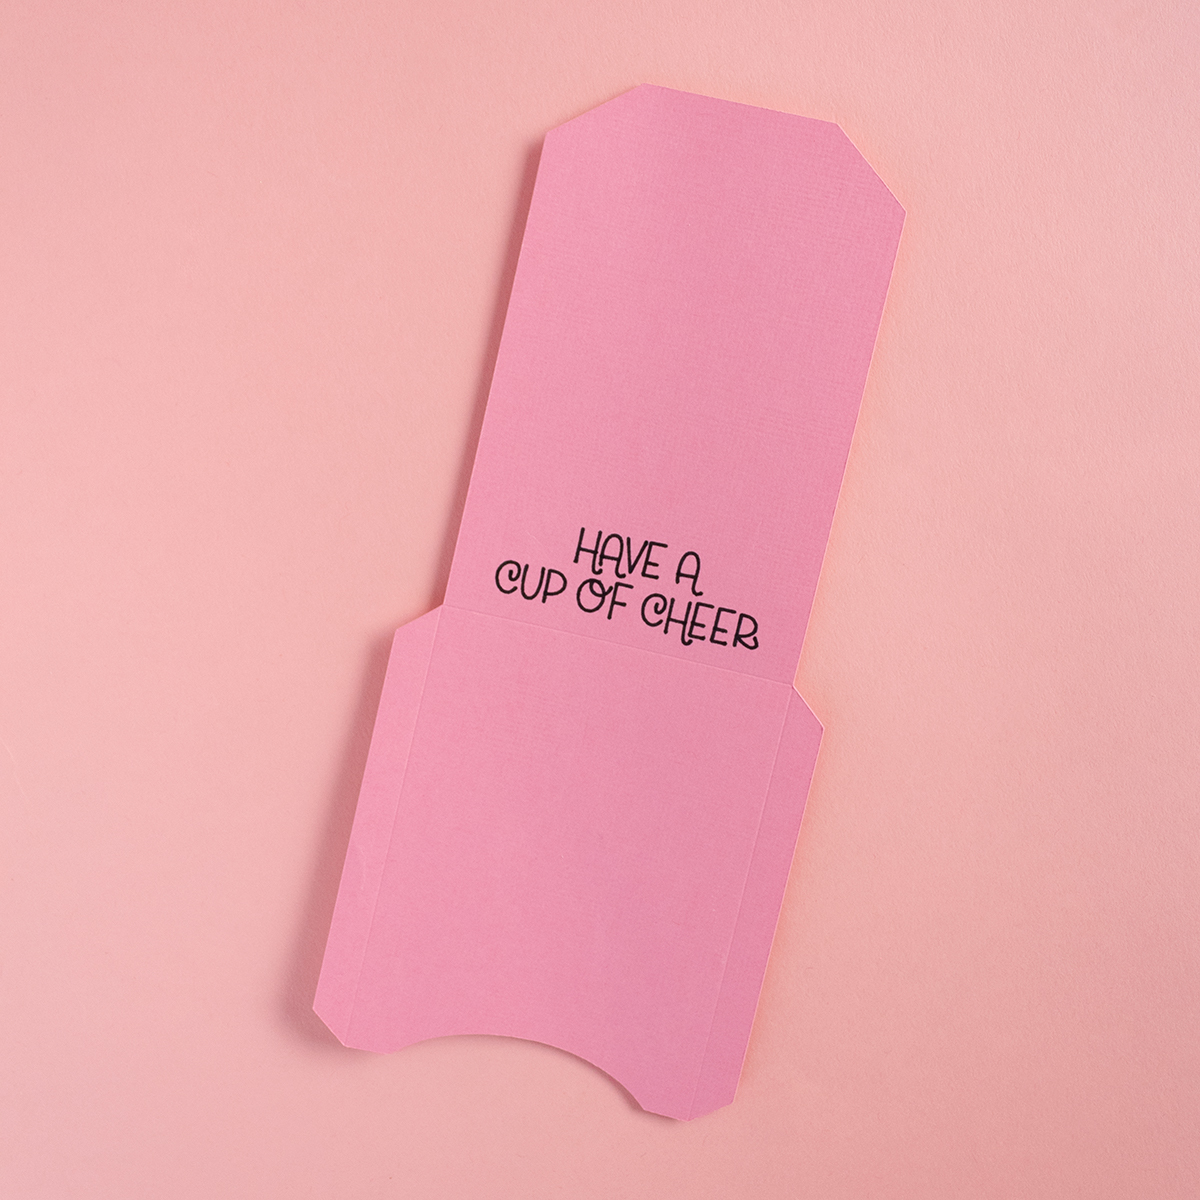
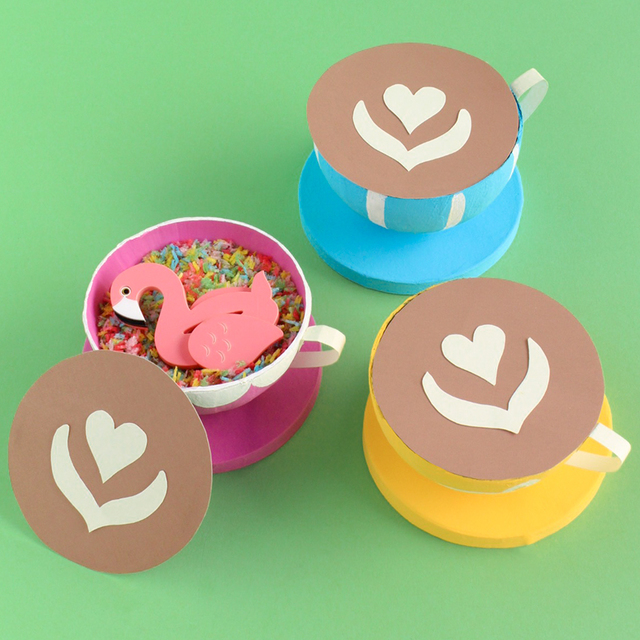
I decided to have my gift card holder say "have a cup of cheer" so that it would be perfect for gifting coffee shop gift cards. To learn how to make one too, keep on reading!
What You'll Need
Premium Fine-Point Blade + Housing
Scoring Wheel Tip + Drive Housing
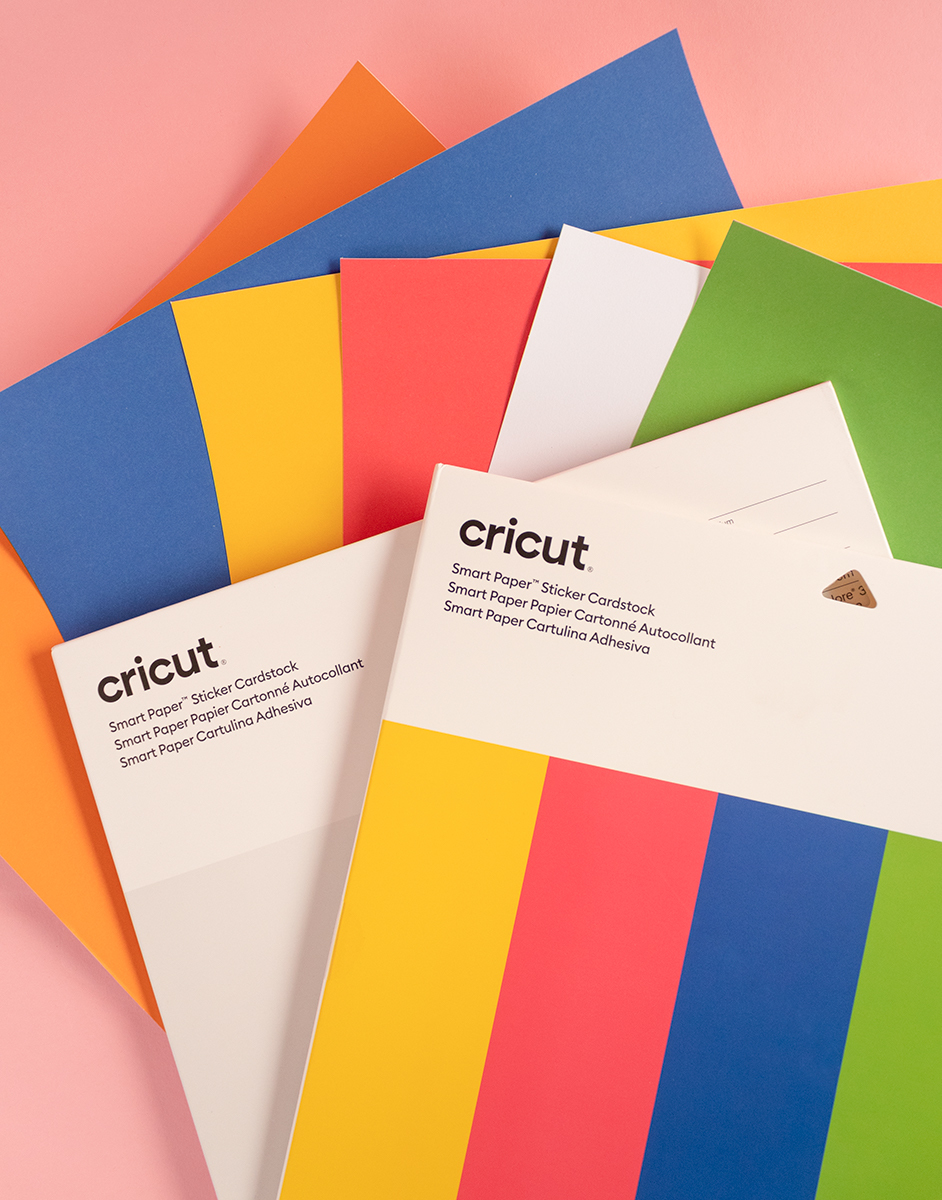
Cricut Smart Paper Sticker Cardstock (I used Bright Bow and White)
Regular Pink Cardstock
Glue
How To
Step 1) Gather all of your cardstock colors and open the gift card design space file linked above. Remember, when cutting smart materials with your Maker 3, you don't need a mat. Follow the prompts on your screen and cut out the project.
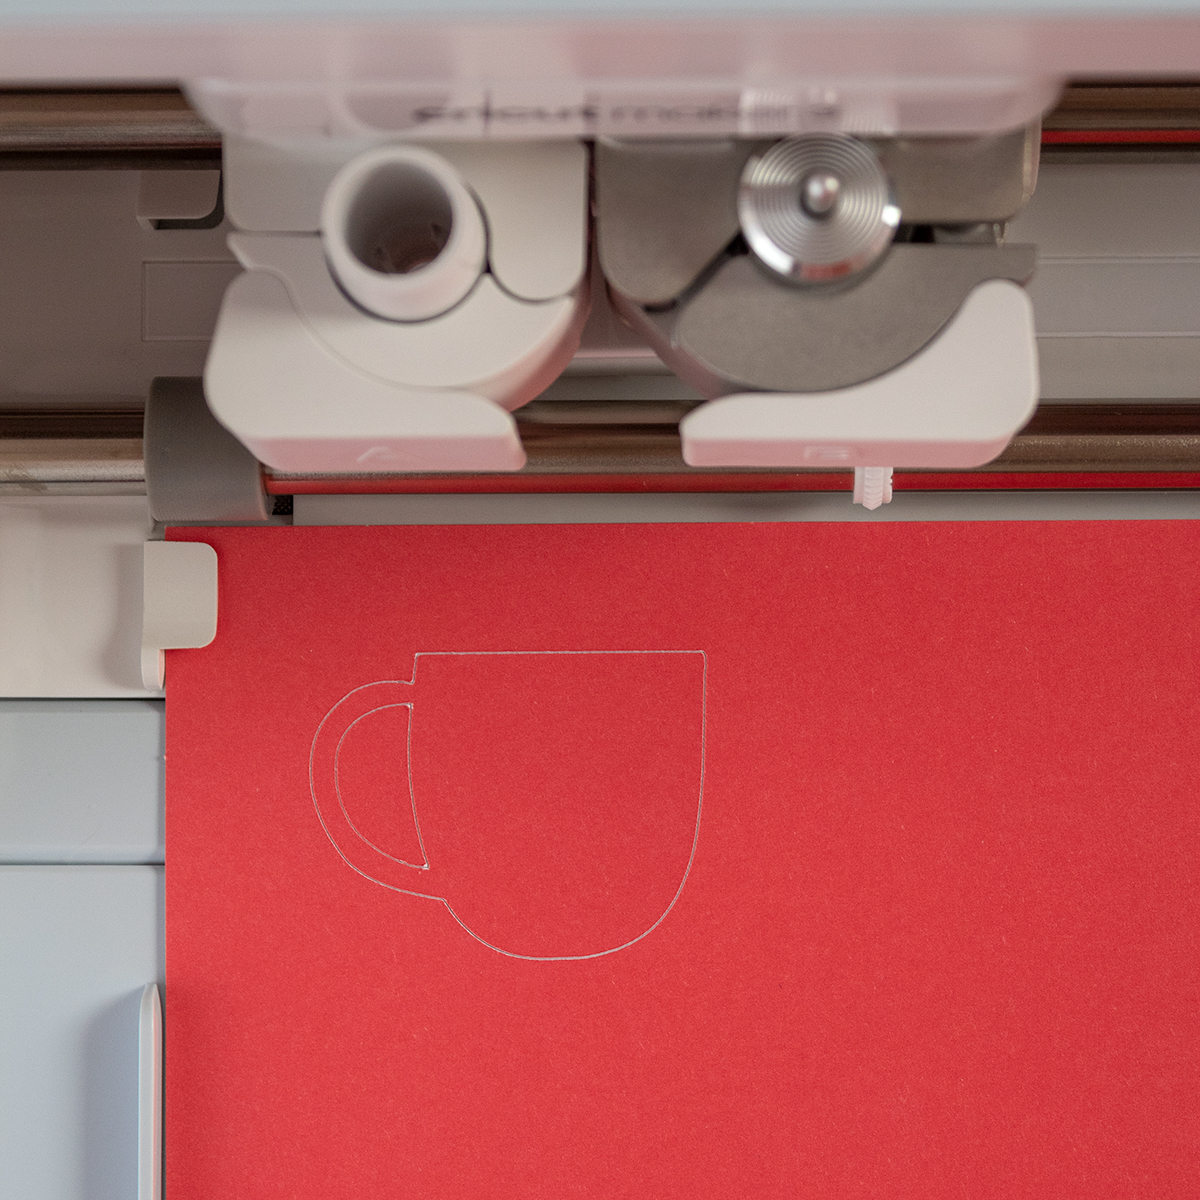
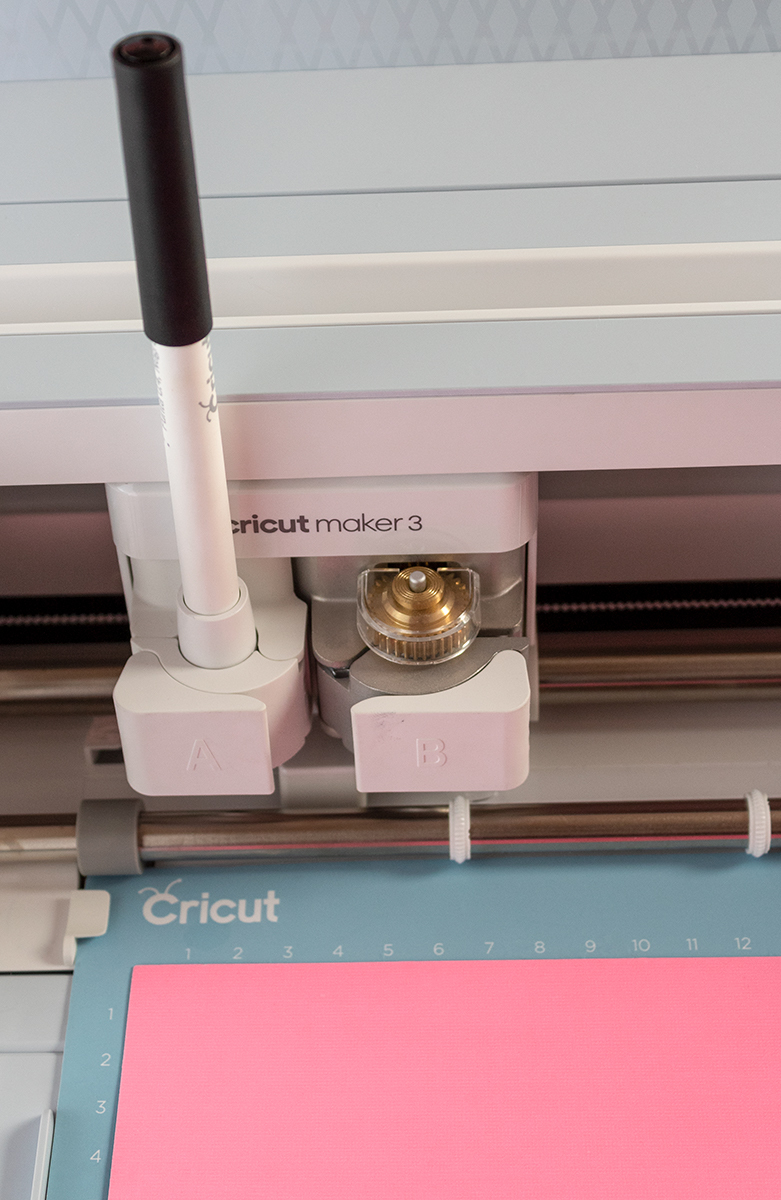
Step 2) Once all of your pieces are cut, fold your gift card holder at the creases and glue it so that it looks like the second image below.
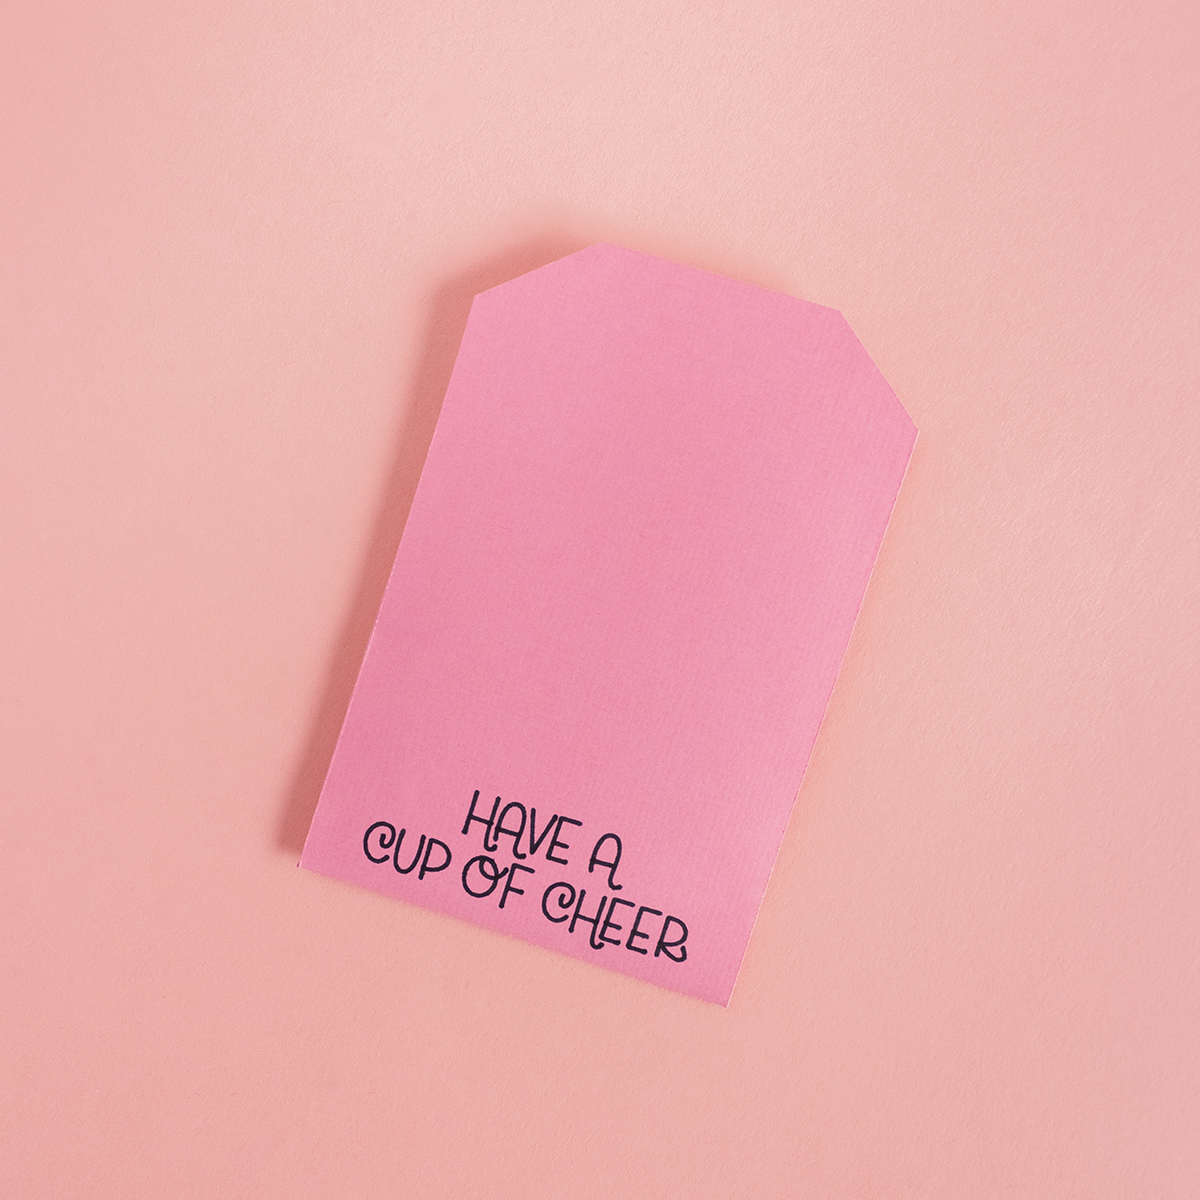
Step 3) One by one, layer your Smart Paper Sticker Cardstock pieces onto your gift card holder so that your finished result looks like this:
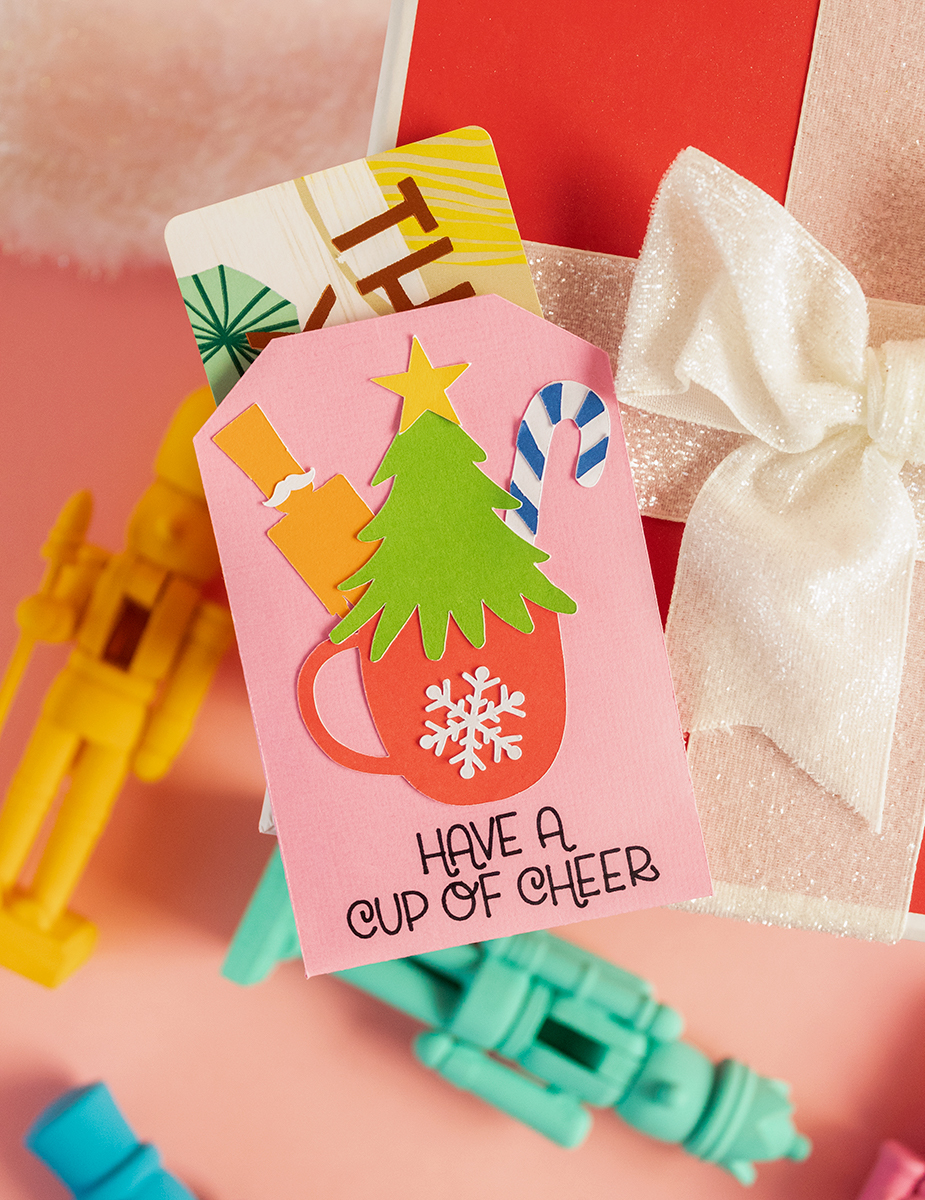
And that’s all there is to it! Gift a cup of cheer to someone special this holiday season in the cutest homemade gift card holder!






Comments: