DIY Holiday Cornhole Gift With The Cricut Maker
This is a sponsored post written by me on behalf of Cricut. All opinions are 100% mine.
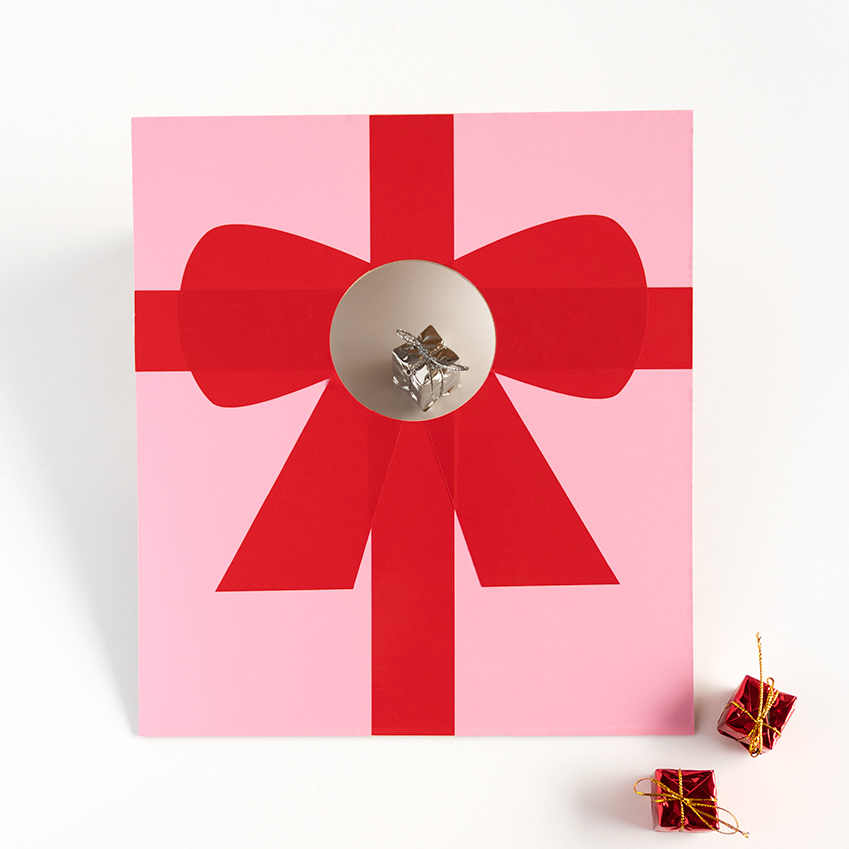
Is there anything more special than a handmade gift? Ever since I got my Cricut Maker, handmade gifts have really become my thing. Now don't get me wrong, I made plenty of gifts before - but MY GOODNESS does the Maker just make things easy...
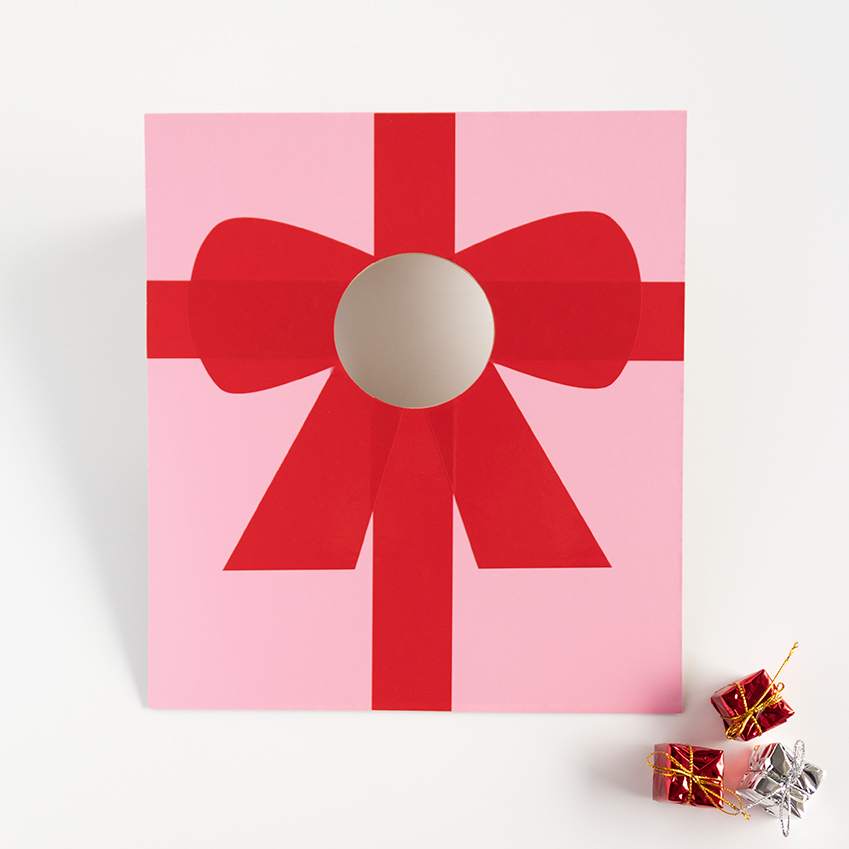
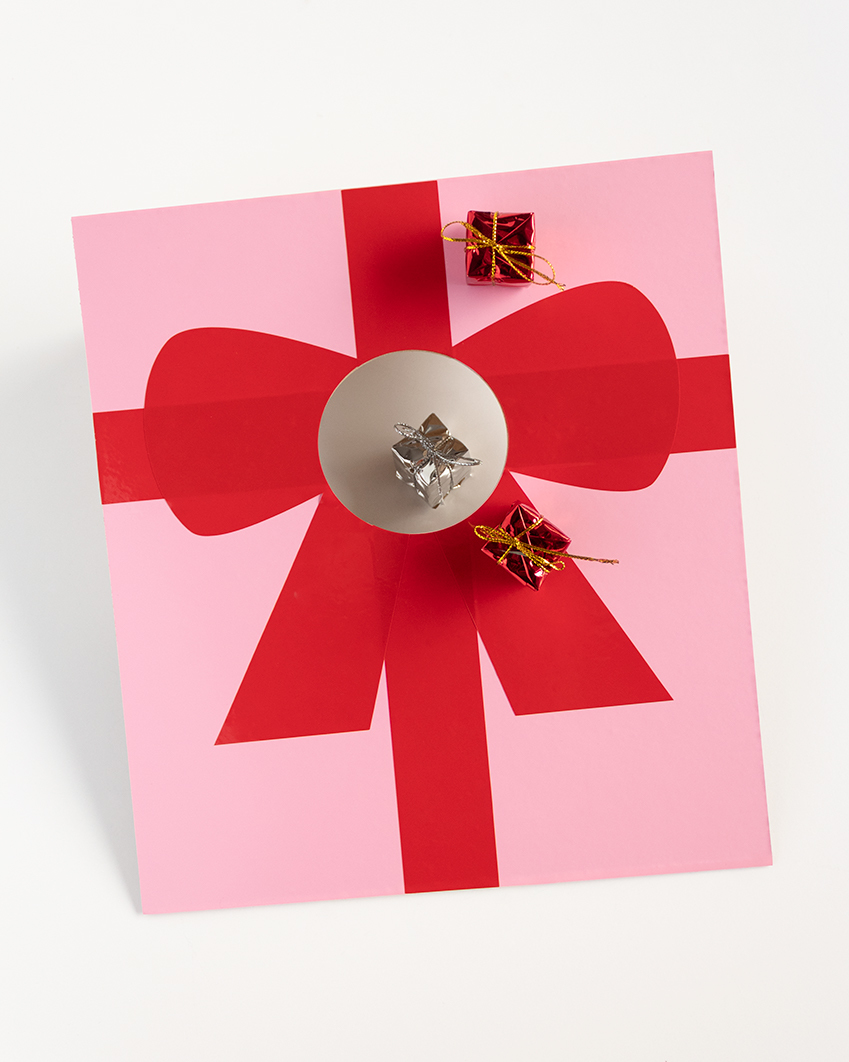
Today I'll be showing you how simple it is to make a DIY Cornhole Game using - you guessed it - the Cricut Maker. I used 2mm heavy chipboard to make this project and it's important to note that this material is only compatible with the Maker machine. This cornhole game makes such a great holiday gift for young ones and it's really fun to play, too (I may have played a few practice games to make sure it was working).😉 I used tiny presents as the objects to toss in and honestly, could there be anything more perfect?! This game is just the right size to play on a desktop or table and once your Maker cuts out all of your materials, all you really have to do is assemble it.
Check out the tutorial below to learn how easy it is to make your own cornhole game this holiday season, too!
What You'll Need
StrongGrip Machine Mat, StandardGrip Machine Mat, Masking Tape
2mm Heavy Chipboard (2 pieces)
Permanent Premium Vinyl - Tomato Red + Light Pink
Hot Glue Gun
Tiny Presents (for throwing)
How To
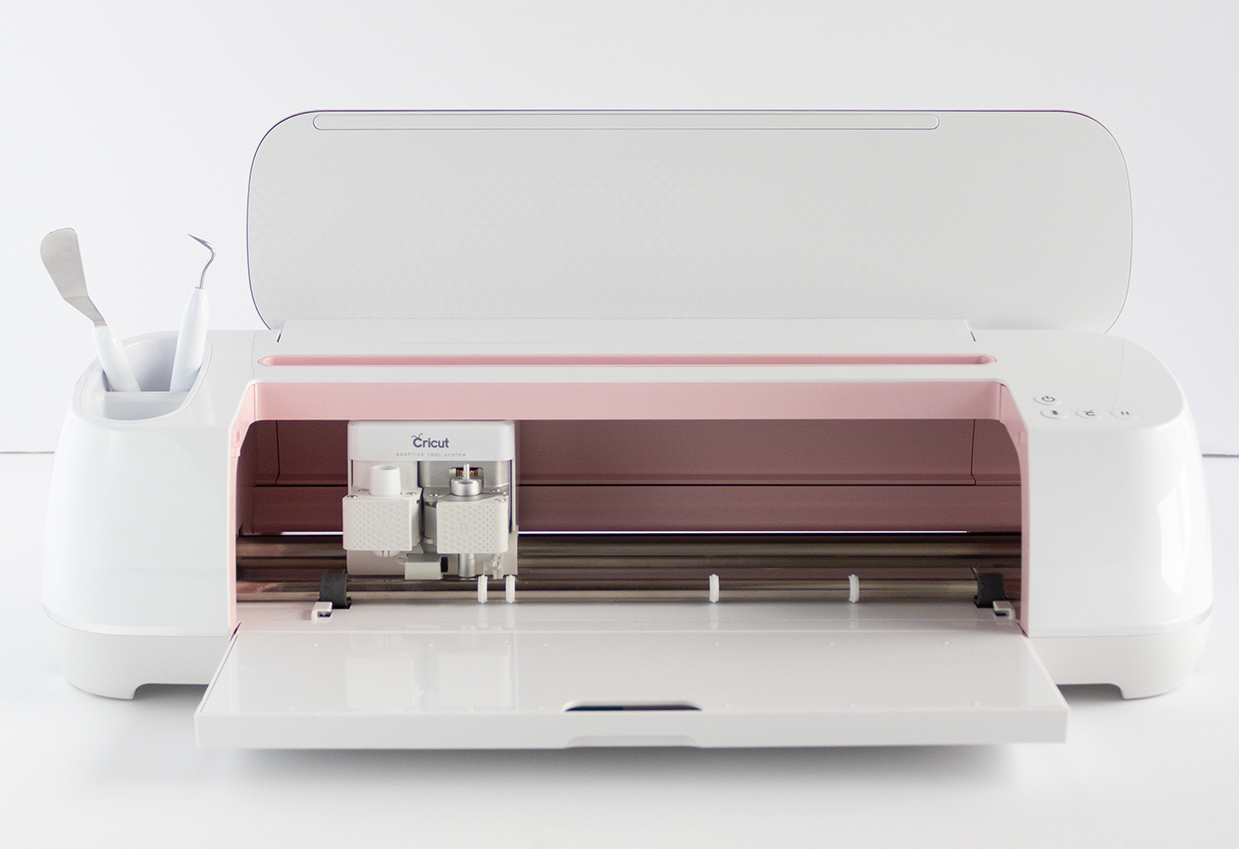
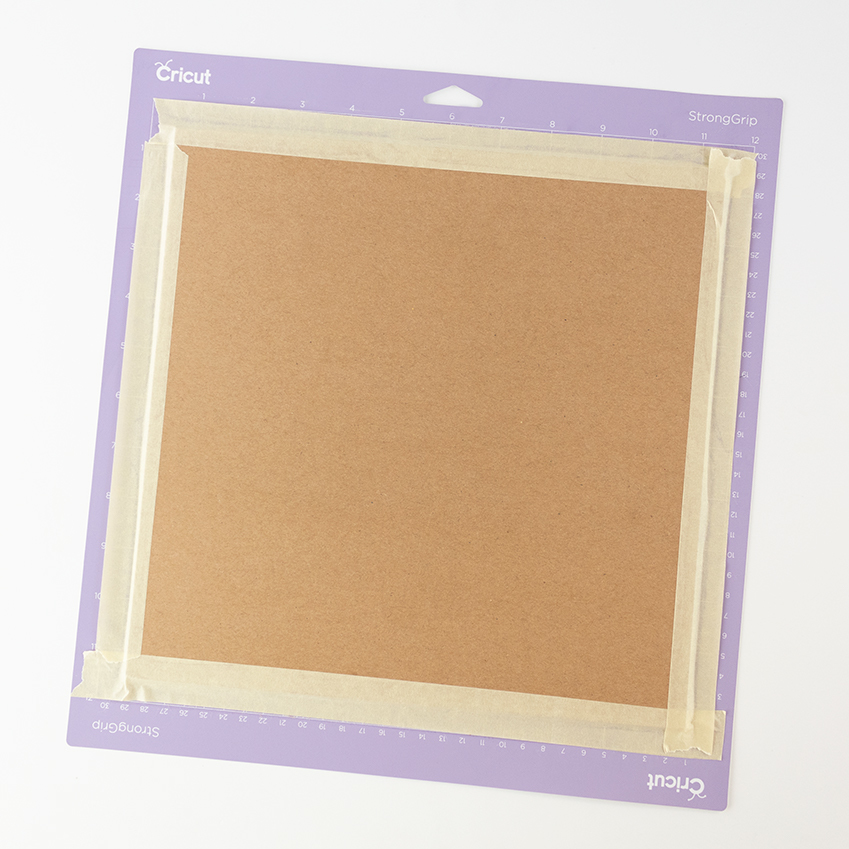
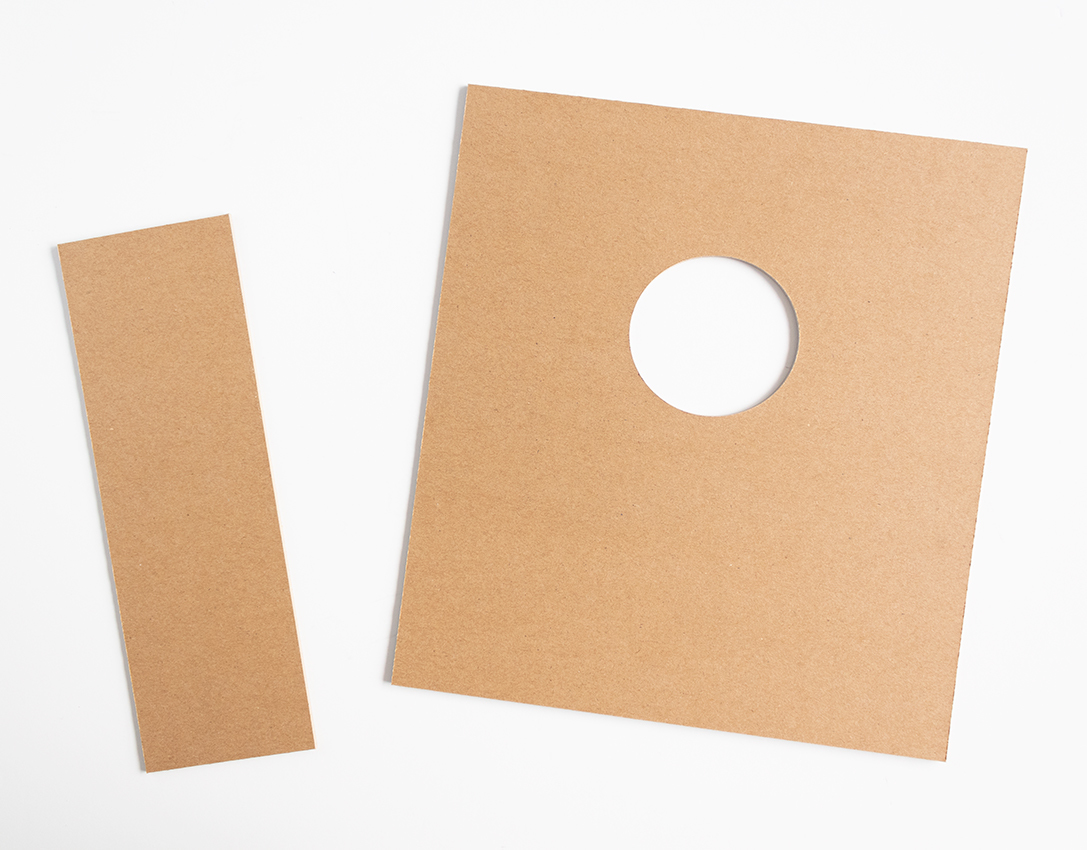
Step 1) Open the Design Space File above. Then, tape your chipboard onto your StrongGrip mat so that it looks like the image below (you will need to do this twice with two separate chipboard pieces). Be sure to move the white star wheels on your Maker all the way to the right before cutting and make sure you have your Knife Blade in your machine. Follow the directions in Design Space to cut out your chipboard cornhole shapes.
Step 2) Using your StandardGrip mat and Premium Fine-Point Blade, cut out your pink and red vinyl shapes next.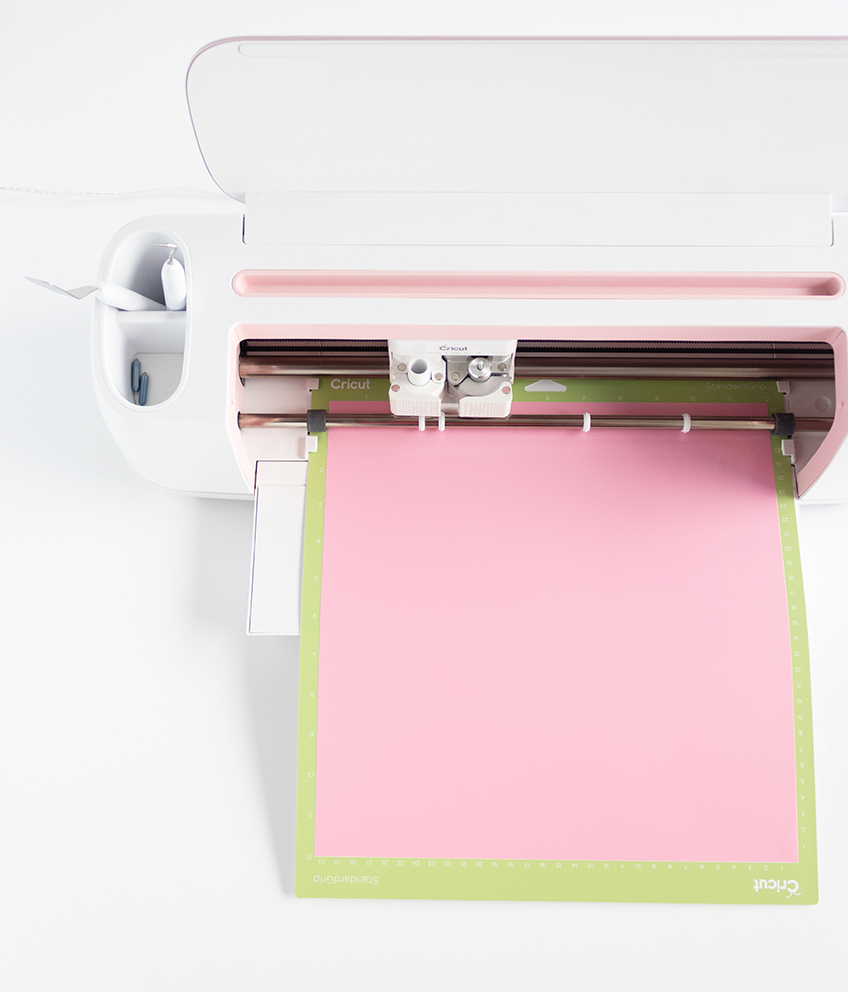
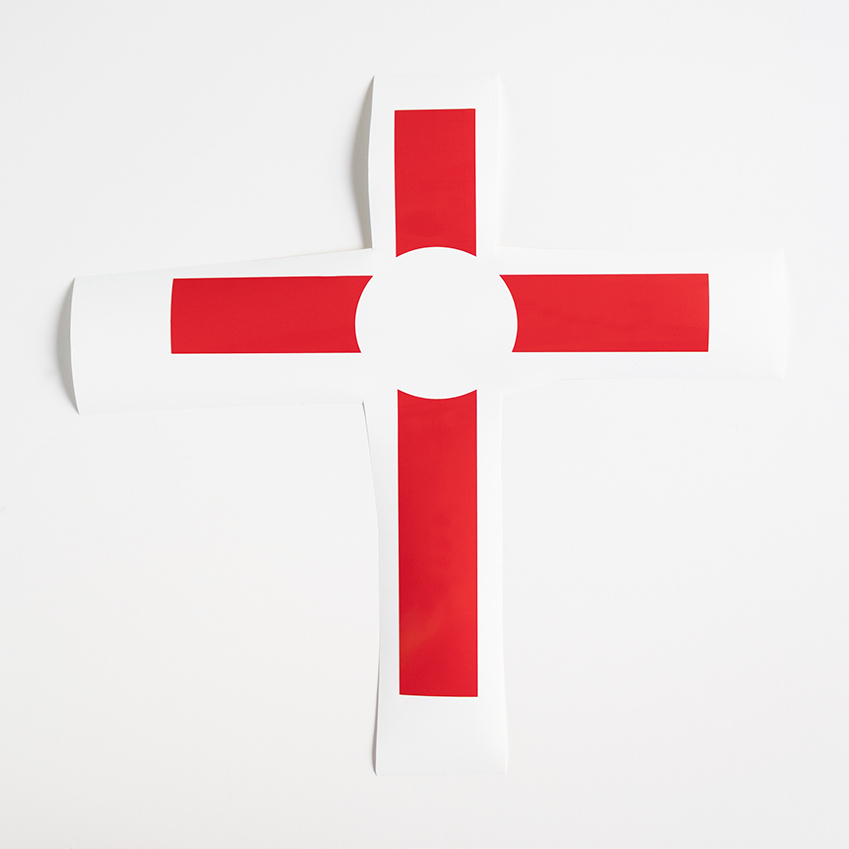
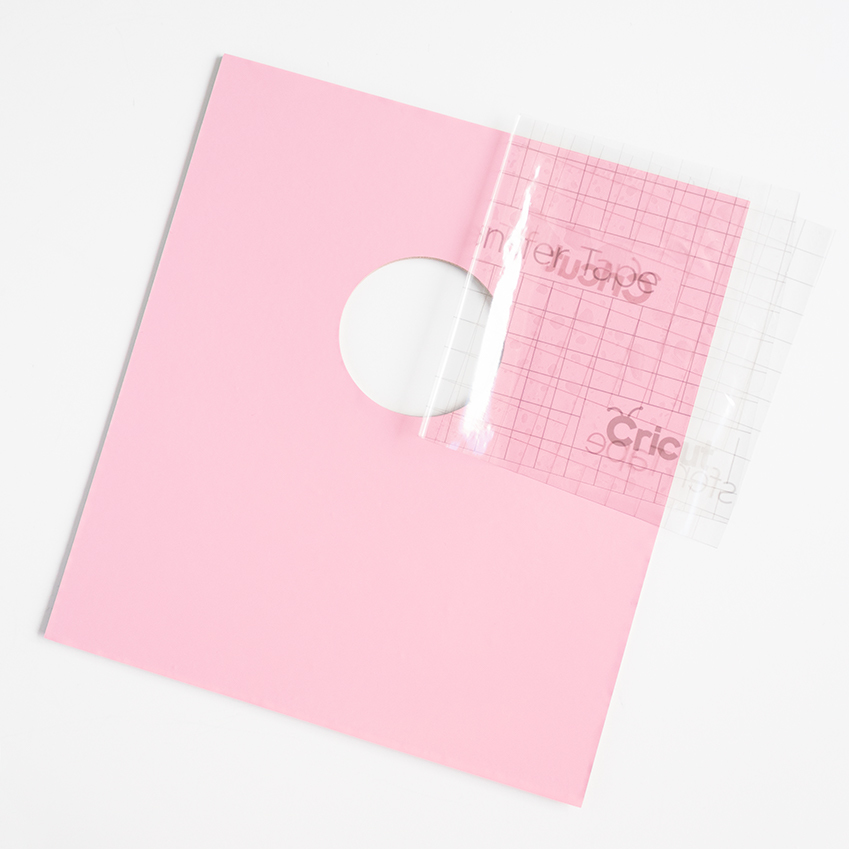
Step 3) Transfer your vinyl shapes onto your square cornhole cutout using transfer tape. The first layer should be the pink background, then the red "t" shaped ribbon, and lastly the red bow on top.
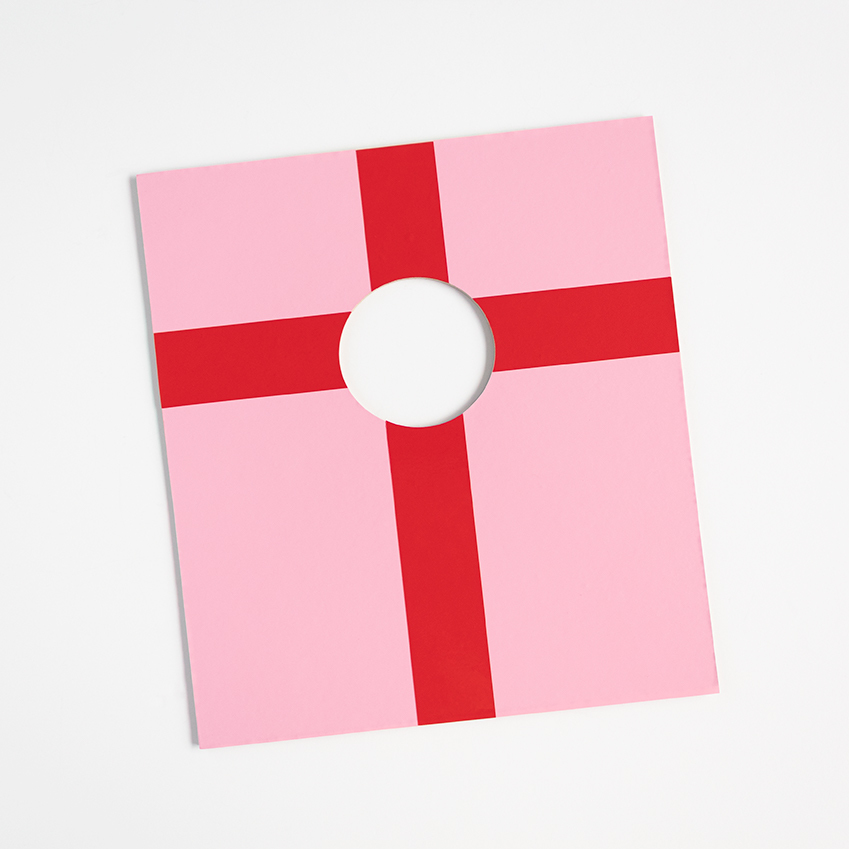
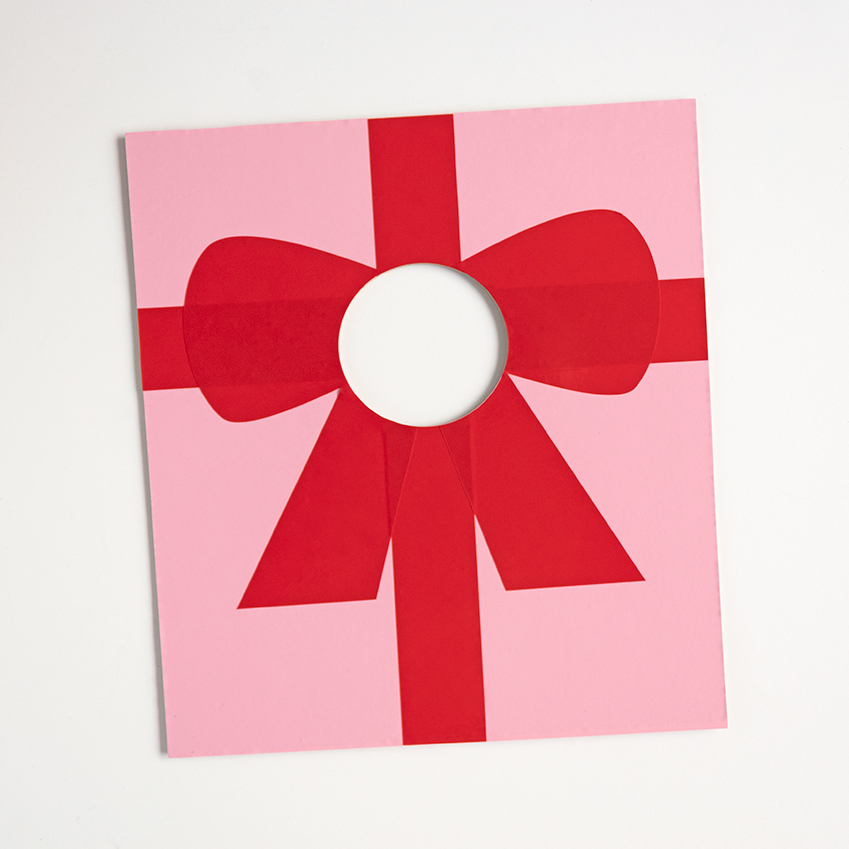
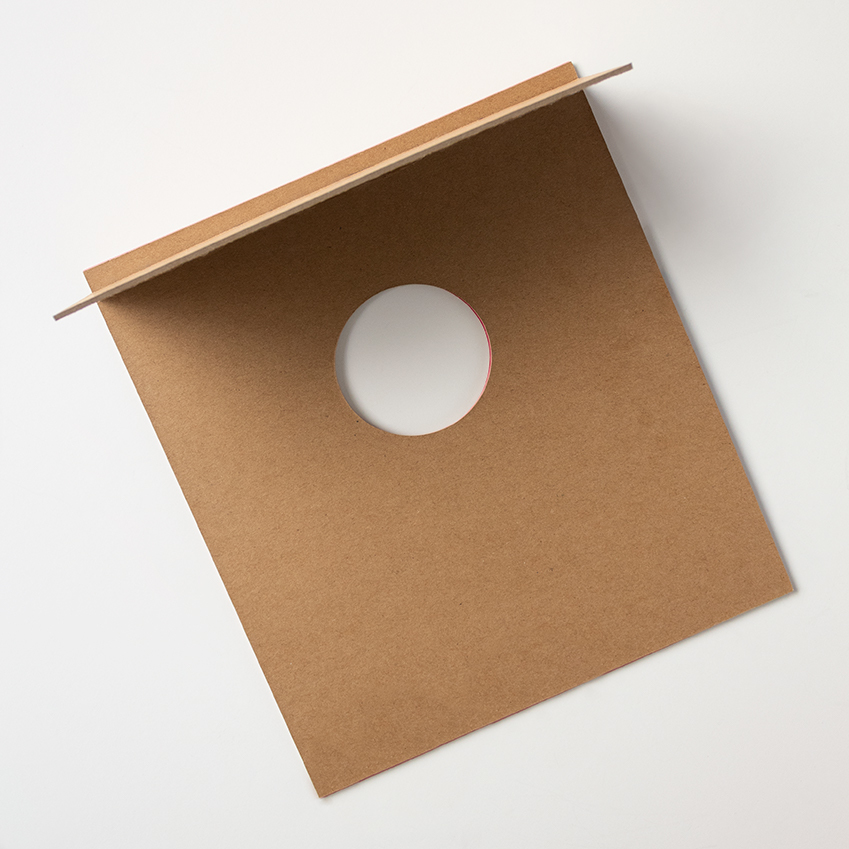
Step 4) Attach your two chipboard pieces together using a hot glue gun so that it looks similar to the image below. Once it's dry, your desktop cornhole game is ready to be gifted - or played! Include some tiny presents for tossing and you're all set for a game!
Happy holidays!







Comments: