DIY Balloon Dog Pins
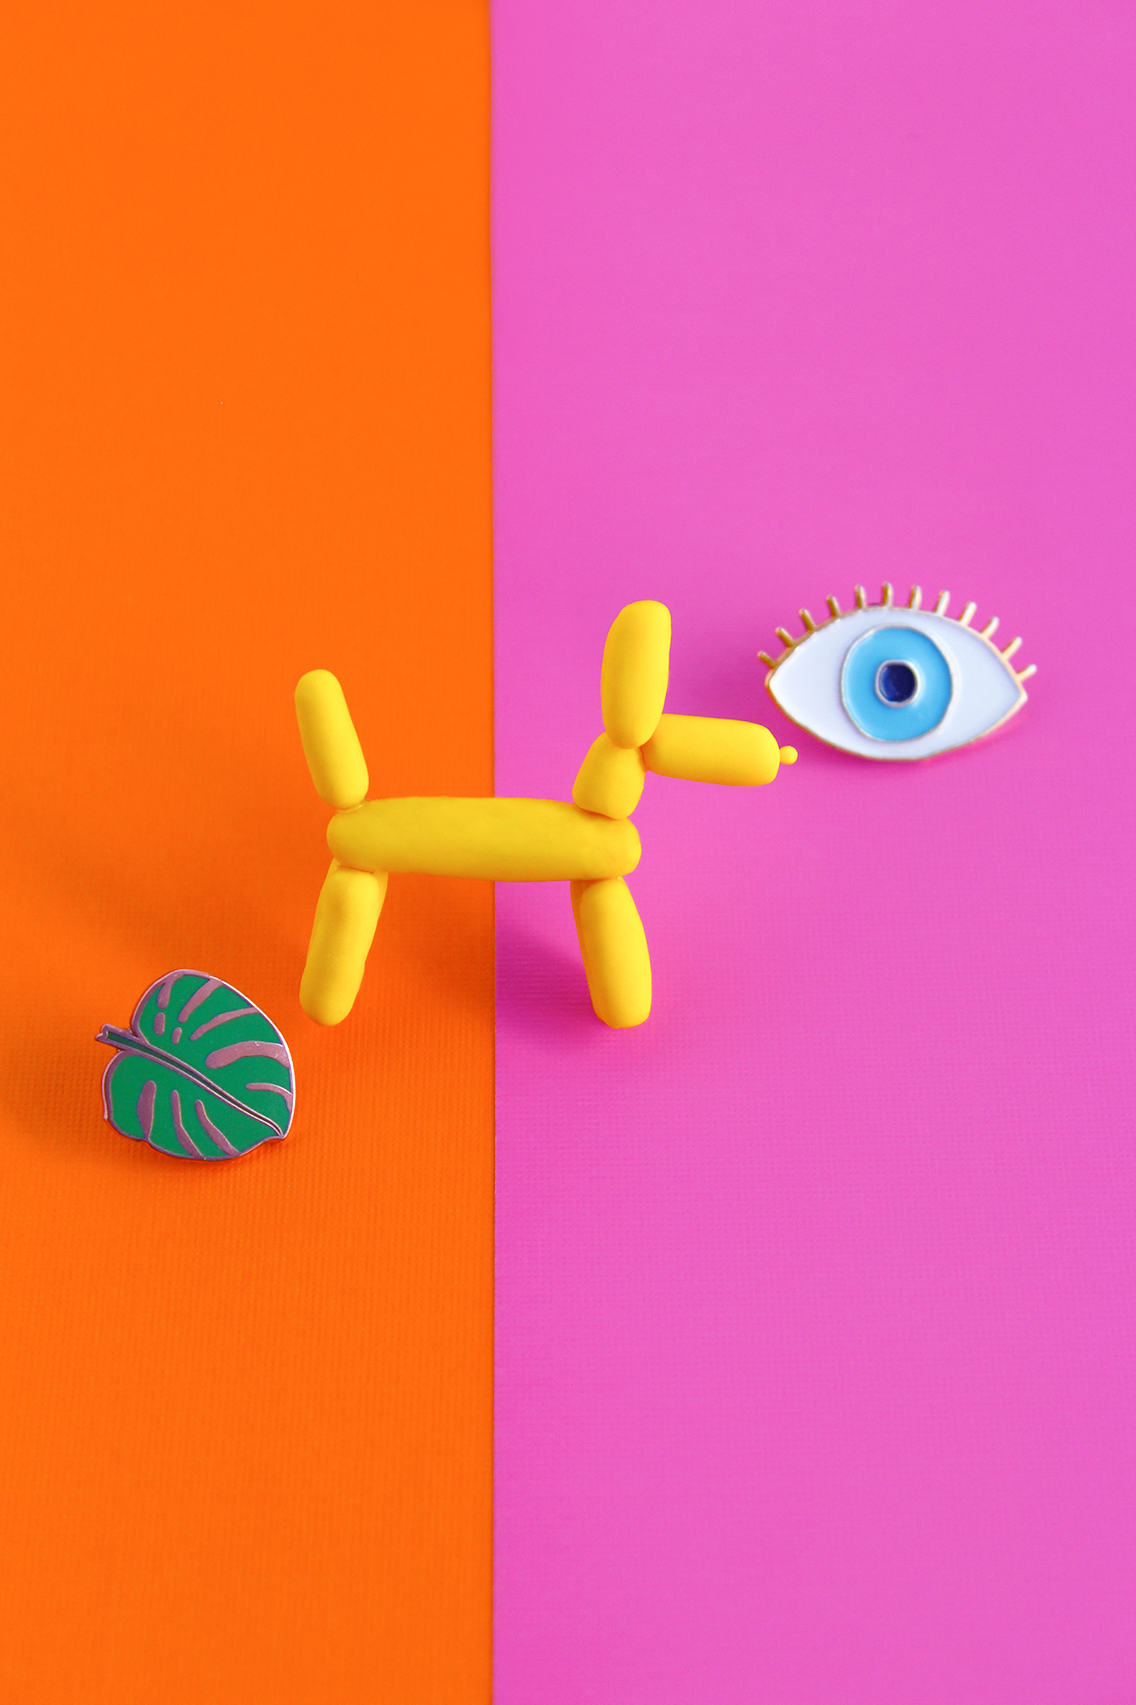
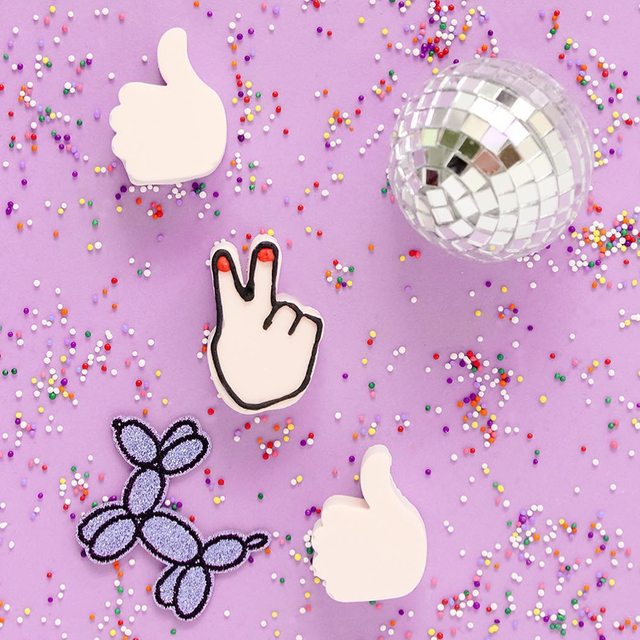
I'm a sucker for cute pins. Flair is something that I enjoy collecting and my love for it is what inspired me to make some of my very own at home. These balloon dog pins are actually pretty easy to make and the whole process has me wanting to craft up all sorts of pins in the future! I love getting creative with clay because you can mold it into so many ways and there are endless possibilities with it.
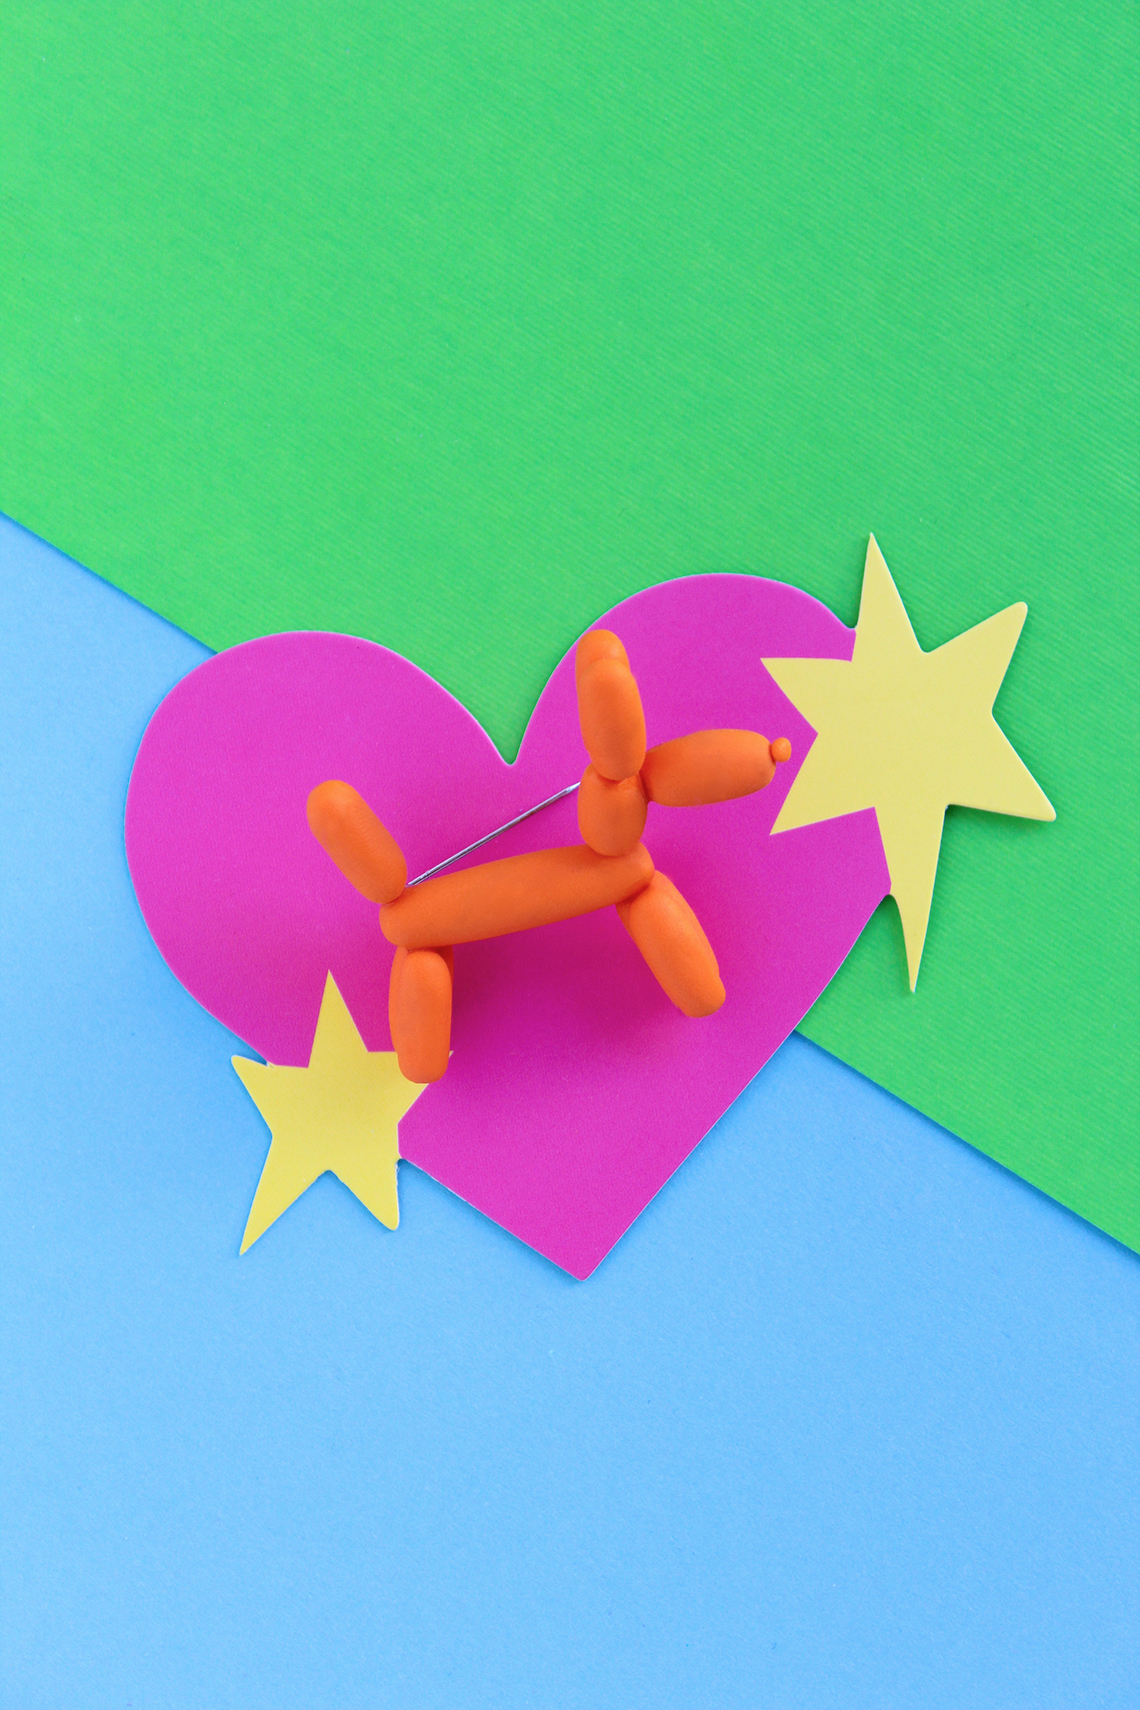 You can make these balloon pins in any color you like and even give them as gifts to friends and family, too. It's like a custom made pin - but it's custom made by you! Impressive? For sure.
What You'll Need
Clay that can be baked (choose any color of your choice)
Bar Pins (basically the part that makes this a pin)
Glue (I used super glue because I found it most effective in drying the fastest)
How To
1) Mold the body of the balloon animal so that it is just long and wide enough to cover your bar pin. You will not be gluing anything onto the bar pin until the very end - this is all just for measure.
2) Make the legs, ears, and tail of your balloon animal. The legs should be roughly half the size of the body of the balloon animal. The ears and tail might be a tad shorter than the legs.
3) Make the nose about the size of the tail and a small dot to go on top of the nose that will mimic the look of a balloon. Then make the neck which should be about half the size of the legs.
4) Bake the pieces according to the instructions on your clay package.
5) After baking the pieces, glue them together to form a balloon dog and then glue the balloon dog onto the bar pin. Again, the body should cover the bar pin entirely so that it is not visible.
6) Enjoy your sweet new party flair!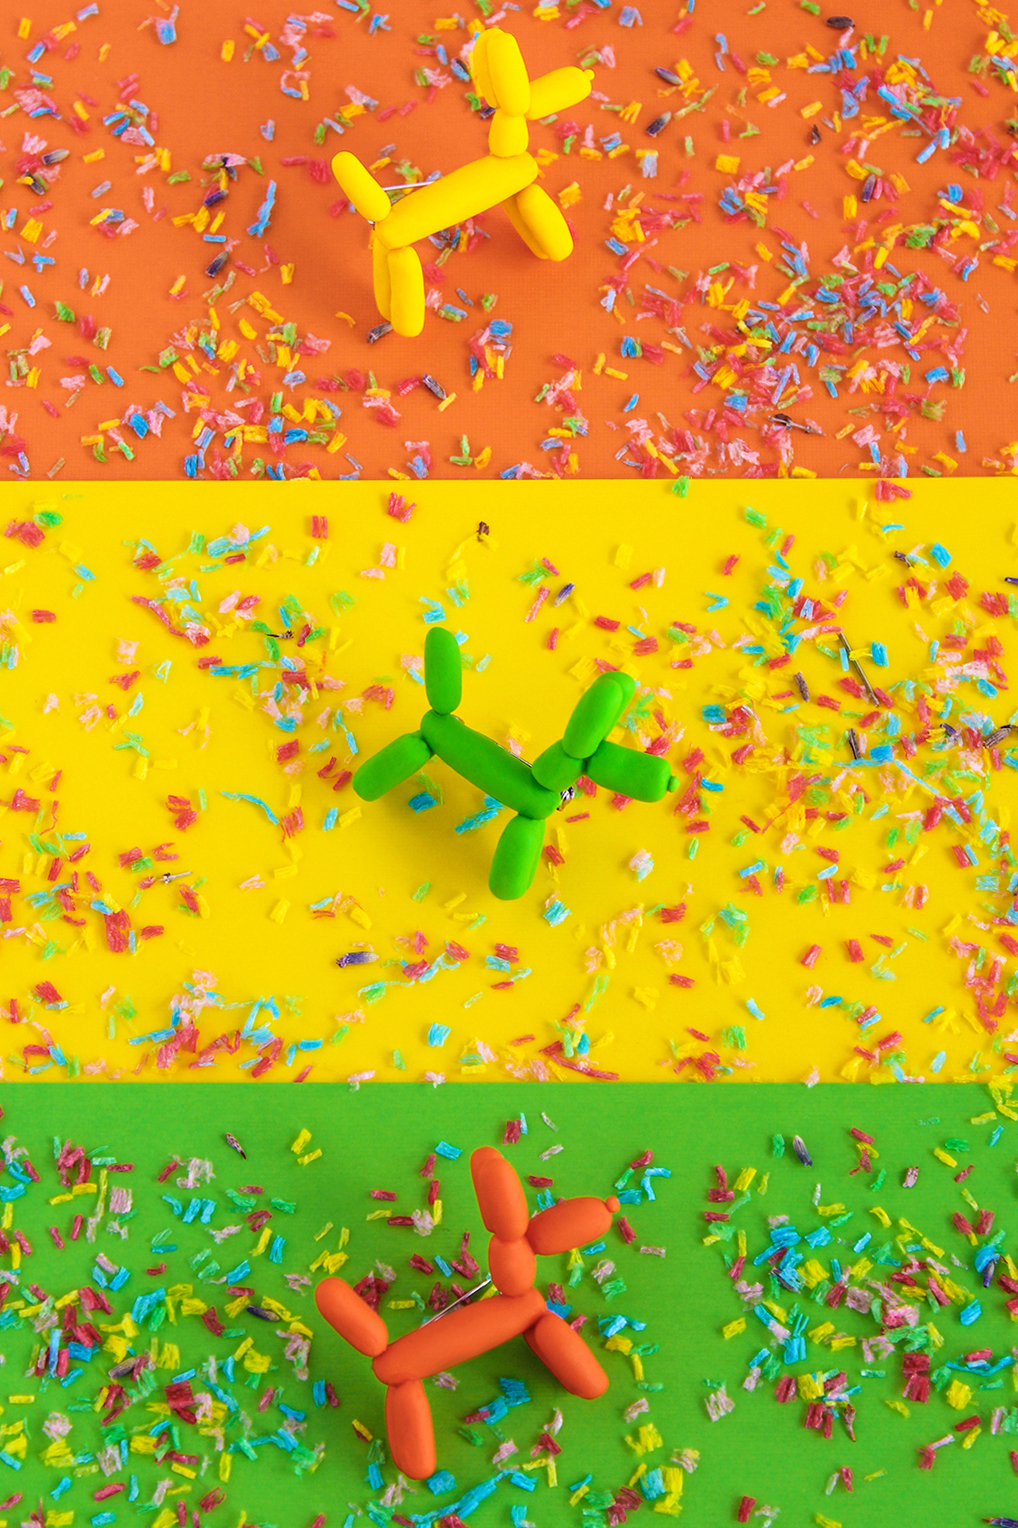





Comments: