


DIY "Sea Glass" Frame with Sculpey Color Tints
This is a sponsored post written by me on behalf of Polyform Products. All opinions are 100% my own.
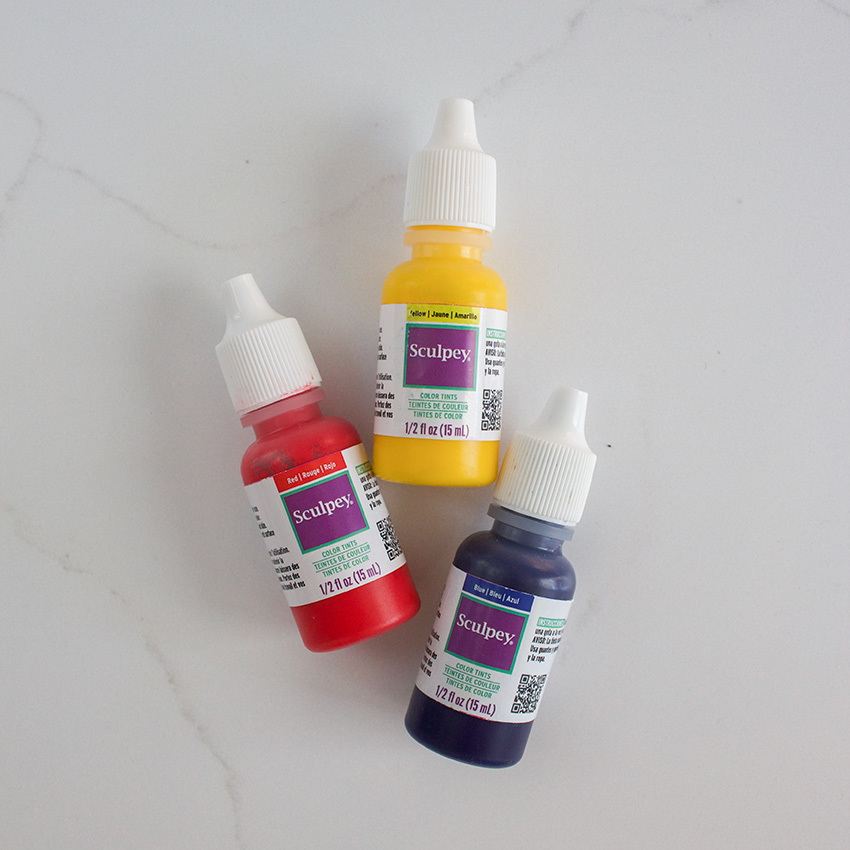
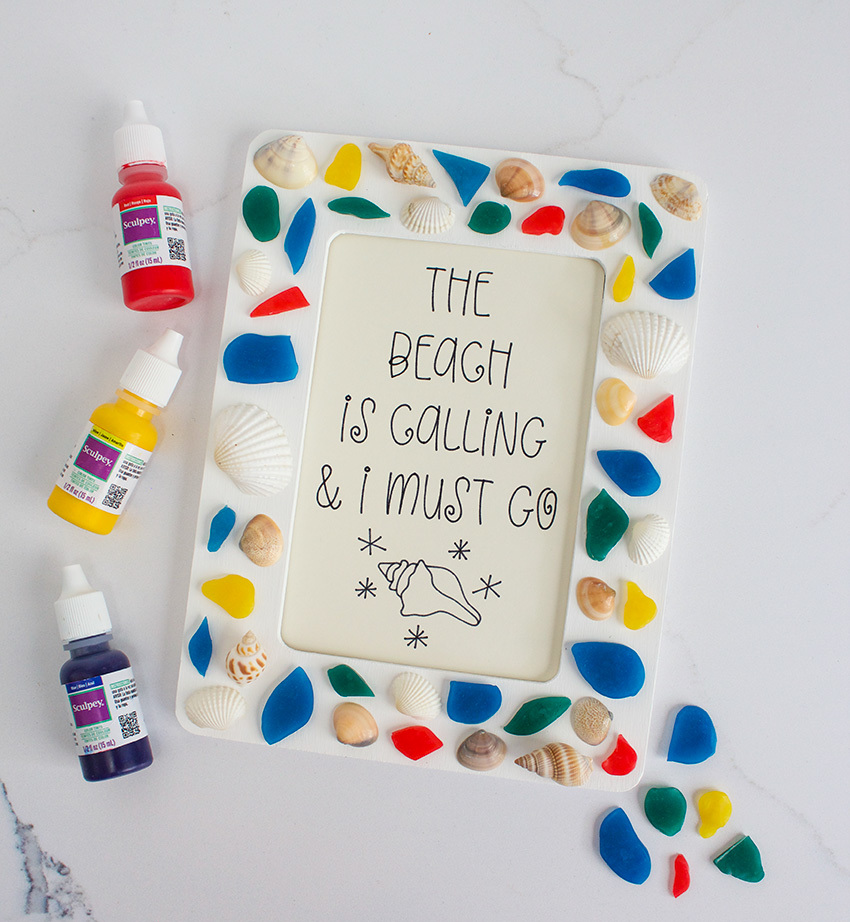
Today I am so excited to share a faux sea glass project with you using Sculpey's brand new Color Tints! These tints can be used with polymer clay, air dry clay, Liquid Sculpey, and even resin. Plus, they are highly pigmented so the colors are super vibrant and won't fade away.
The package comes with blue, red, and yellow tints but you can totally mix these colors together to create new ones. For example, I mixed blue and yellow to create green and it turned out great! You can also create different shades of each color depending on how much of the tint you use.
For my project, I mixed the color tints with translucent Sculpey Premo clay to create that sea glass look. I love the final product and can't wait to try these with Liquid Sculpey next!
To learn how to make your own faux sea glass picture frame, keep on reading!
What You'll Need
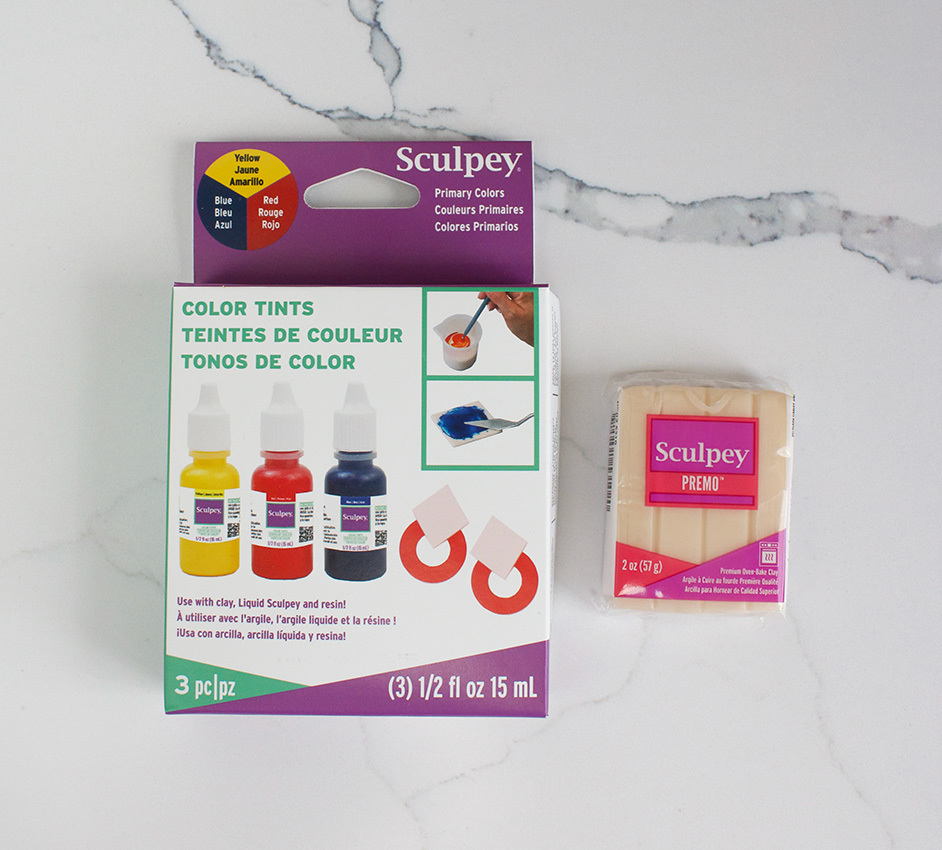
Translucent Sculpey Premo Clay
Wooden Picture Frame
White Paint + Paintbrush
Gloves
Craft Knife
Glue
Seashells
How To
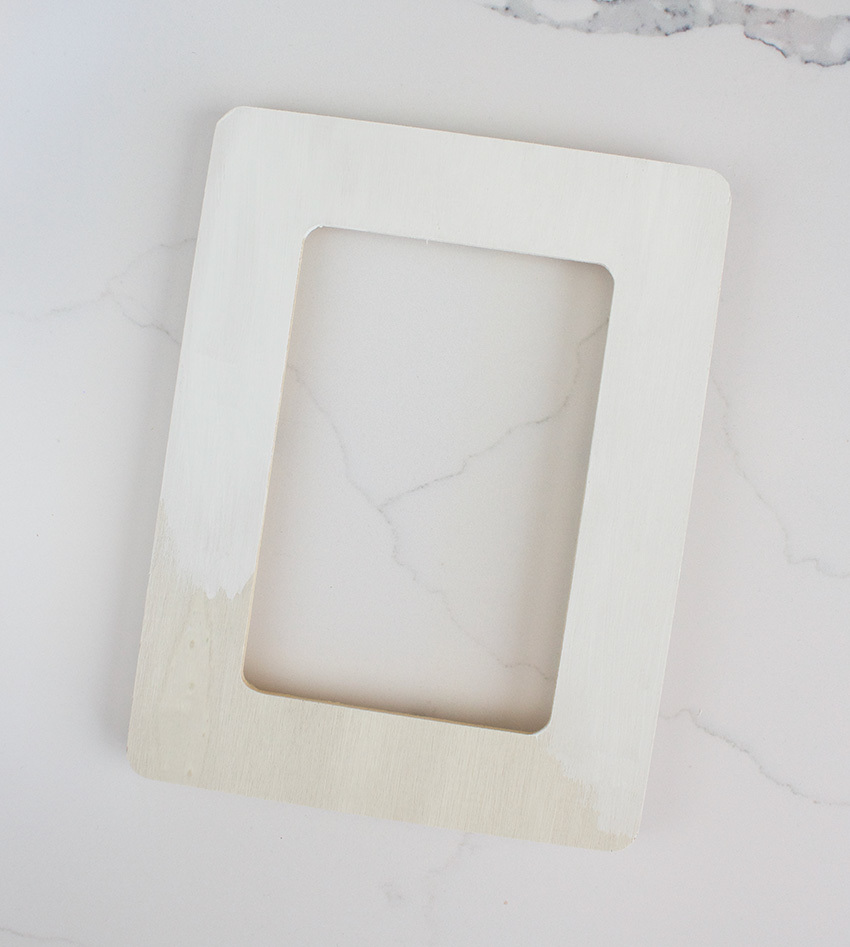
Step 1) Paint your picture frame white.
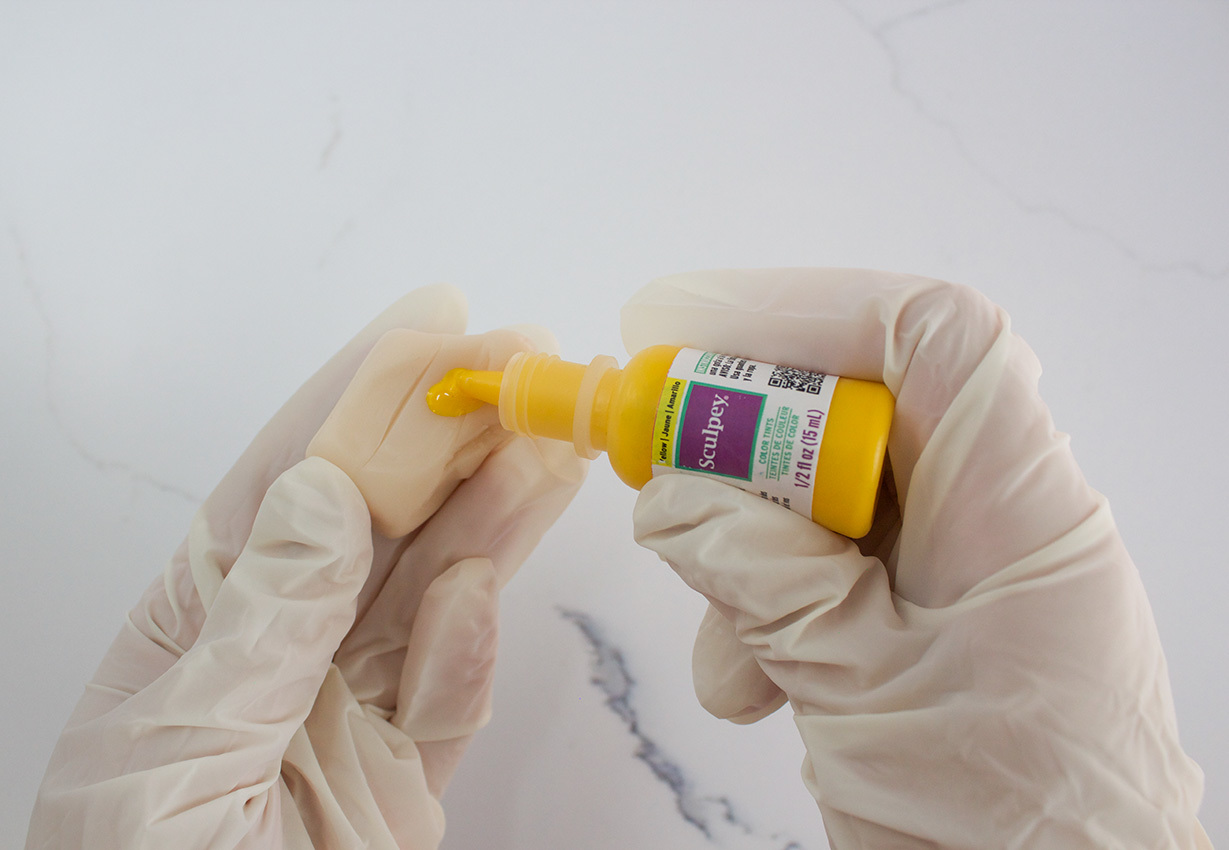
Step 2) Mix the Sculpey Color Tints into your translucent Sculpey clay. Be sure to wear gloves for this step!
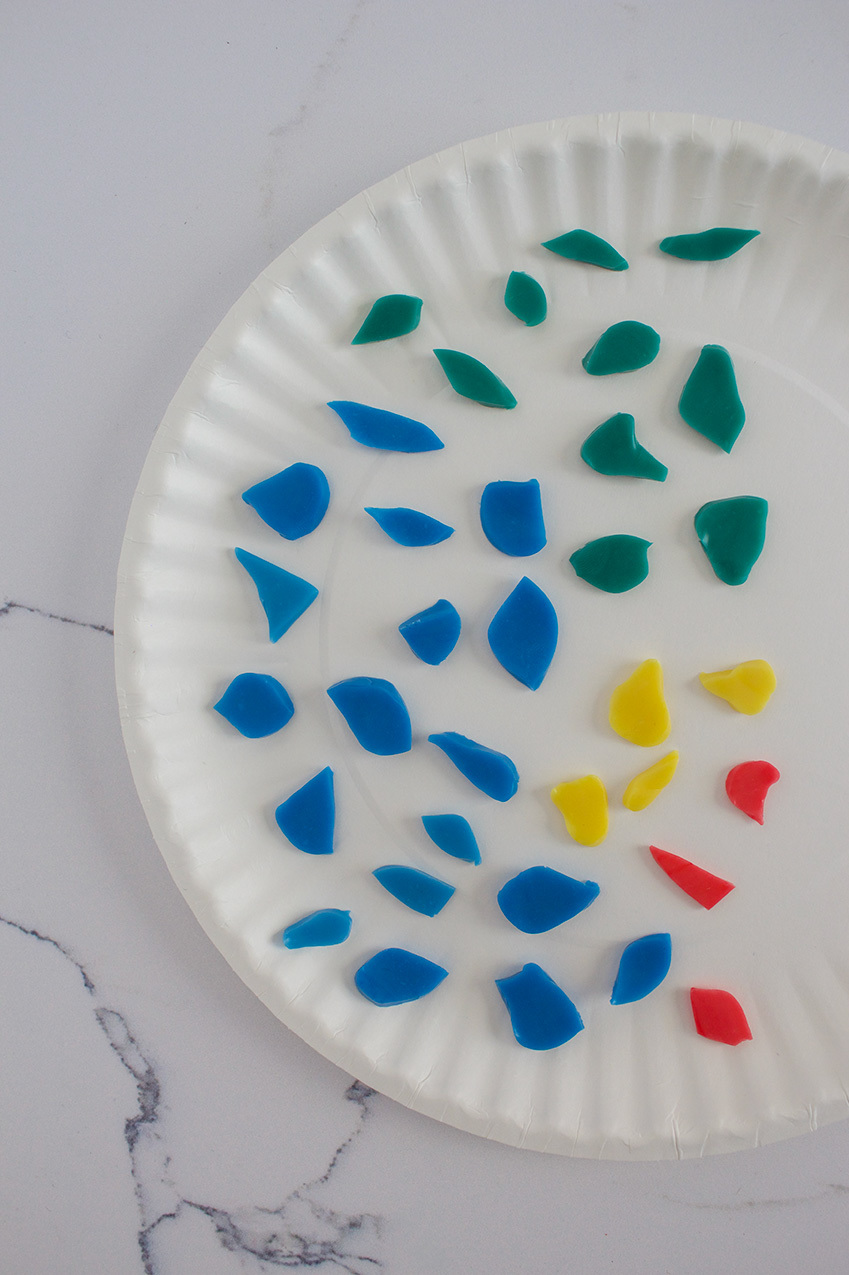
Step 3) Roll your clay and cut uneven pieces that look like sea glass. Note: I found that rolling the clay pretty thin produces more of a sea glass effect! Then bake according to package instructions.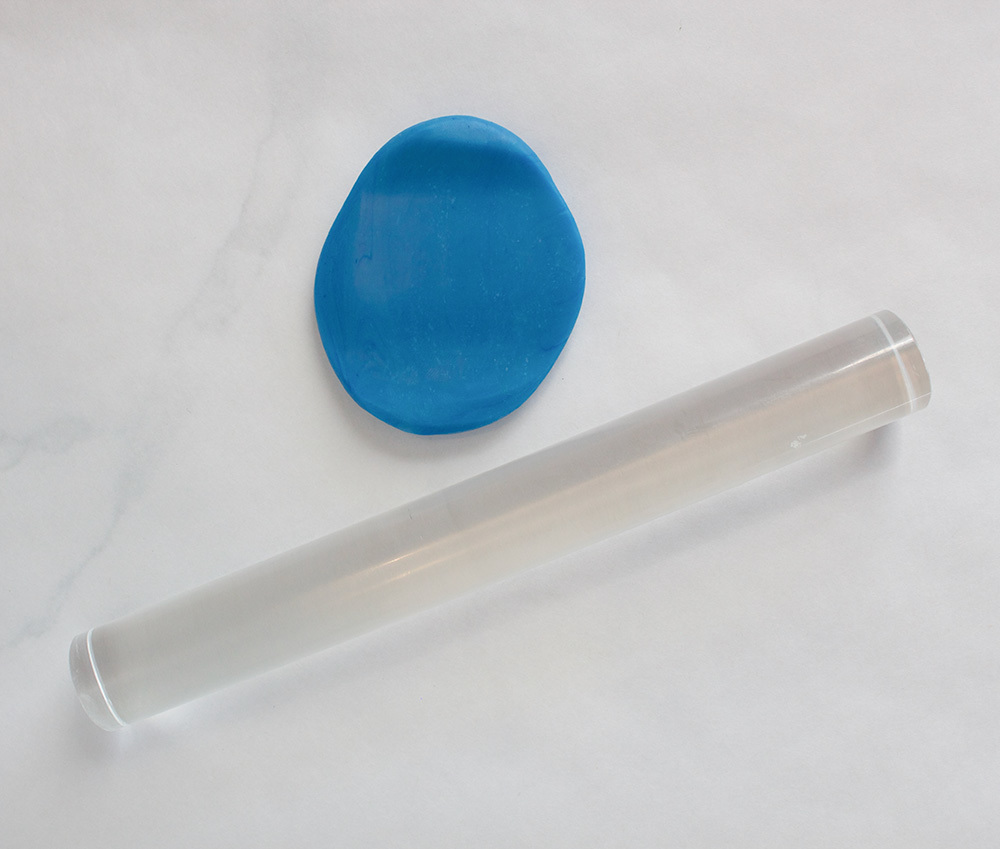
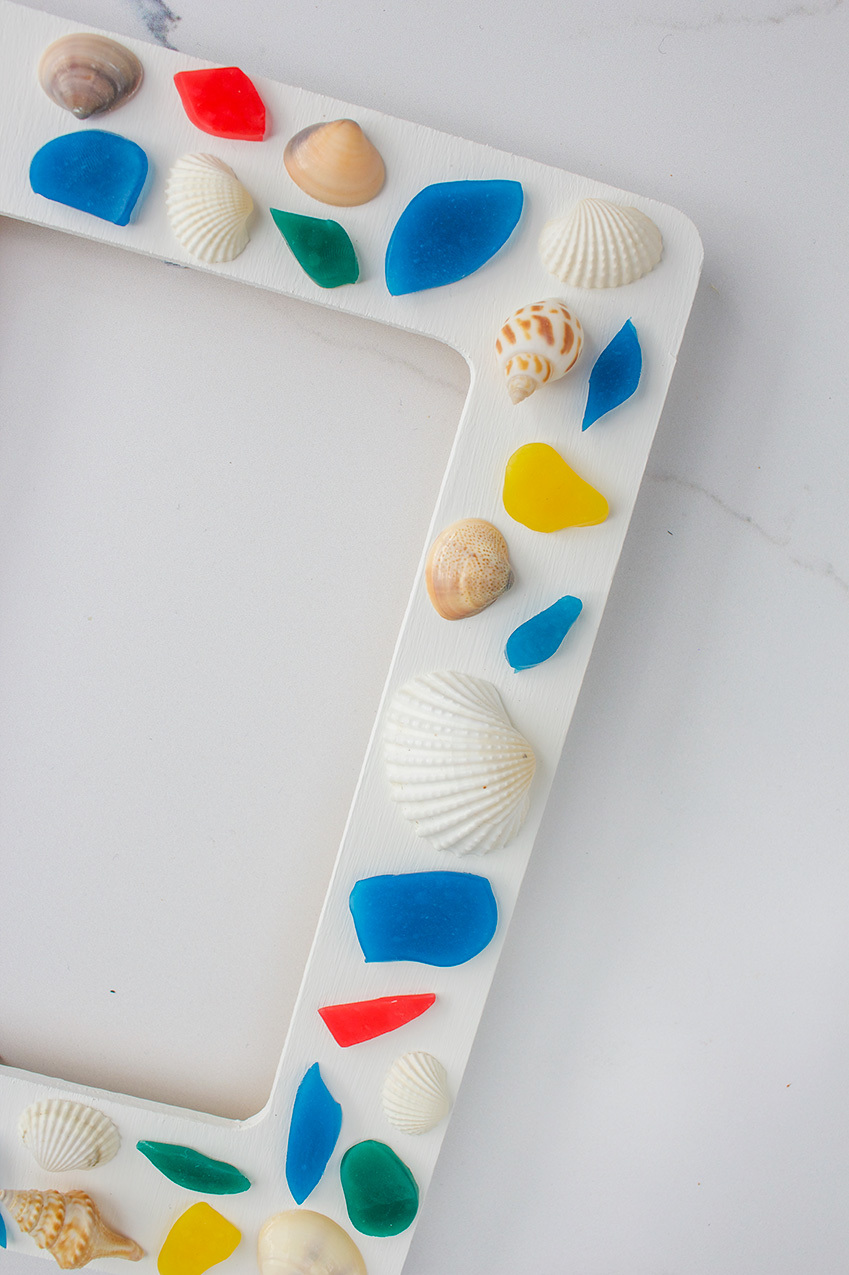
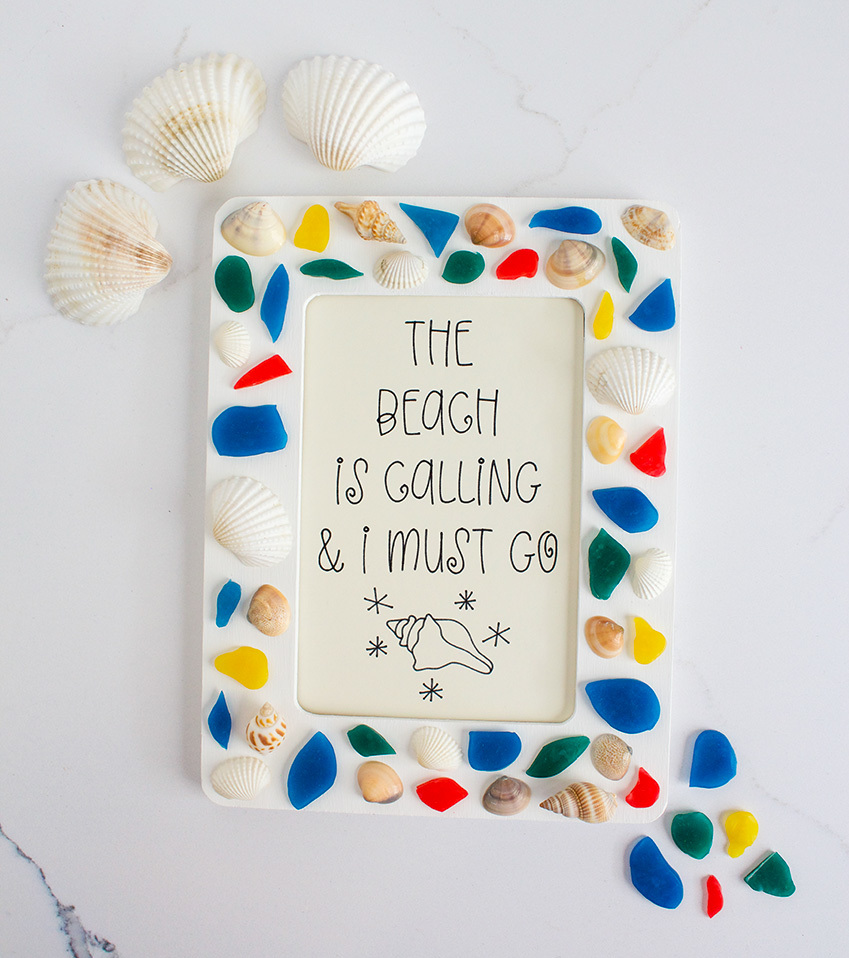
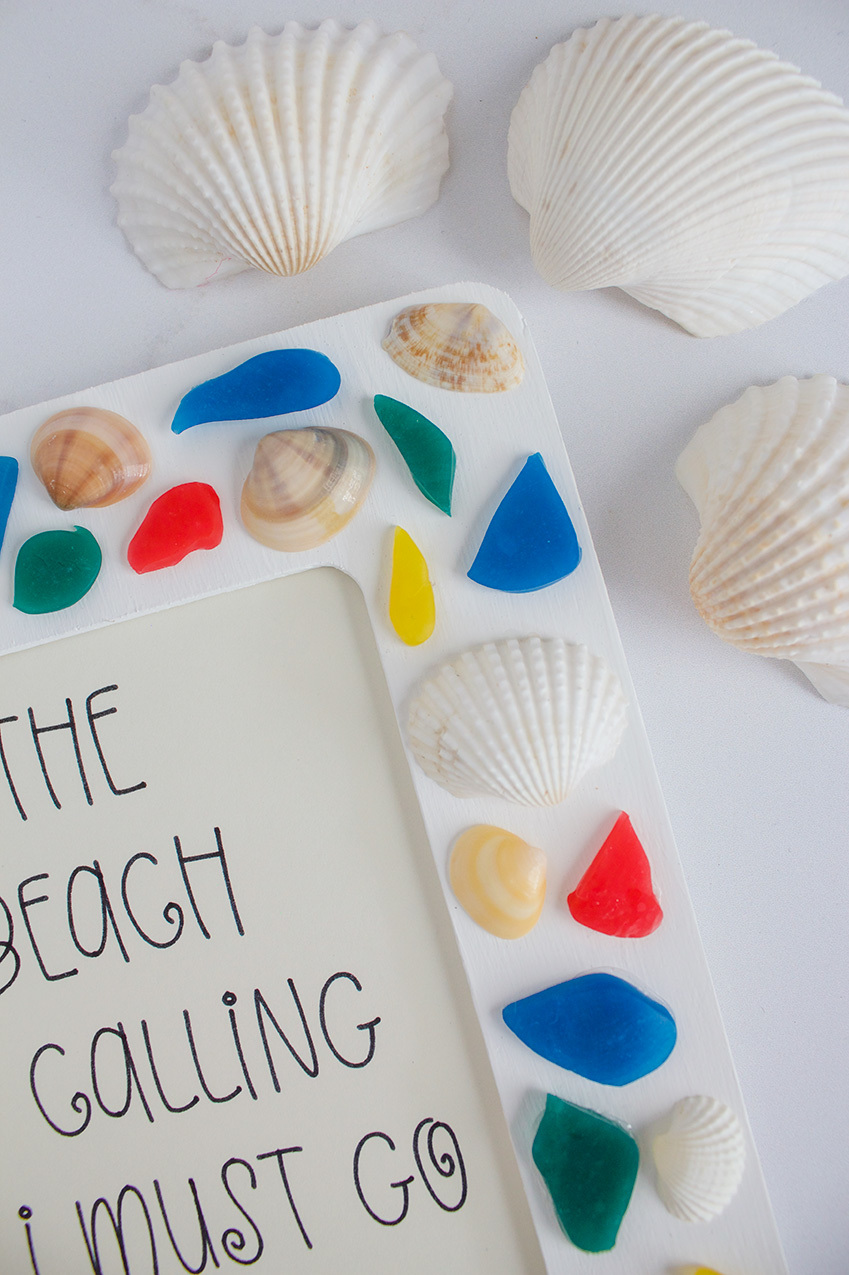
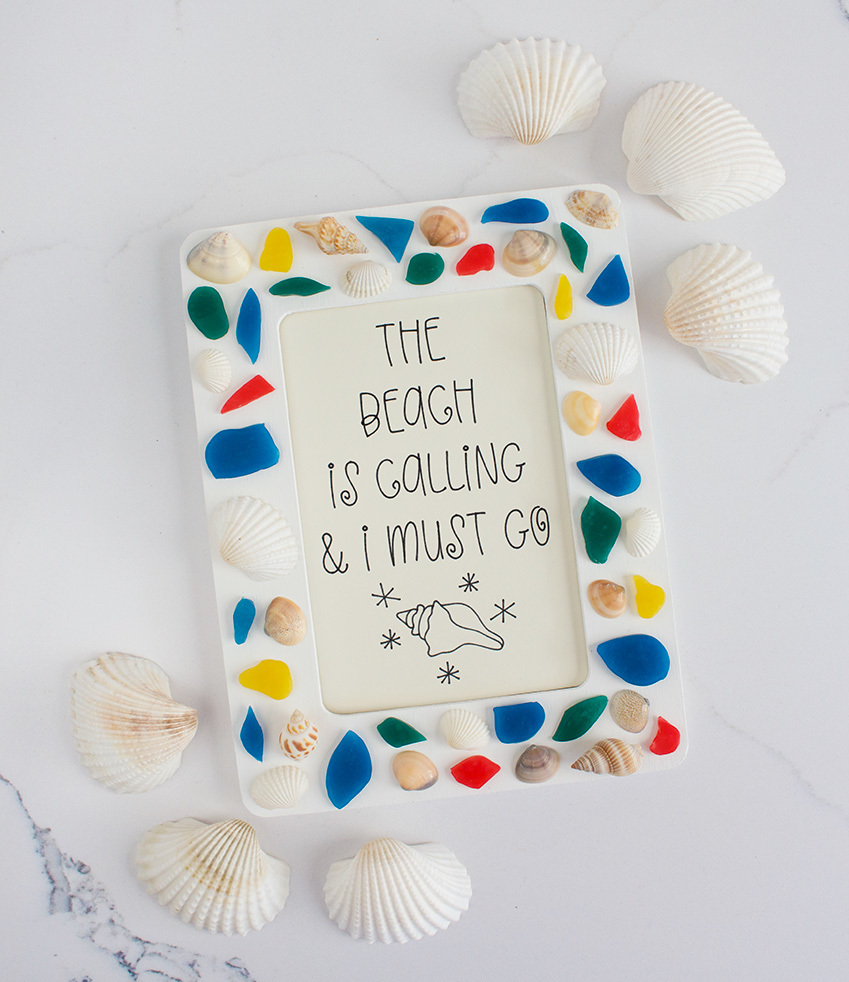
Step 4) Glue your seashells and faux sea glass pieces onto your frame like a mosaic.
Add a beachy picture inside and you're all set! Happy Making!


Comments: