


DIY Clay Buttons with Sculpey Soufflé
This is a sponsored post written by me on behalf of Polyform Products. All opinions are 100% my own.
If you love crafting, chances are you’ve used buttons on one project or another. But have you ever made your own buttons?! I’m so excited to be teaming up with Sculpey today to create custom buttons out of clay, and I have to say… this might be your next crafting obsession.
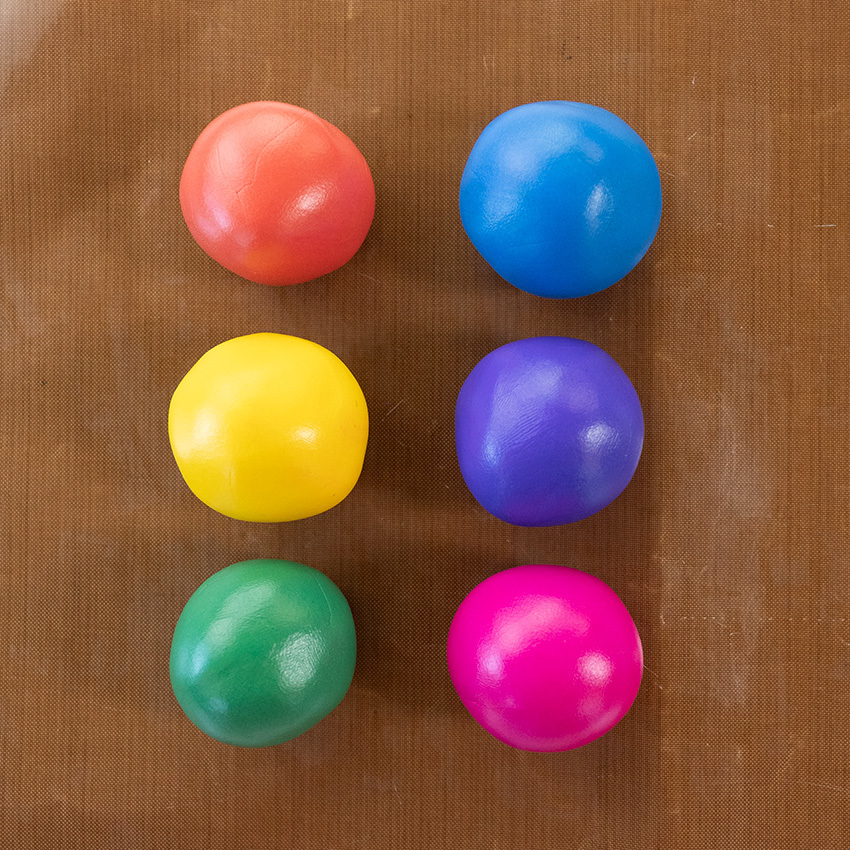
I got to experiment with Sculpey’s new Soufflé colors, Cadmium Yellow, Cobalt, and Magenta, and what I love about them is how mixable they are. With just those three shades, I was able to get six fun colors (which made the whole process feel even more creative).
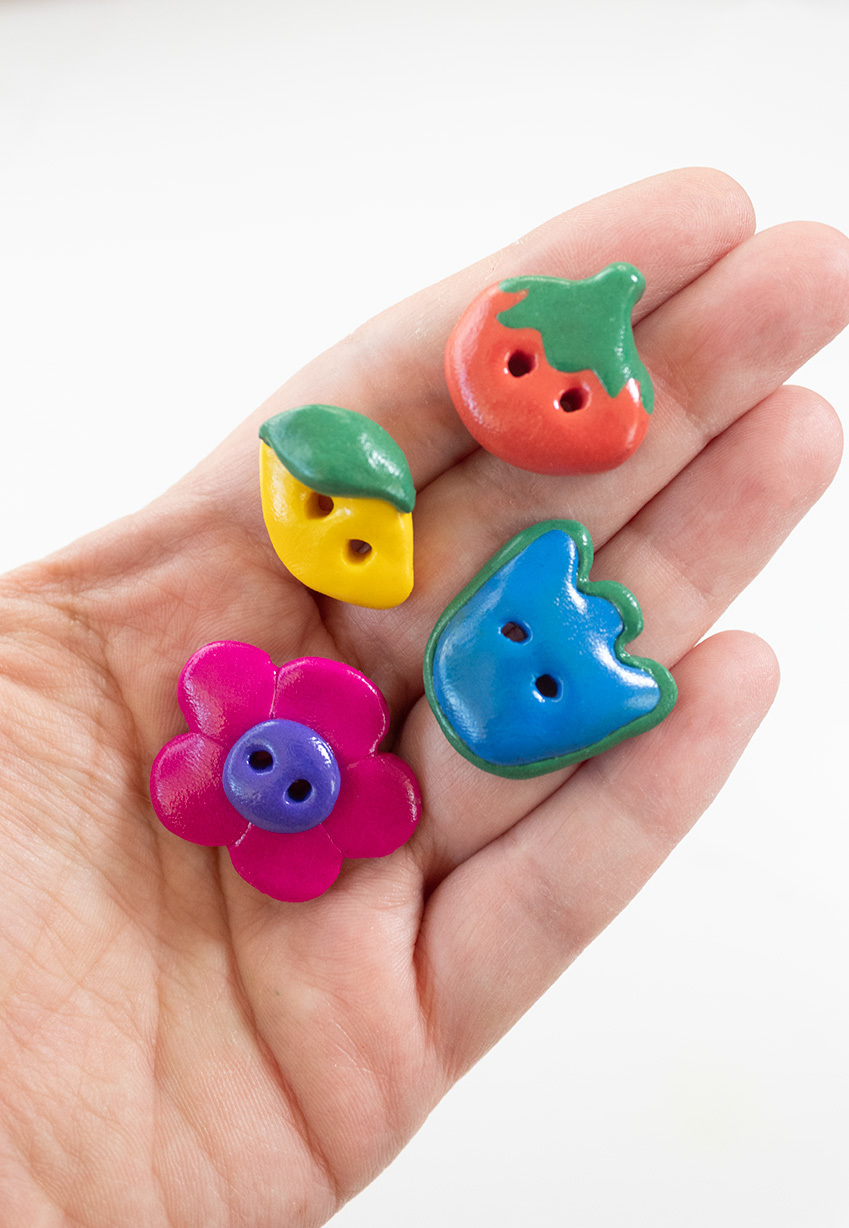
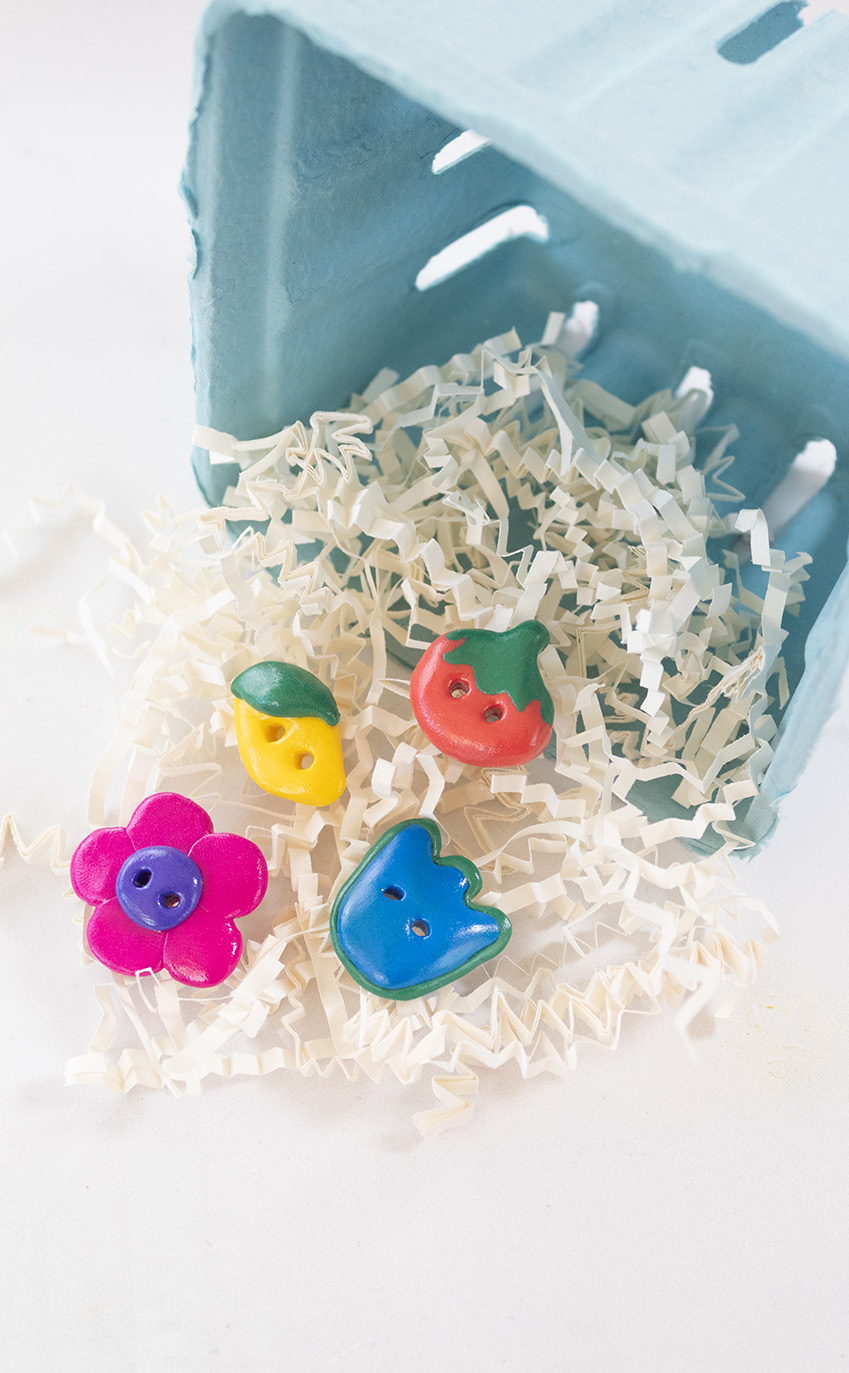
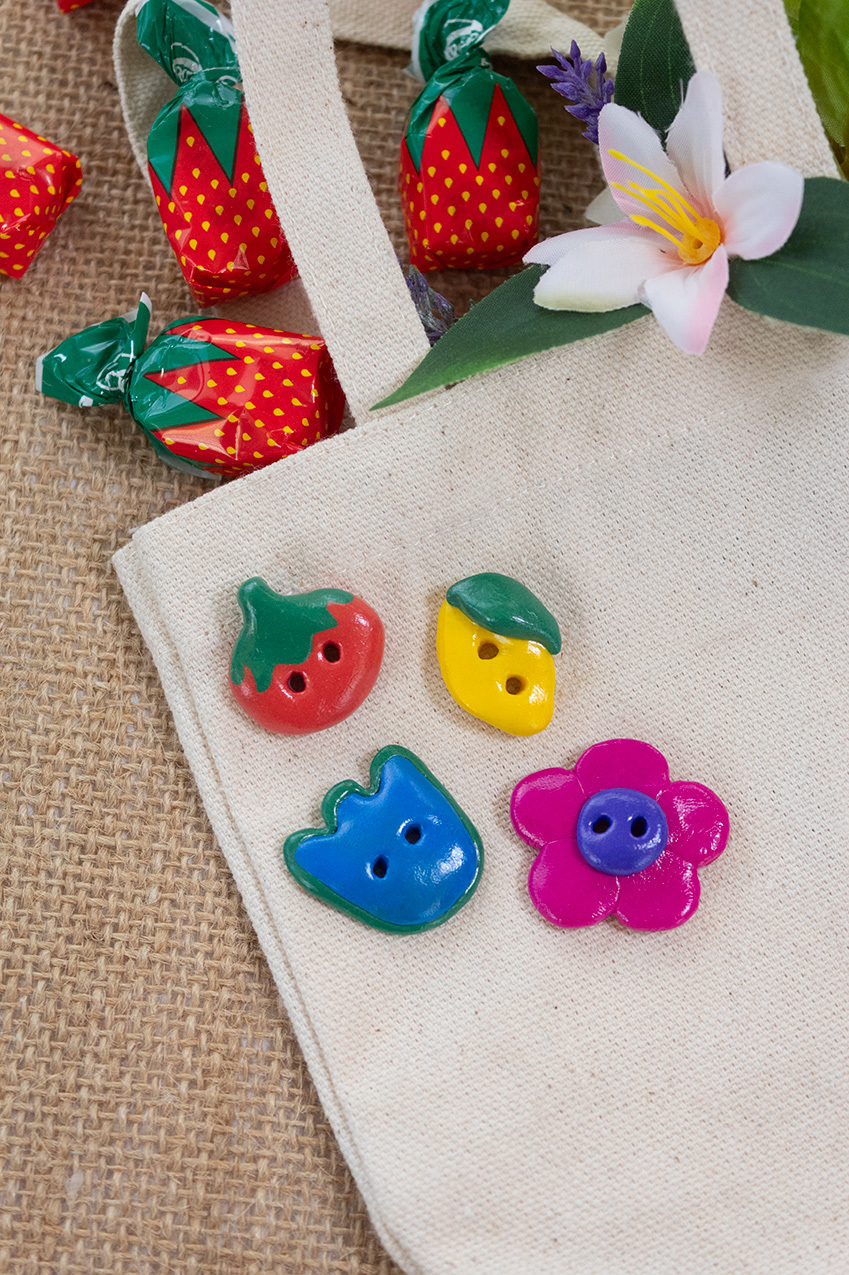
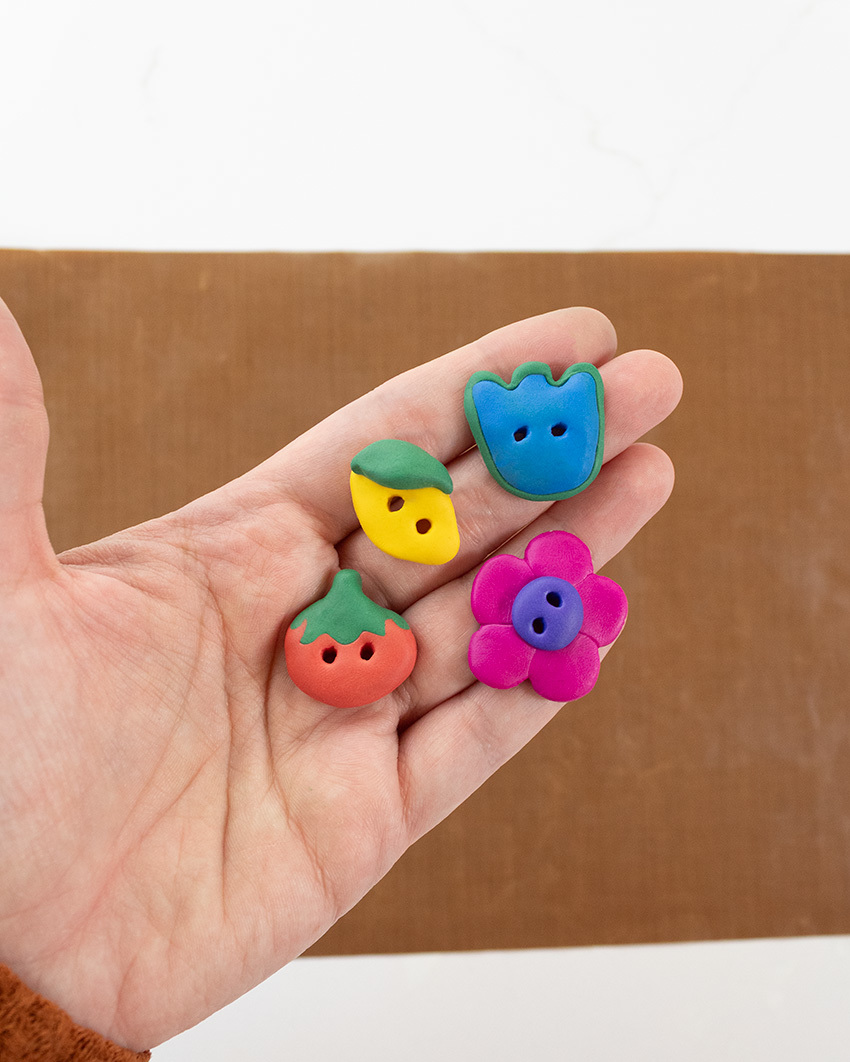
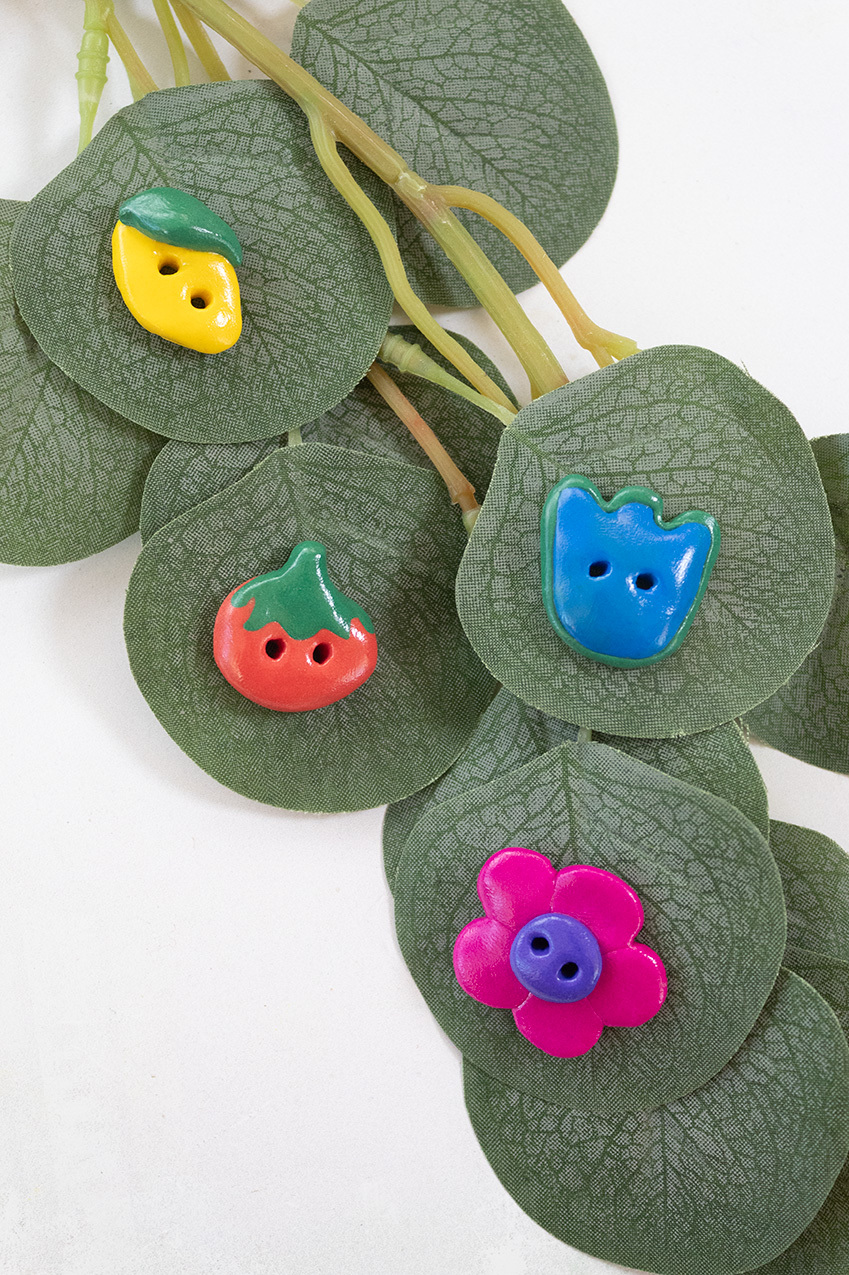
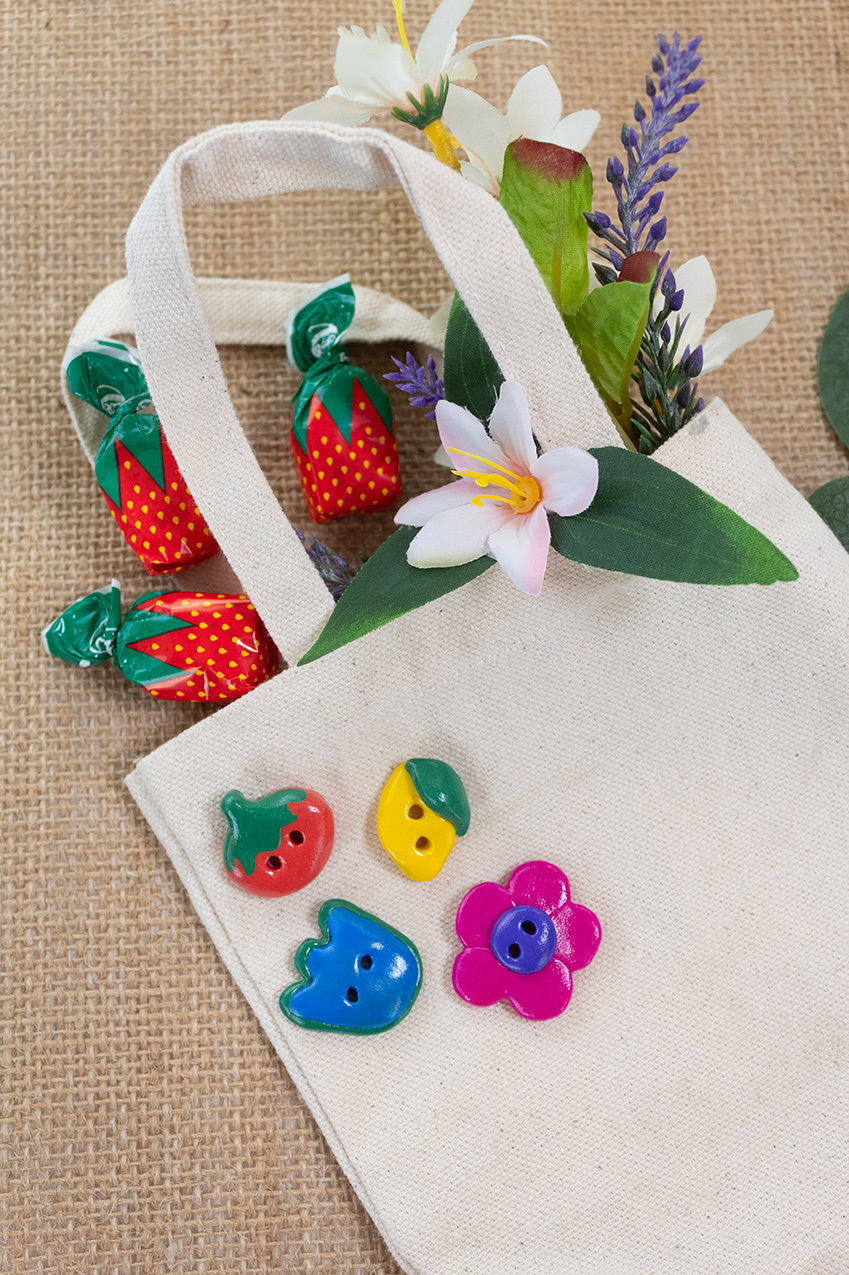
These buttons are perfect for adding to just about anything - a farmer’s market tote, your favorite sweater, or any DIY project that could use a personal touch. I went with a farmer's market inspired theme with a tulip, lemon, flower, and tomato, but you can make just about anything you like. That’s the magic of it! There are no rules, just endless possibilities.
Curious about how to make your own? Keep on reading!

What You'll Need
Sculpey Soufflé™ Oven Bake Clay in Cobalt, Cadmium Yellow, and Magenta
Sculpey Tools™ 8-Inch Acrylic Clay Roller
Sculpey Tools™ Oven-Safe Work Mat
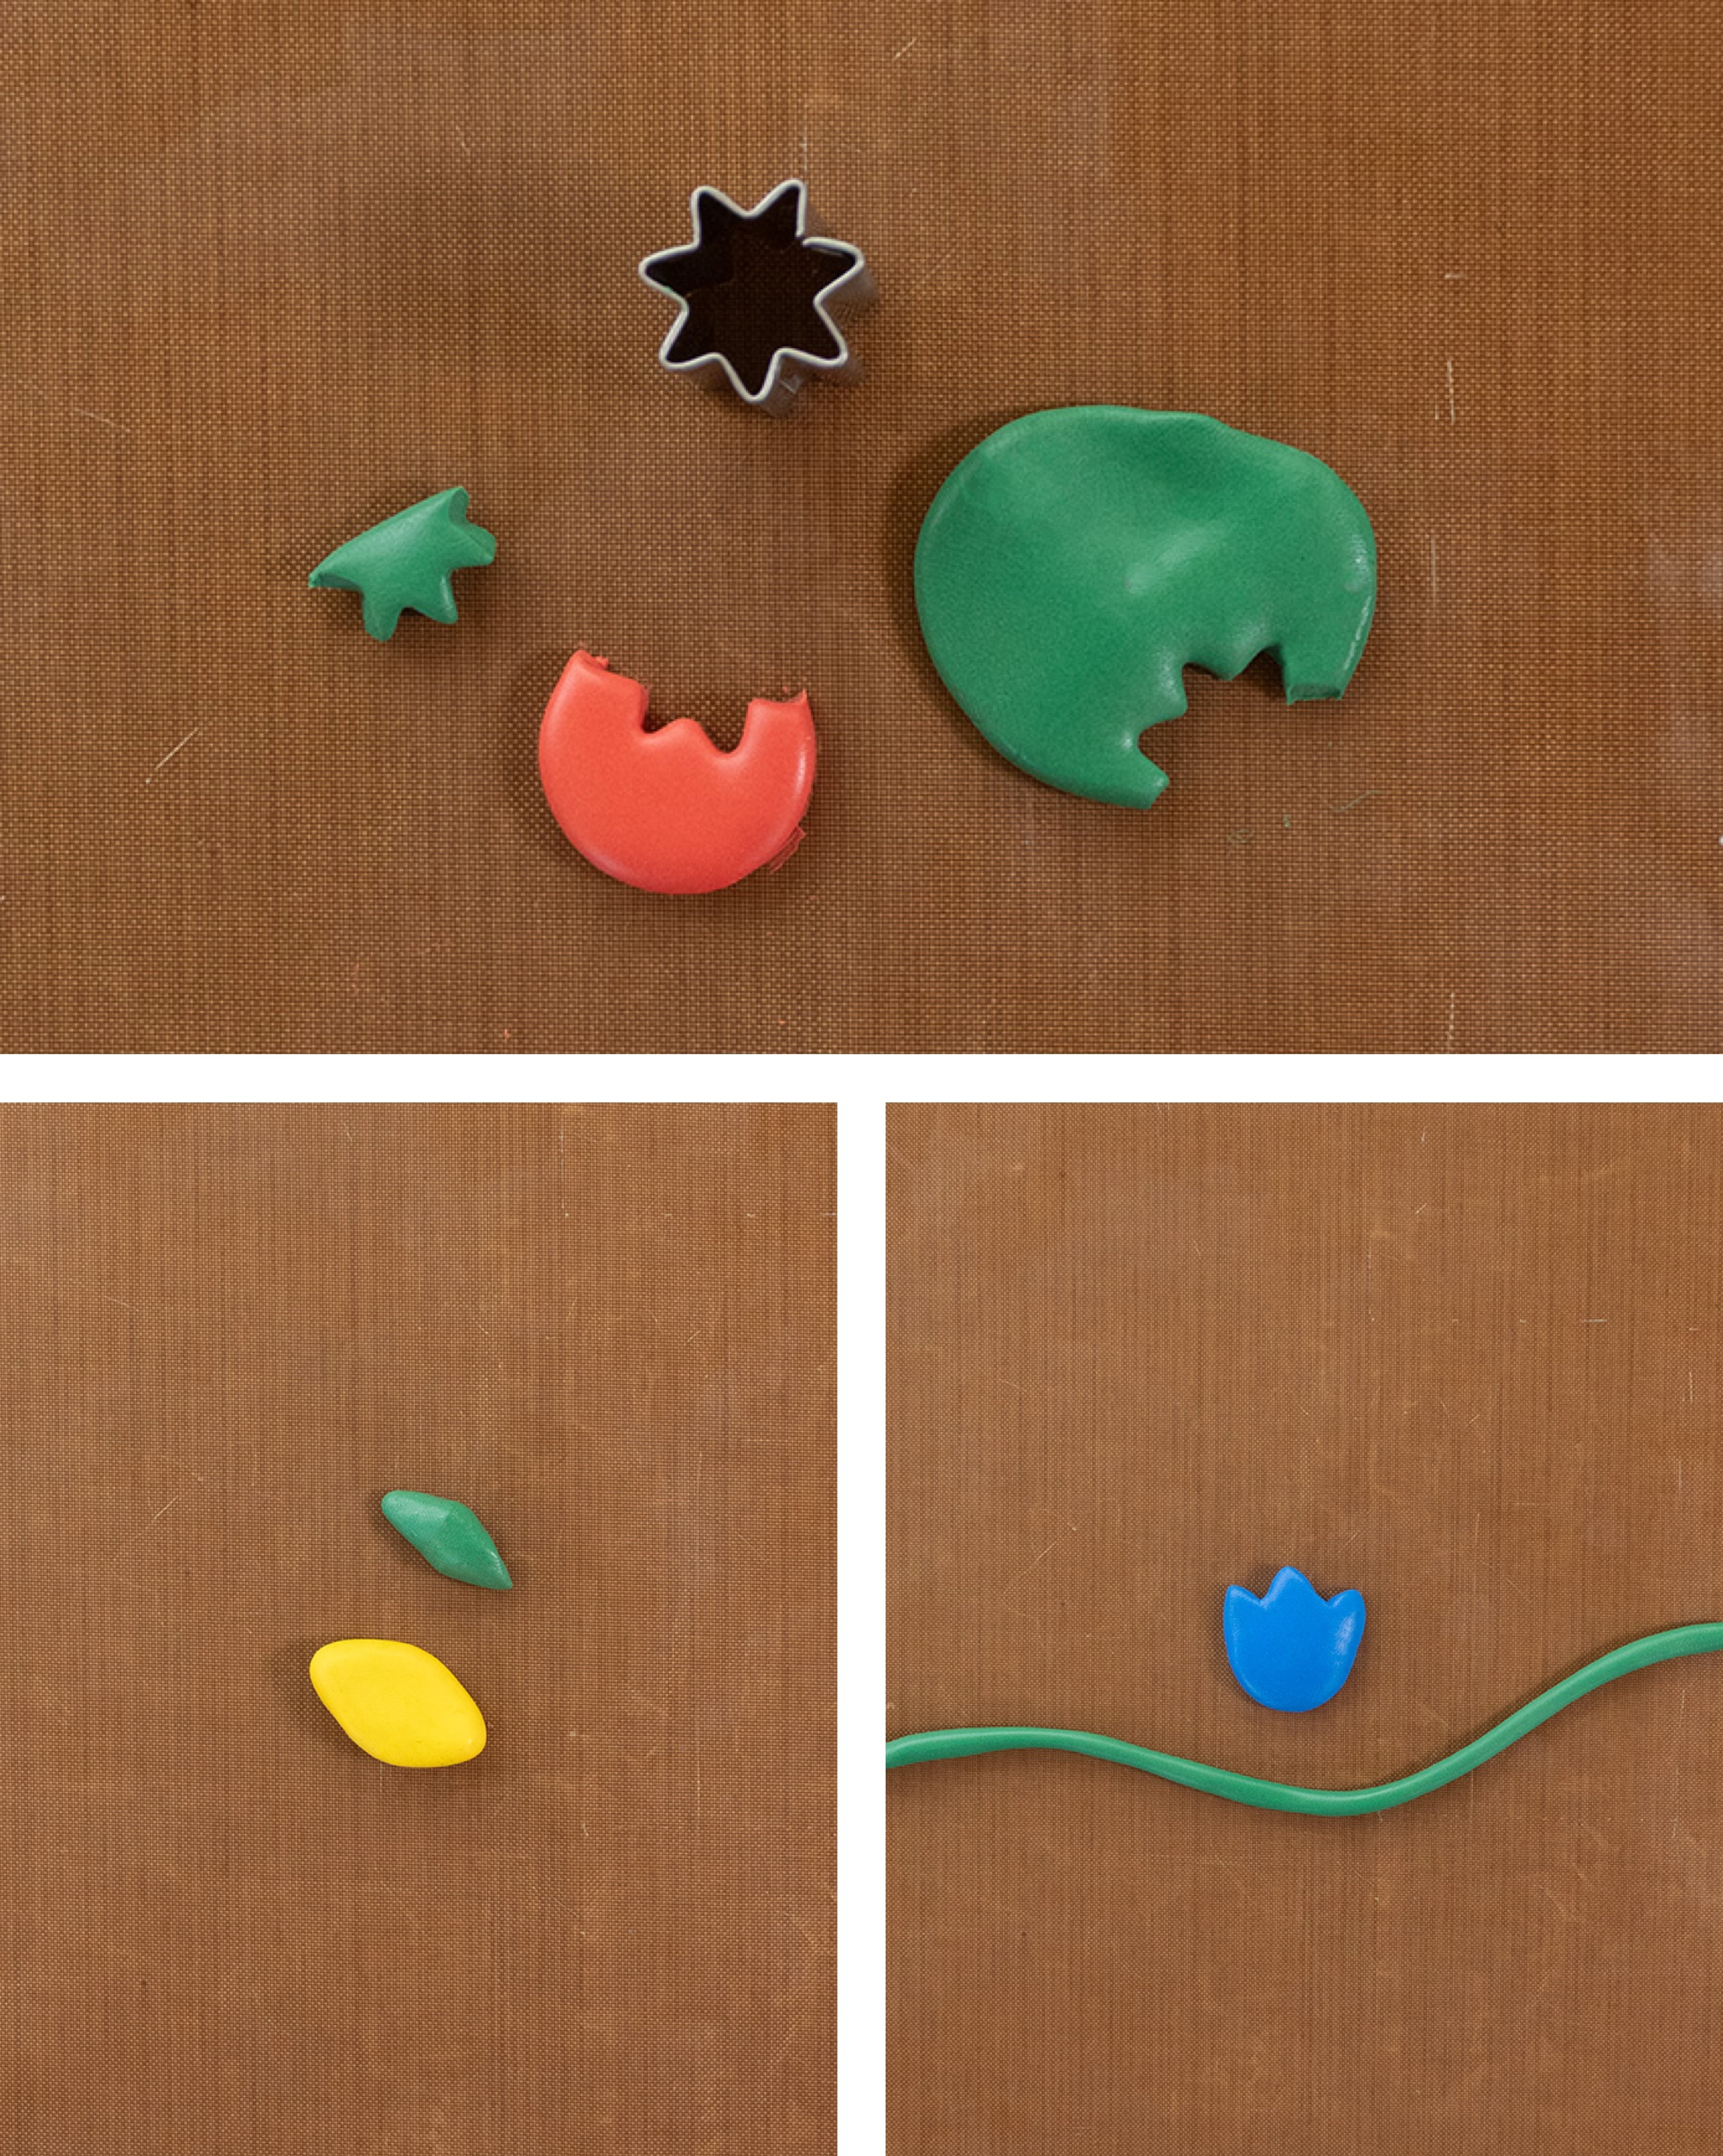
Clay Cutters in desired shapes
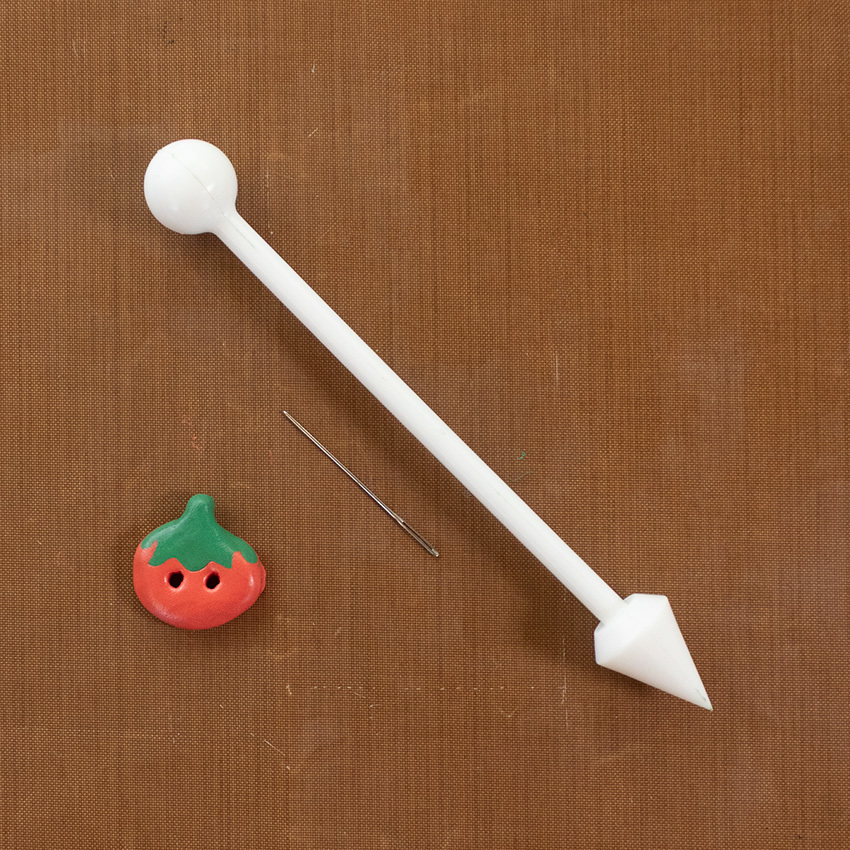
Needle (or something similar) to create small holes for buttons
How To
Step 1) Cut your clay into fourths. 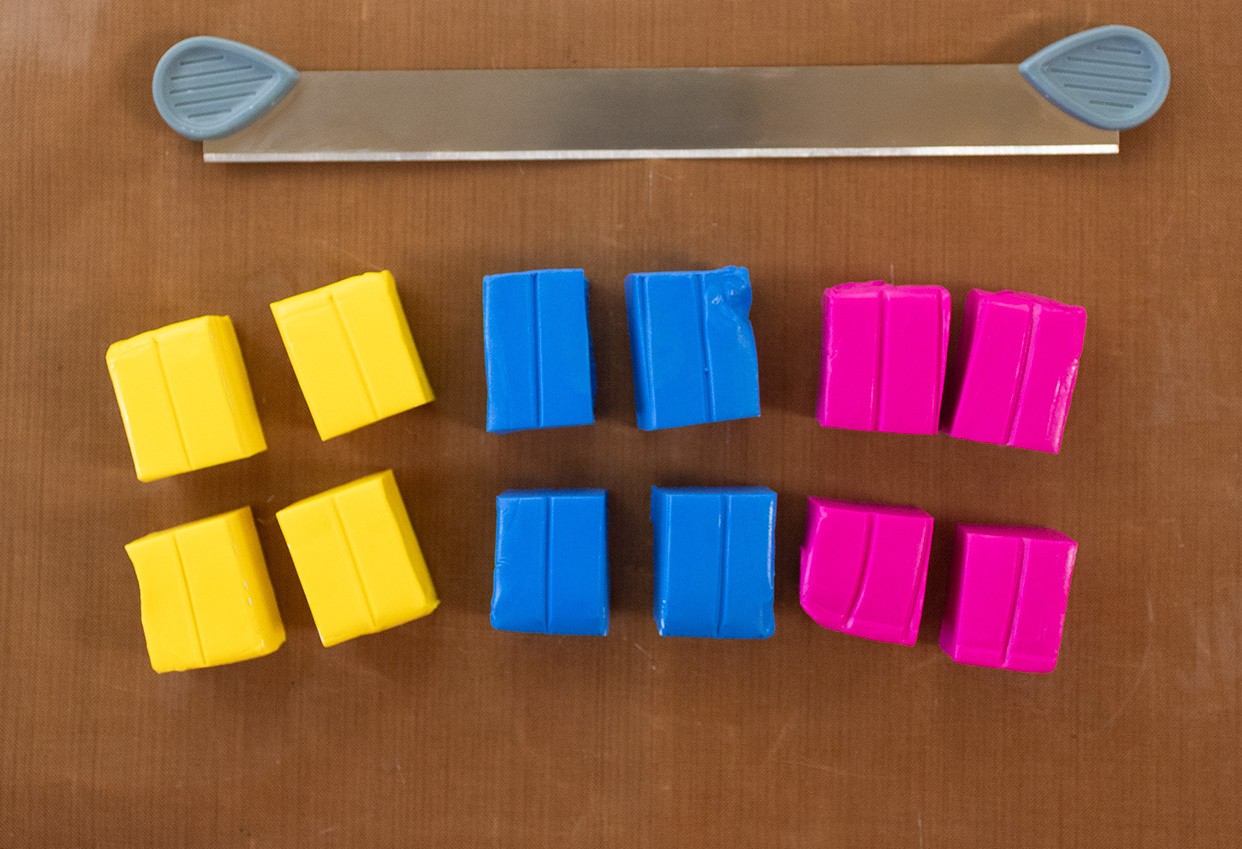
Step 2) Follow the color mixing guide below to create your new colors:
1/4 piece Cadmium Yellow + 1/4 piece Magenta = Soft Red
1/4 piece Magenta + 1/4 piece Cobalt = Purple
1/4 piece Cadmium Yellow + 1/4 piece Cobalt = Green
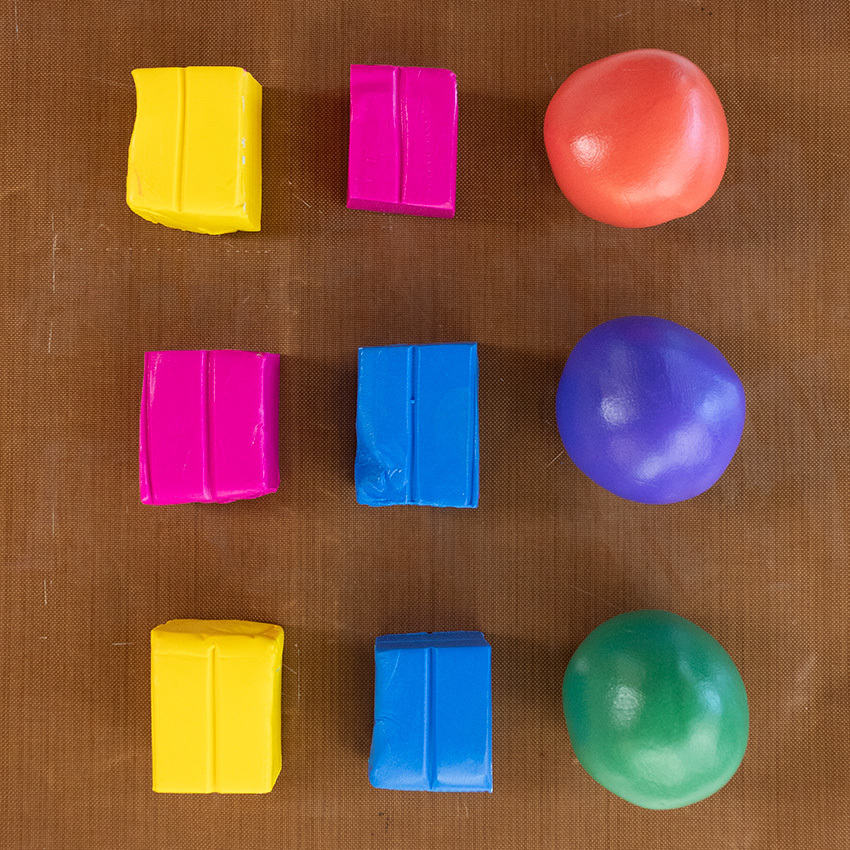
And now you get 6 colors from 3!
Step 3) Create your desired shapes. I made a flower, tomato, lemon, and tulip but you can make just about anything!
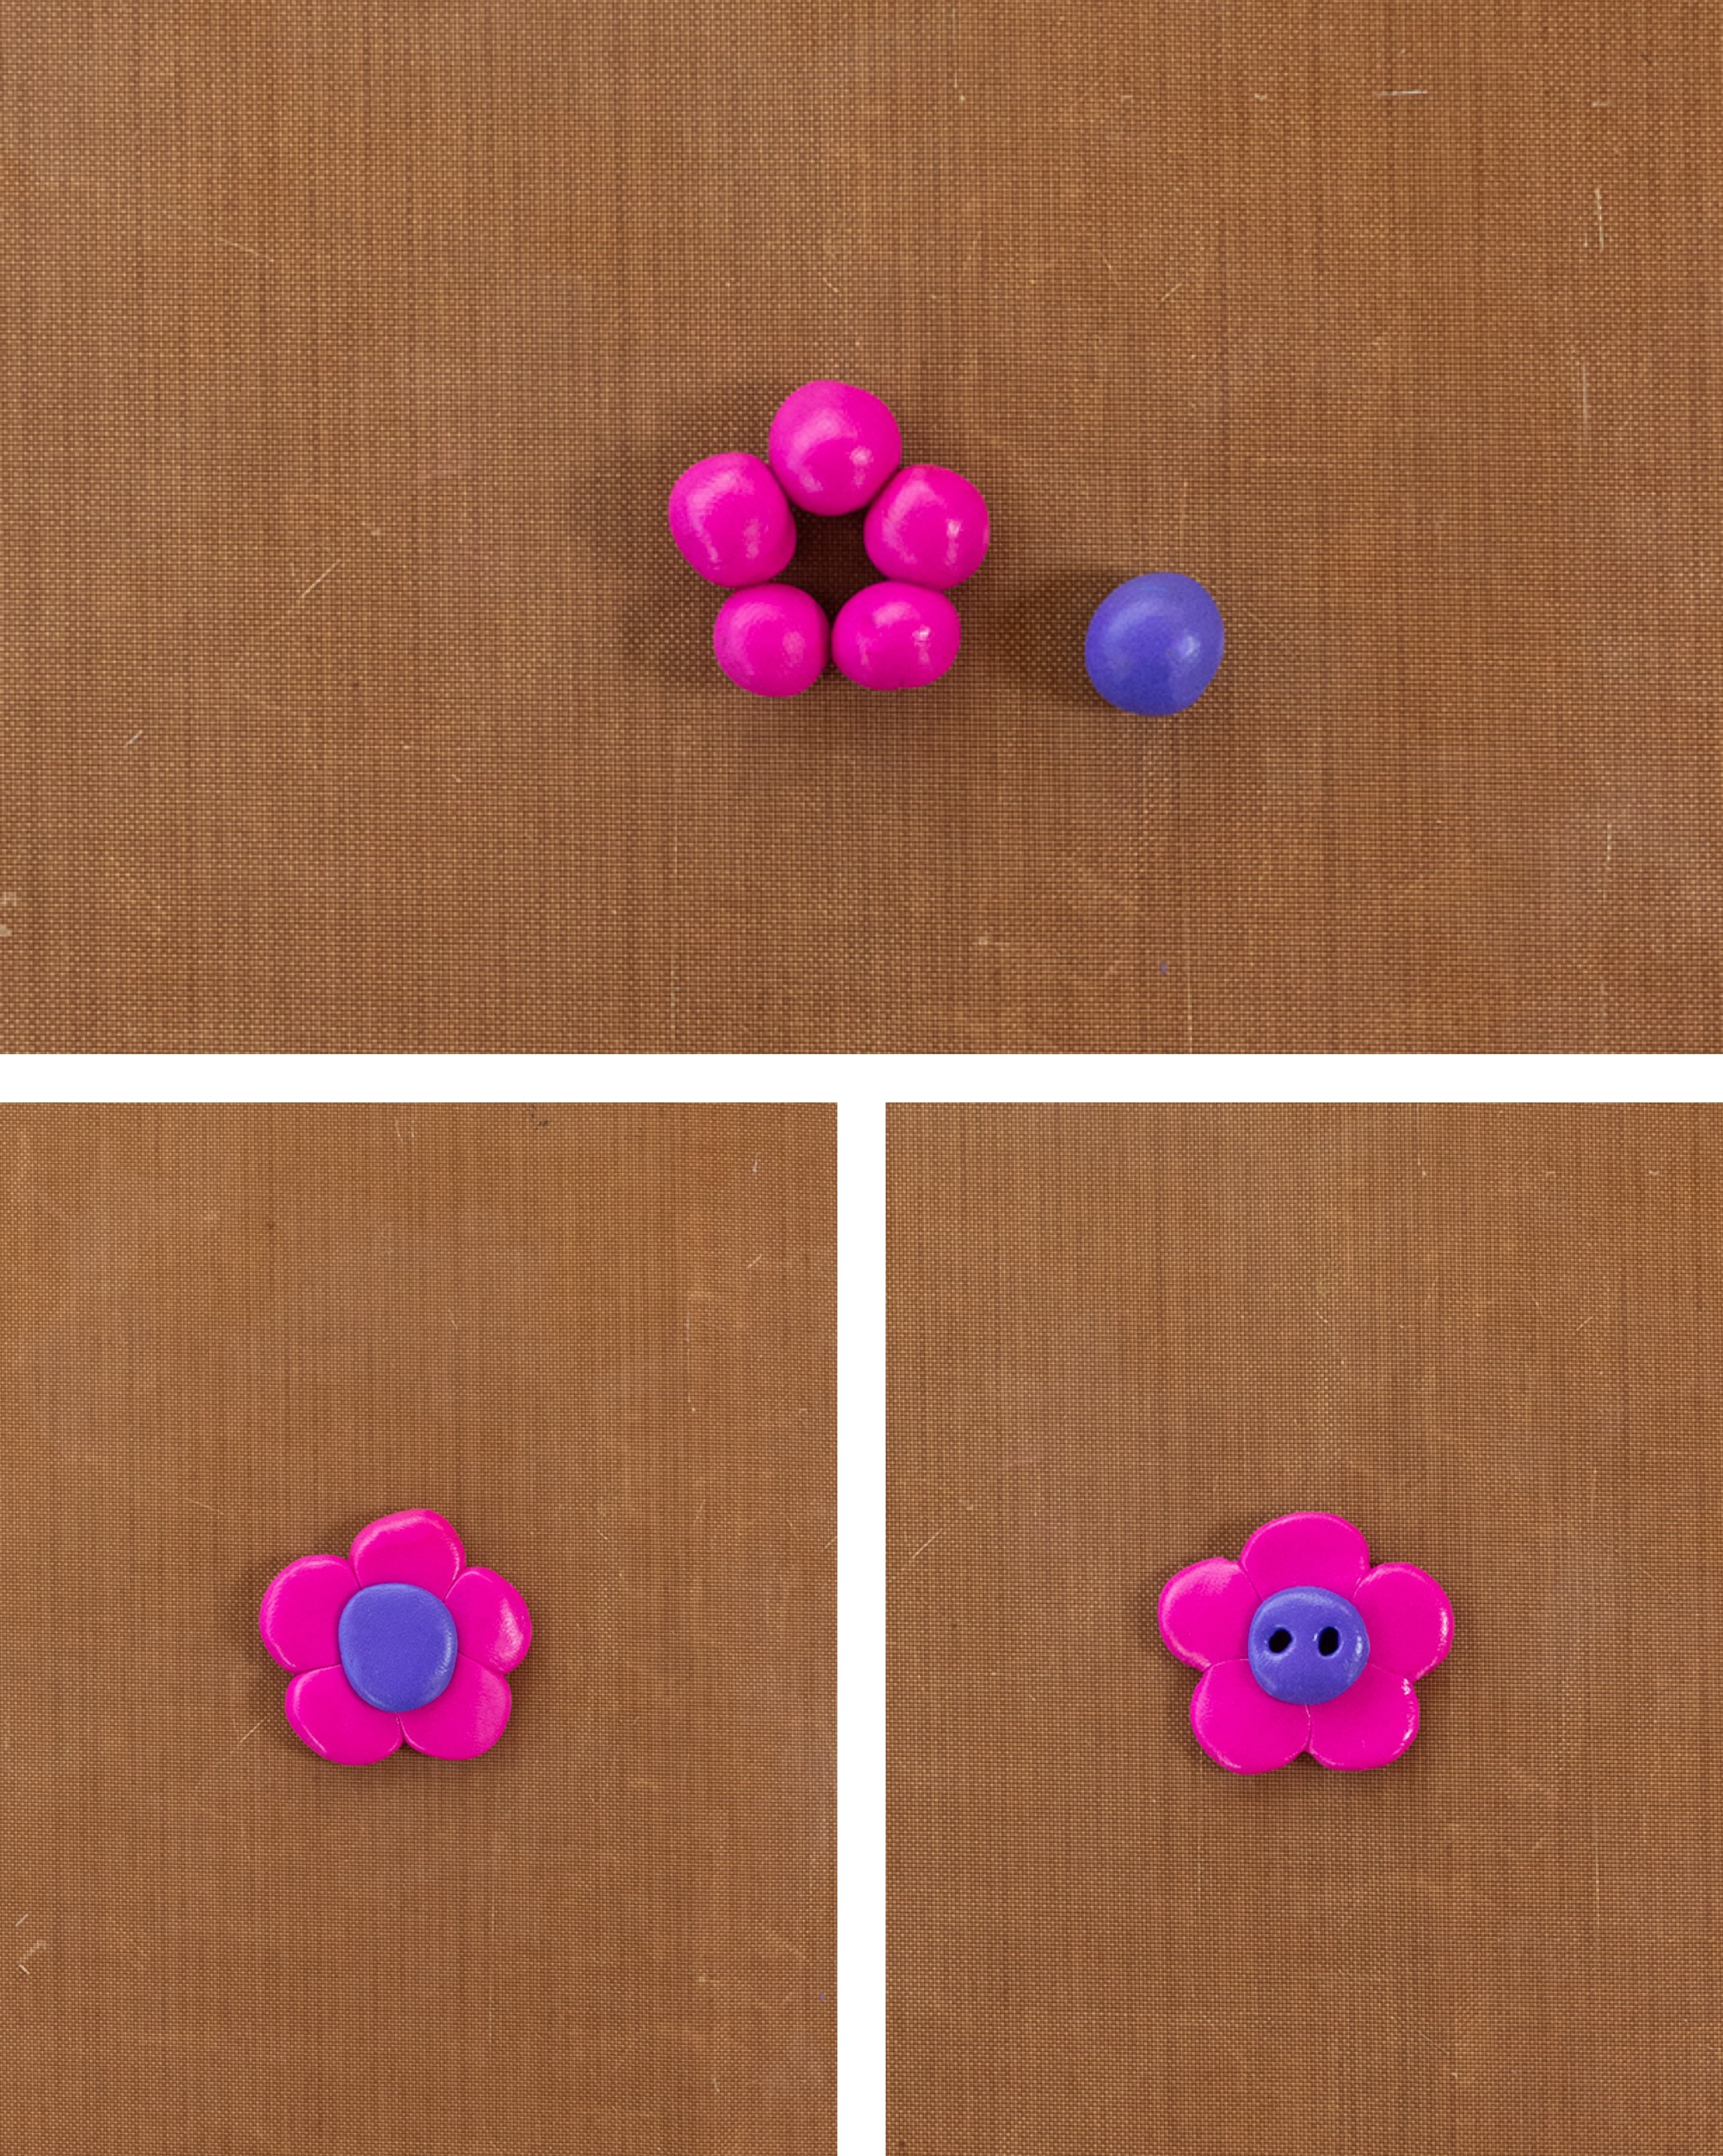
Step 4) Once you've created your designs, use a needle or similar object to create the small holes for the buttons.
Step 5) Bake your clay according to package instructions.
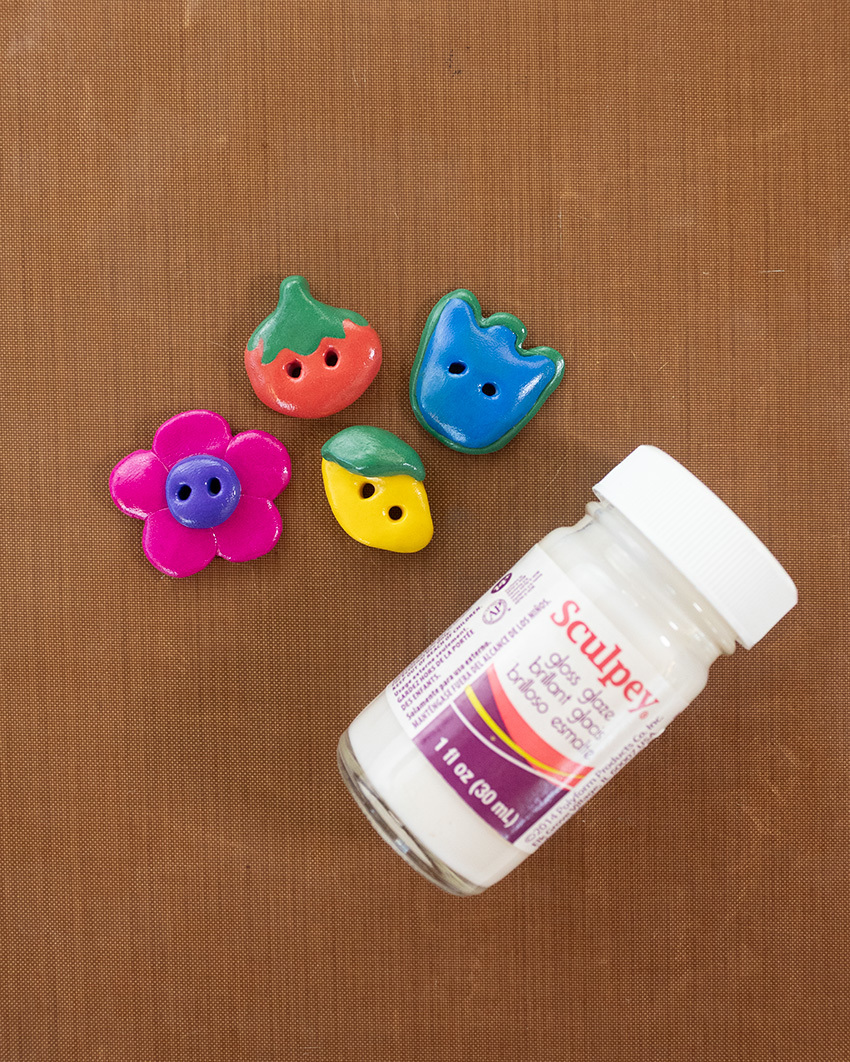
Step 6) Once your buttons have cooled, add a gloss glaze on top for extra shine.
And you're all set! Time to get crafty with your new handmade buttons!


Comments: