DIY Trinket Boxes With Liquid Sculpey
This is a sponsored post written by me on behalf of Polyform Products. All opinions are 100% my own.
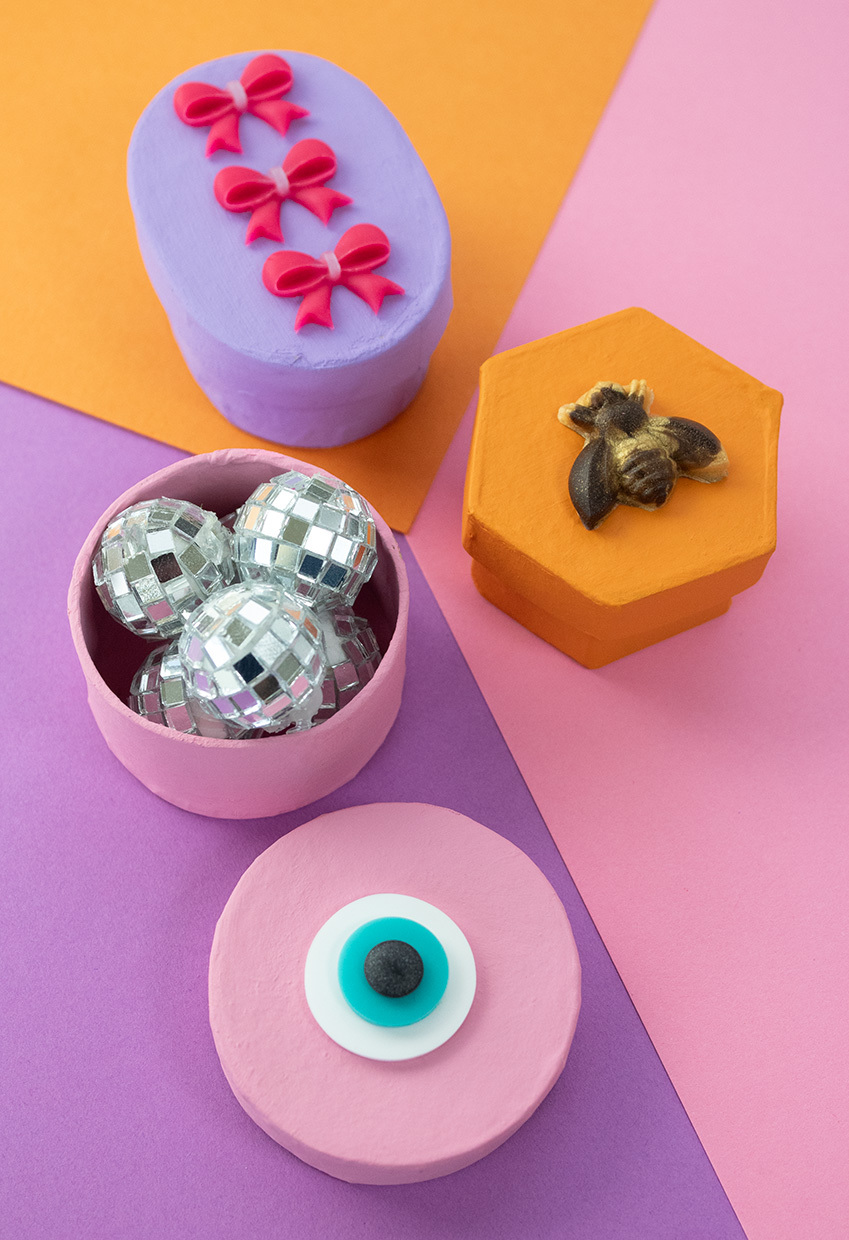
Have you ever worked with liquid polymer clay? If not, I'm here to show you the way with the cutest mini trinket boxes made with Liquid Sculpey! Liquid Sculpey is such a versatile product and it's great for beginners and advanced makers alike. You can use it to fill bakeable silicone molds (which is what I did for this project) or you can even get creative with it and make freehand projects such as window clings!
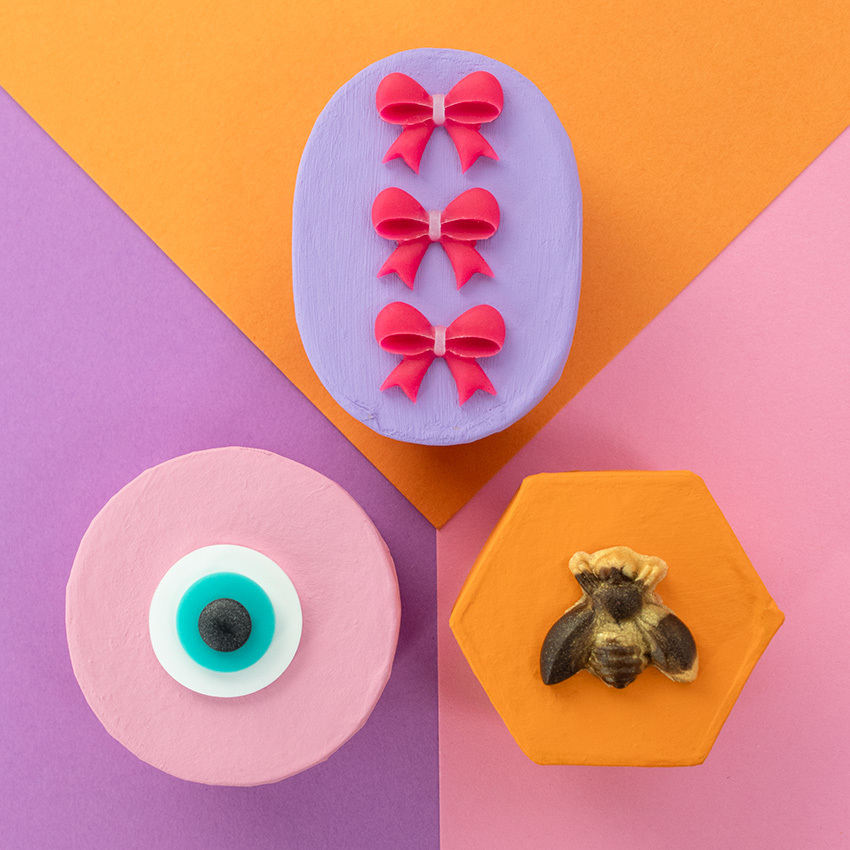
If you're like me and you love working with traditional clay, Liquid Sculpey is a must try. You can add glitter or flowers to it, make it thicker or thinner, or just creatively expand the way you've always thought about working with clay (it's pretty much like magic in a bottle).
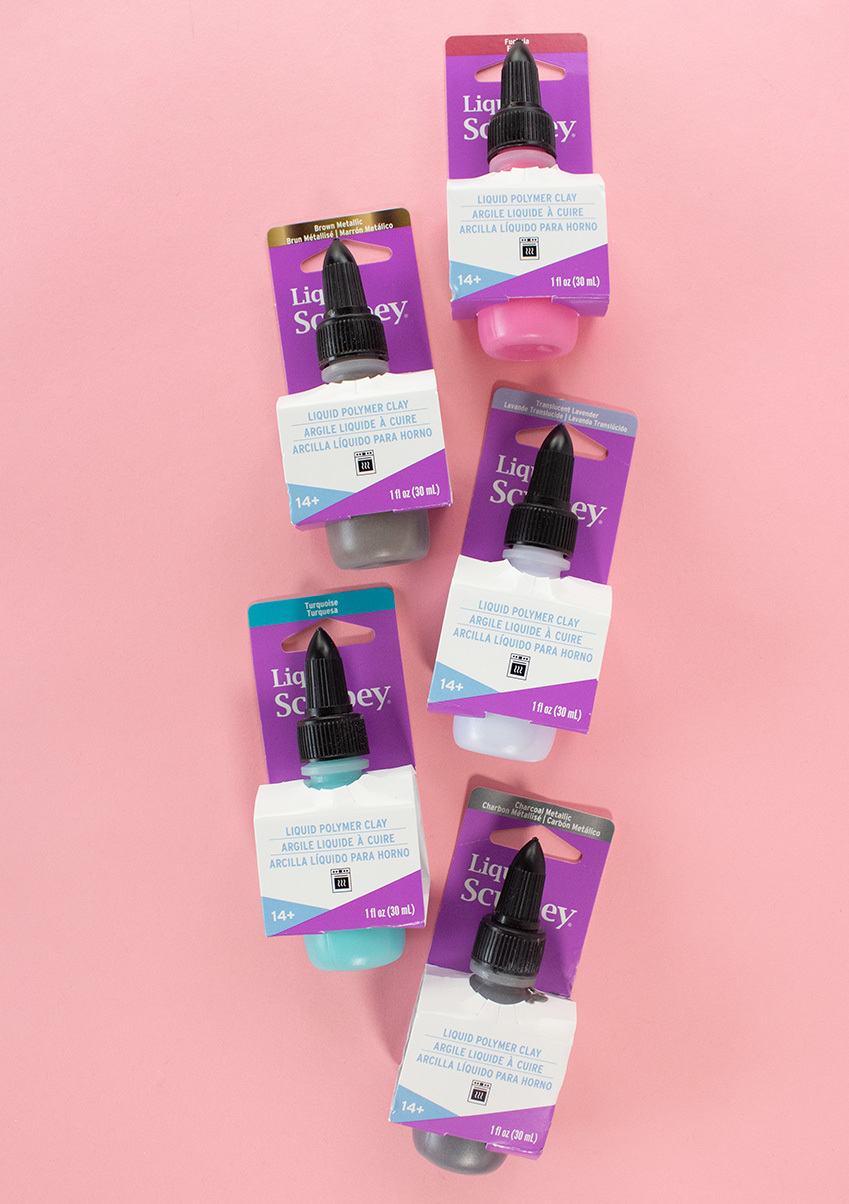
I've used Liquid Sculpey to make my own jewelry in the past, but today I am so excited to share how I made small embellishments using some of the newest colors: Fuchsia, Translucent Lavender, Turquoise, Charcoal Metallic, and Brown Metallic! While today's craft is for mini trinket boxes, some other fun project ideas could include making your own paper clips, magnets, or even scrapbook decorations!
To learn how easy it is to get crafty with Liquid Sculpey, keep on reading!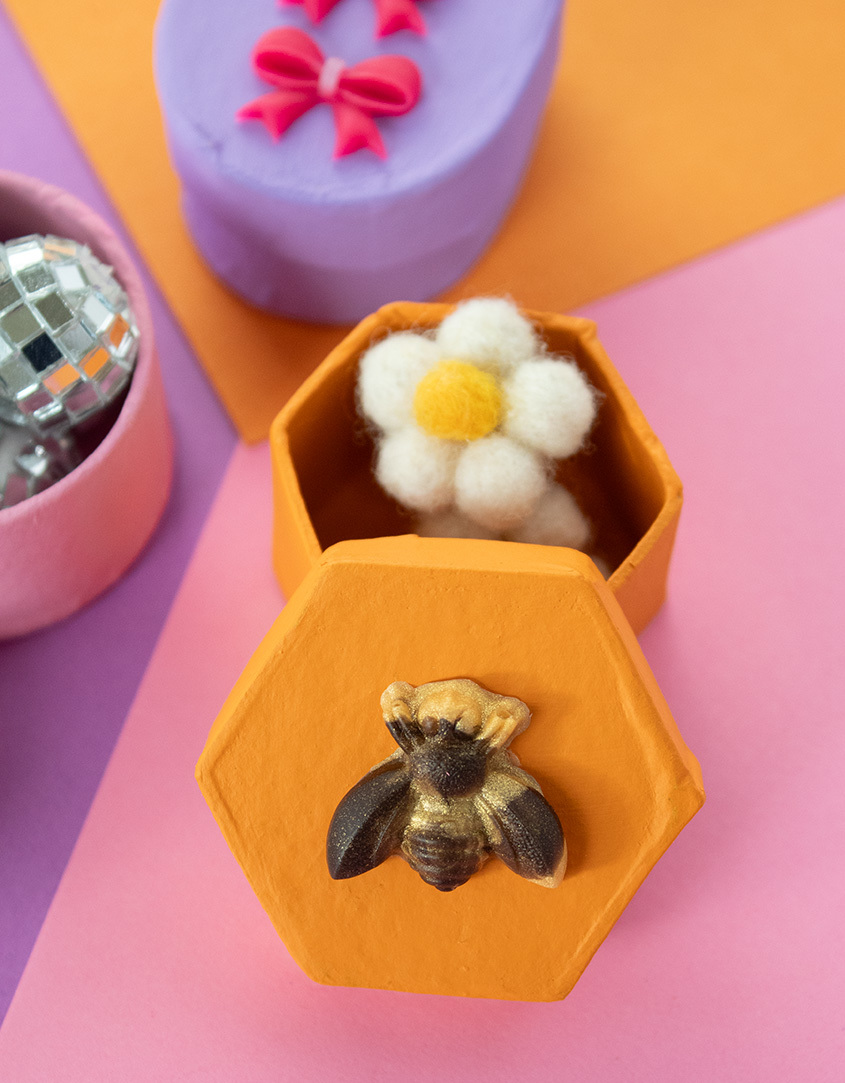
What You'll Need
For The Bows:
For The Eye:
For The Bee:
Desired Molds
Mini Paper Mache Boxes
Paint + Paintbrush
Glue
How To
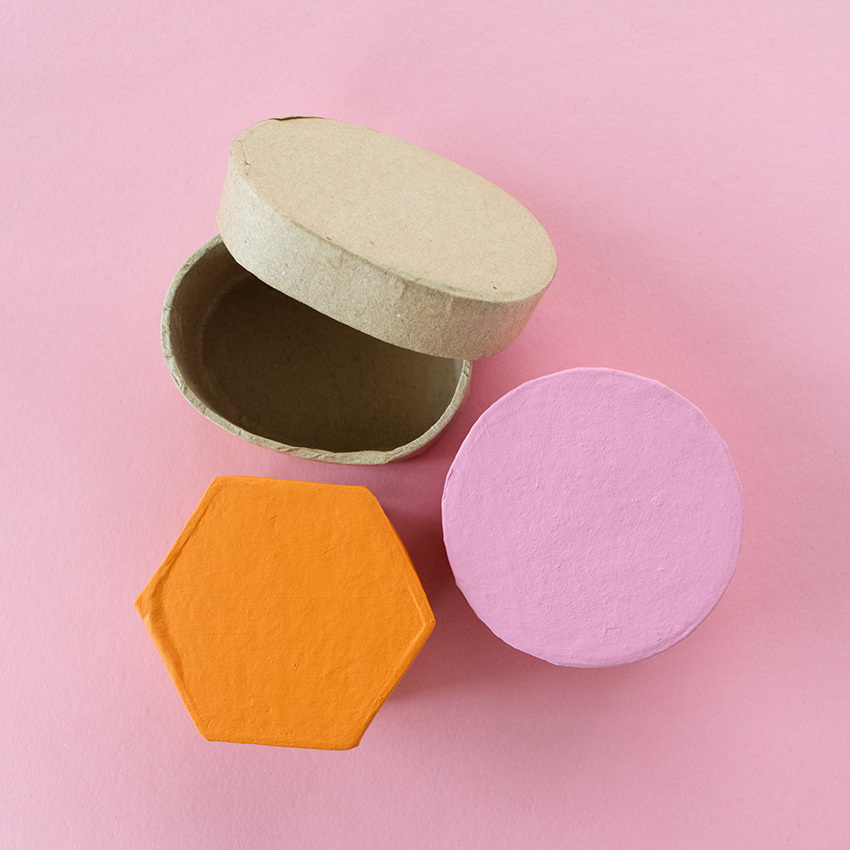
Step 1) Paint your mini paper mache boxes.
Step 2) Stir your Liquid Sculpey and then fill your molds to create your embellishments. Bake according to Liquid Sculpey package instructions.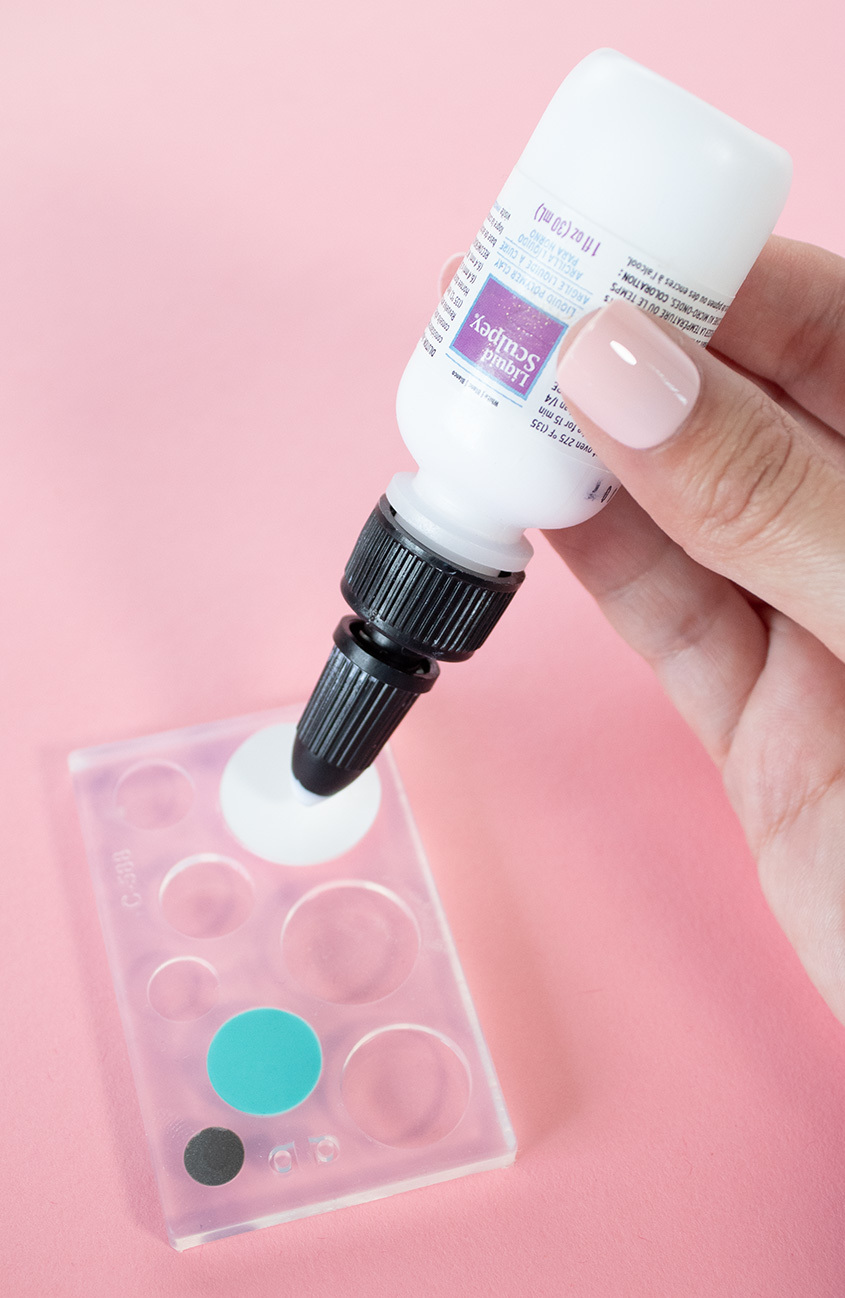
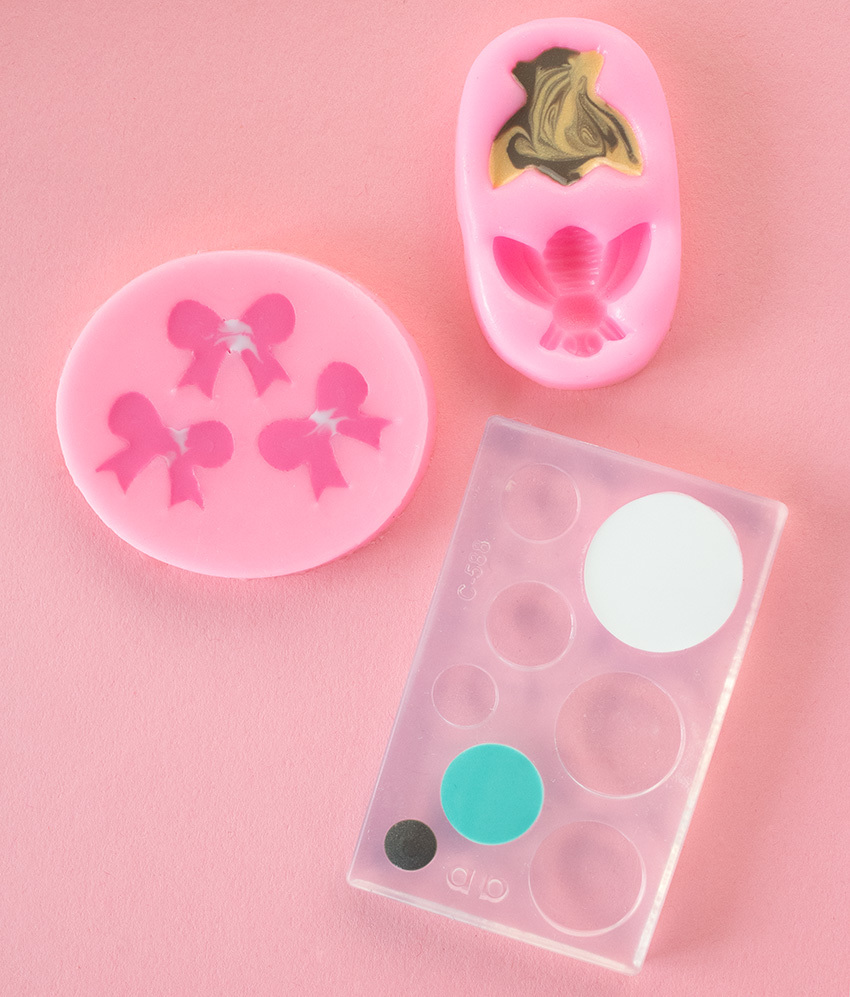
Step 3) Once removed from the oven and cooled, glue your embellishments onto your boxes.
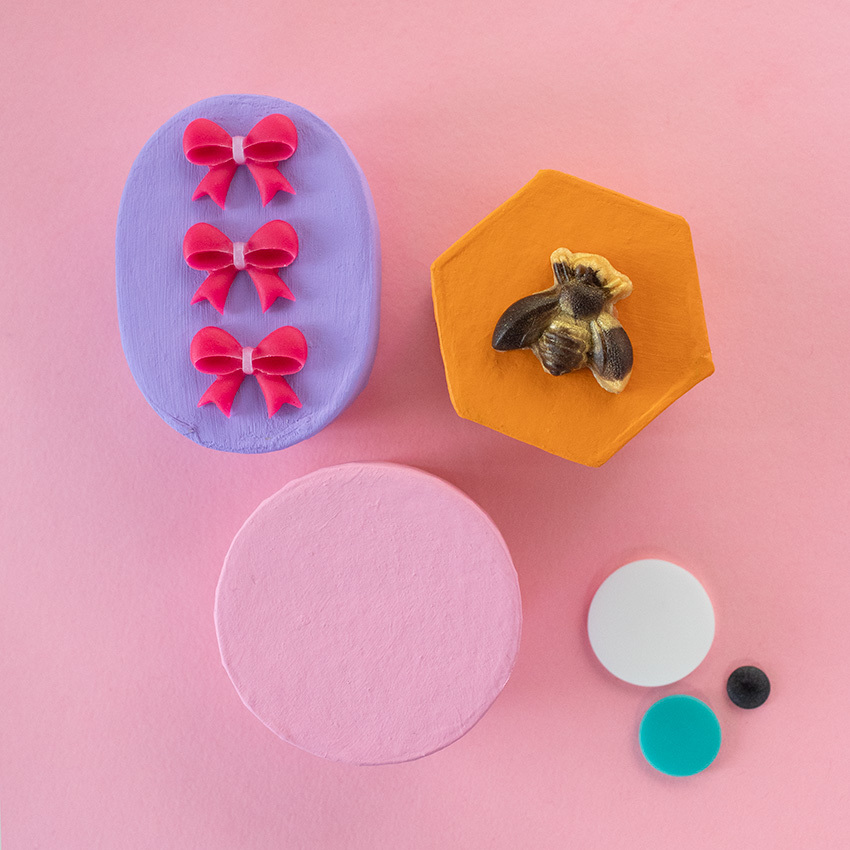
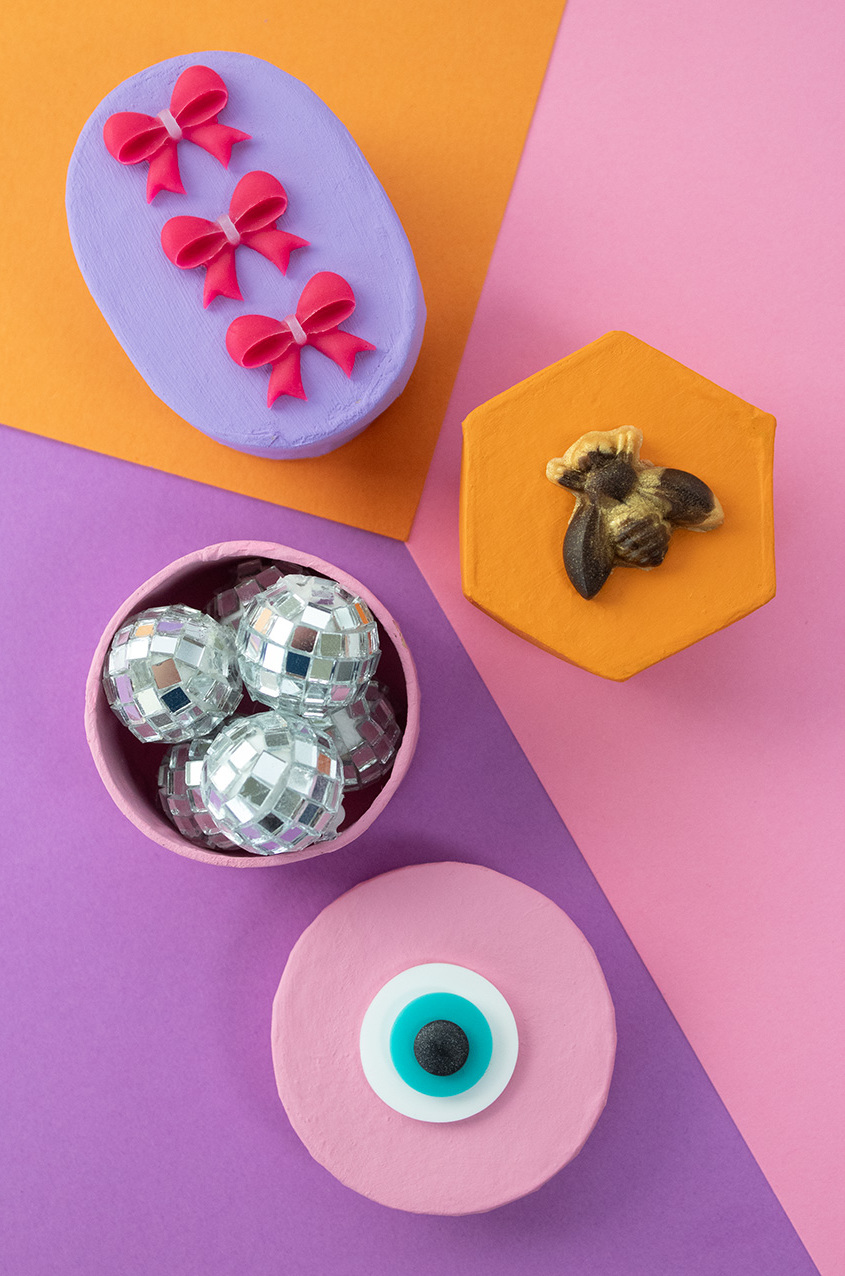
Fill with small trinkets and gift to a friend or keep for yourself! Happy making!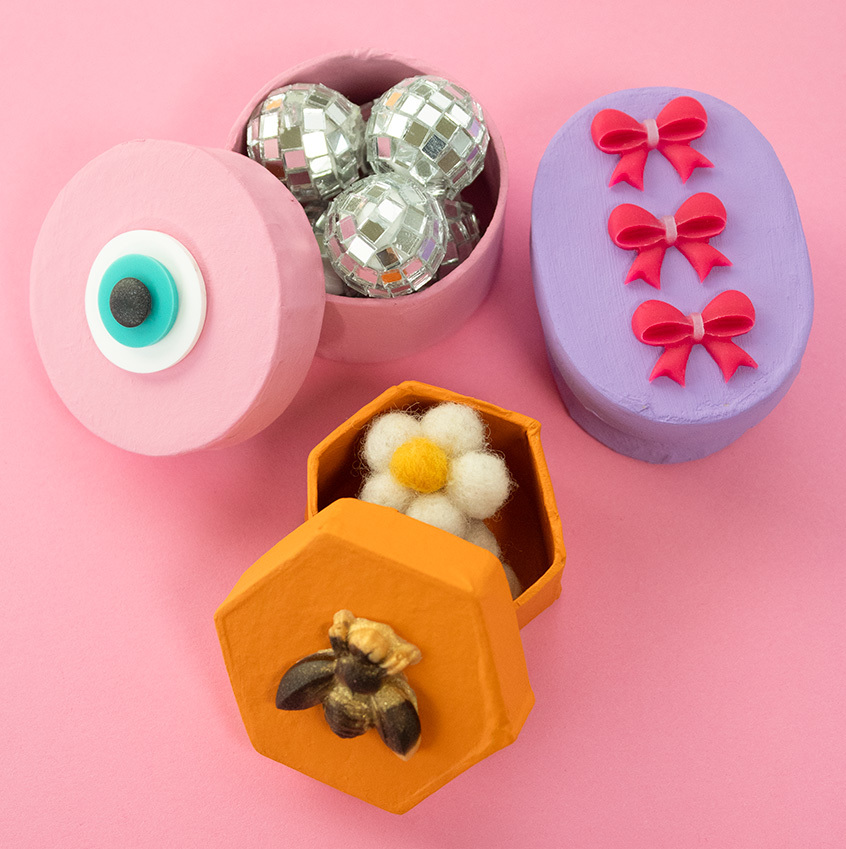








Comments: