


DIY Diamond Painting
This is a sponsored post written by me on behalf of Aleene’s. All opinions are my own.
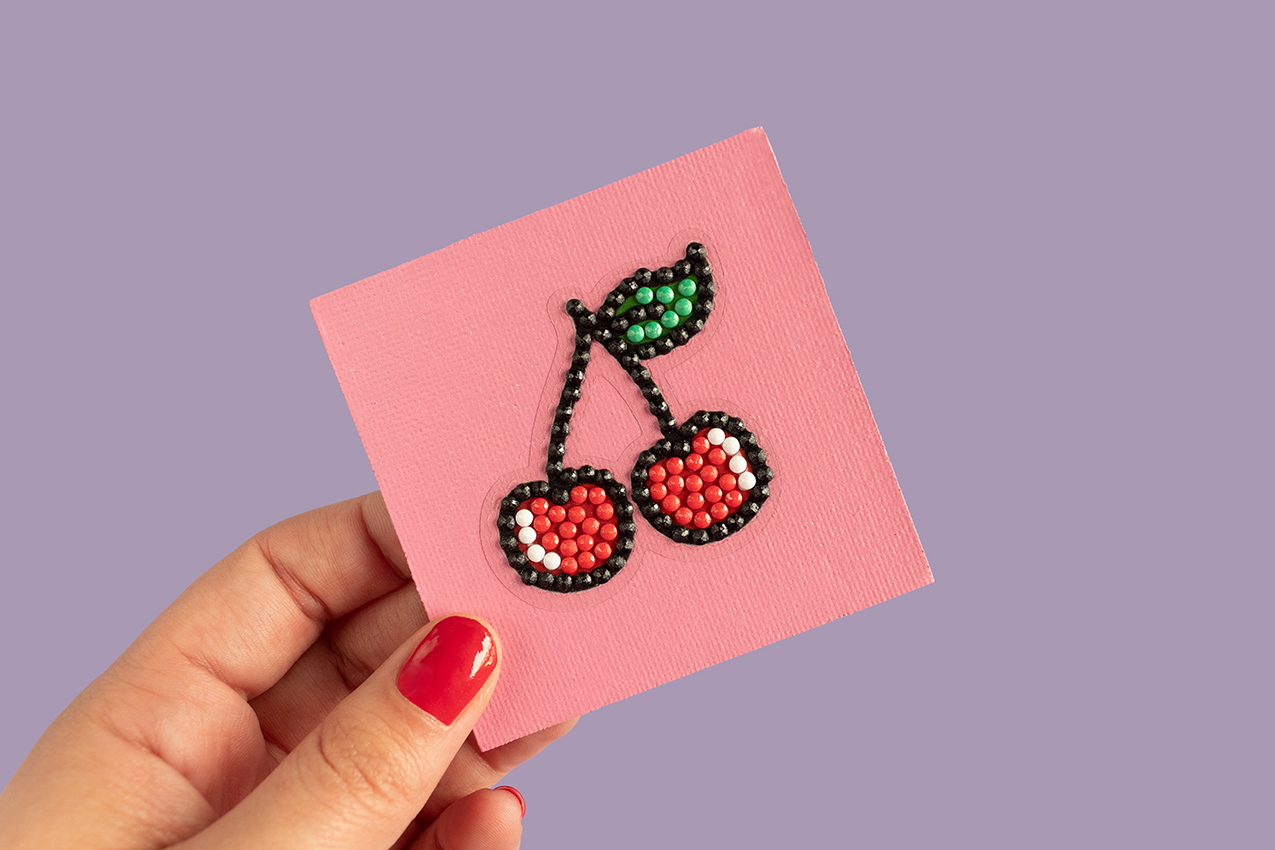
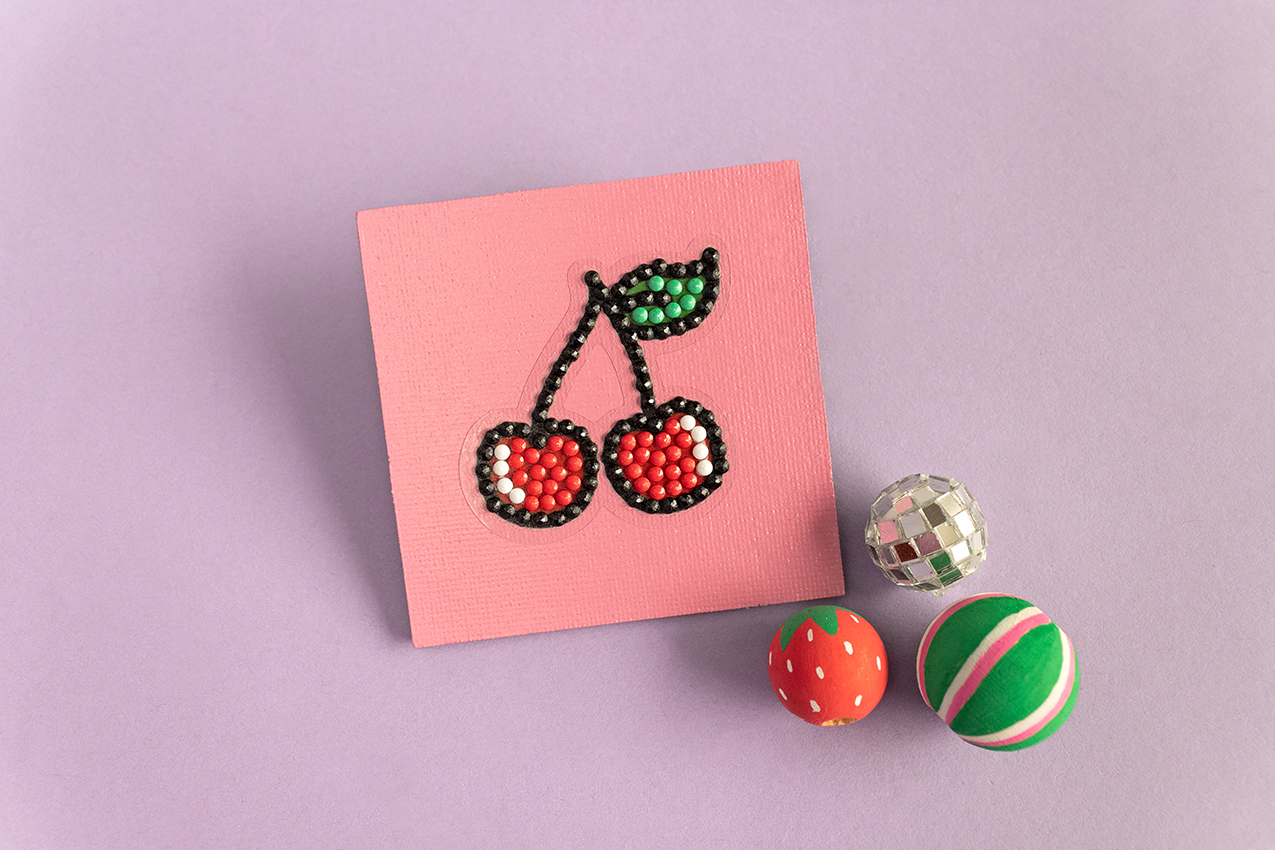
Have you seen the diamond painting trend that’s taken over the crafting world? I’ve had my eye on it and thought it would be a fun craft to try out on here. There are so many different diamond kits available to choose from and they come with all of the tools you need to put your painting together which honestly makes things really easy! I added my diamond painting to a mini canvas that I painted but I think it would also be super cute to place on a notebook or journal, too!
I also sealed my painting using Aleene’s Super Gloss Finish Acrylic Sealer to help keep my diamonds in place and to give my piece a little extra shine. I think it turned out pretty cute! To learn all about my process, keep on reading for the how-to!
What You'll Need
Aleene’s Super Gloss Finish Acrylic Sealer
Diamond Painting Kit
Canvas
Paint + Paintbrush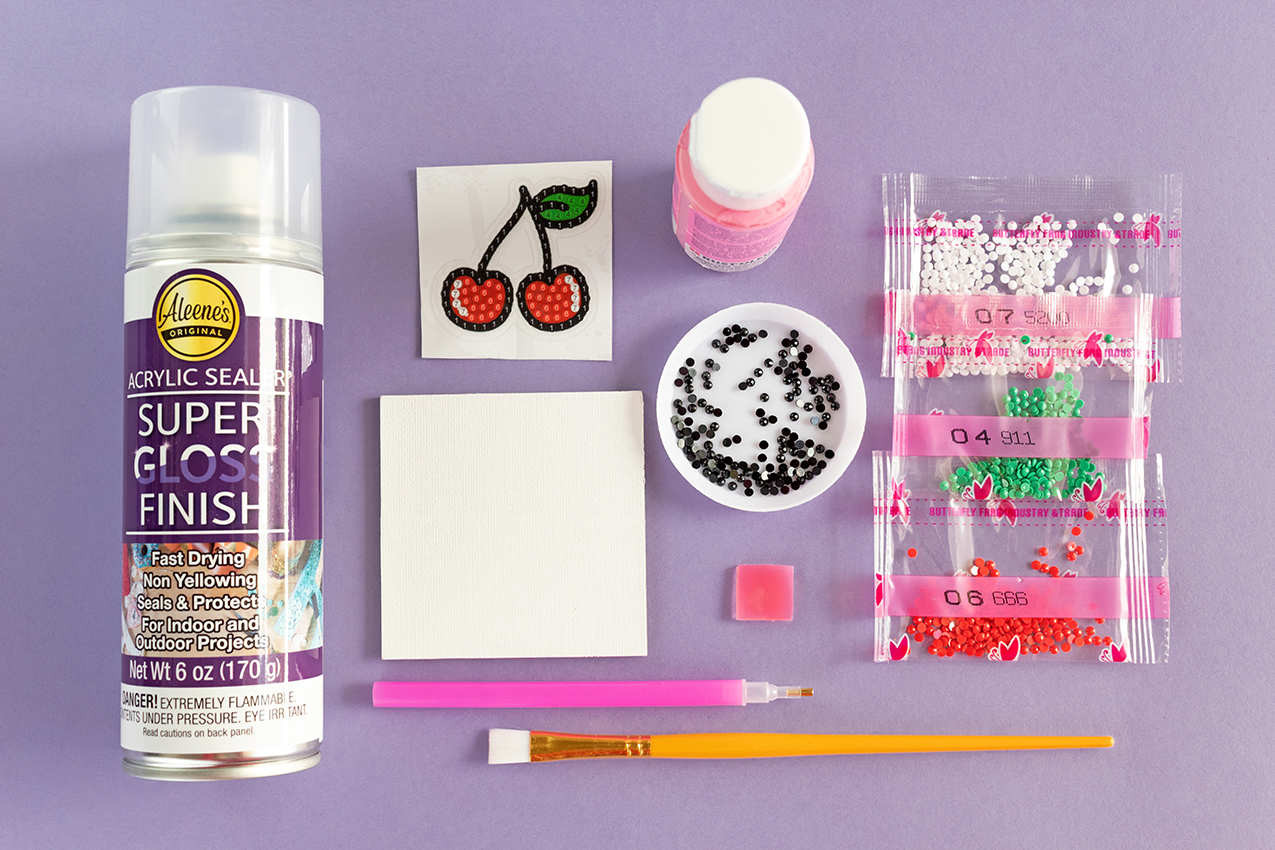
How To
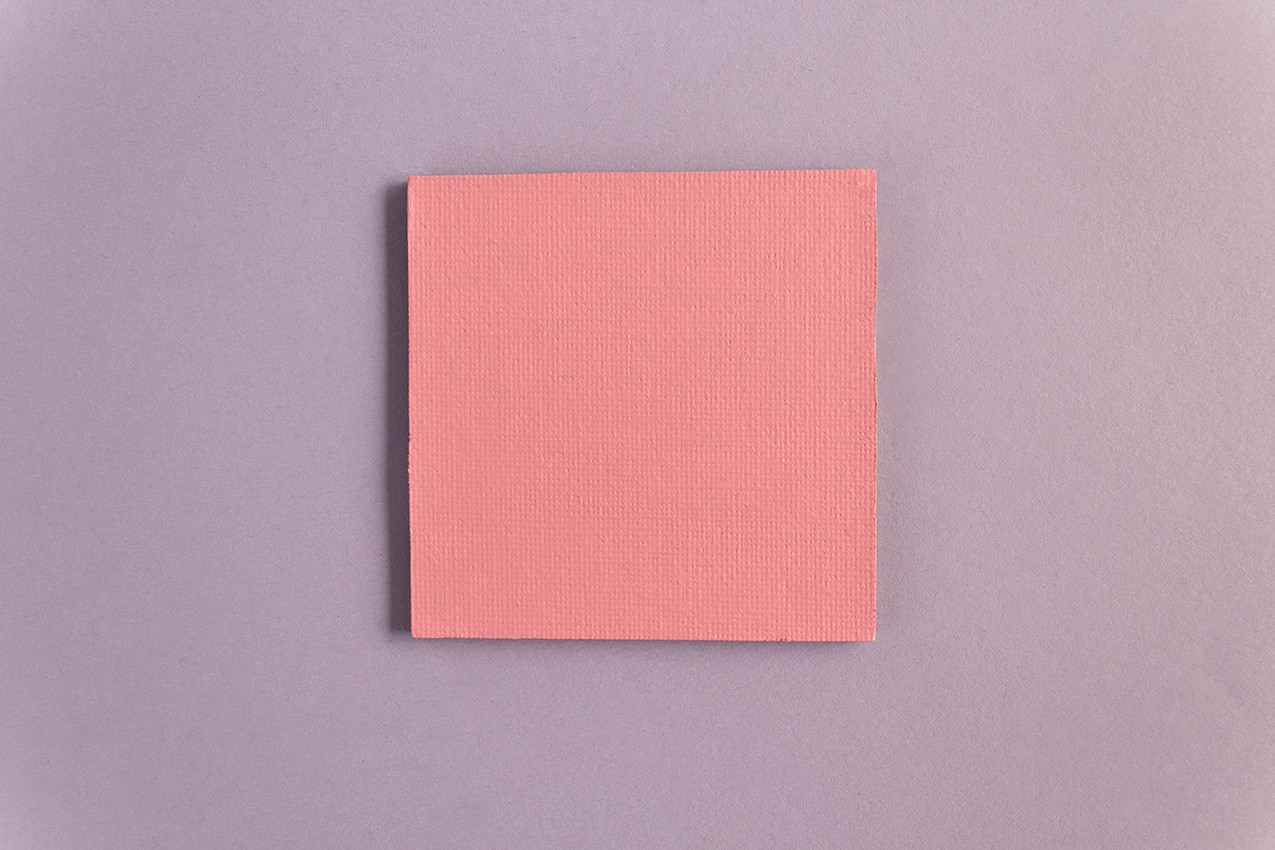
Step 1) Paint your canvas any color you like and allow it to dry completely.
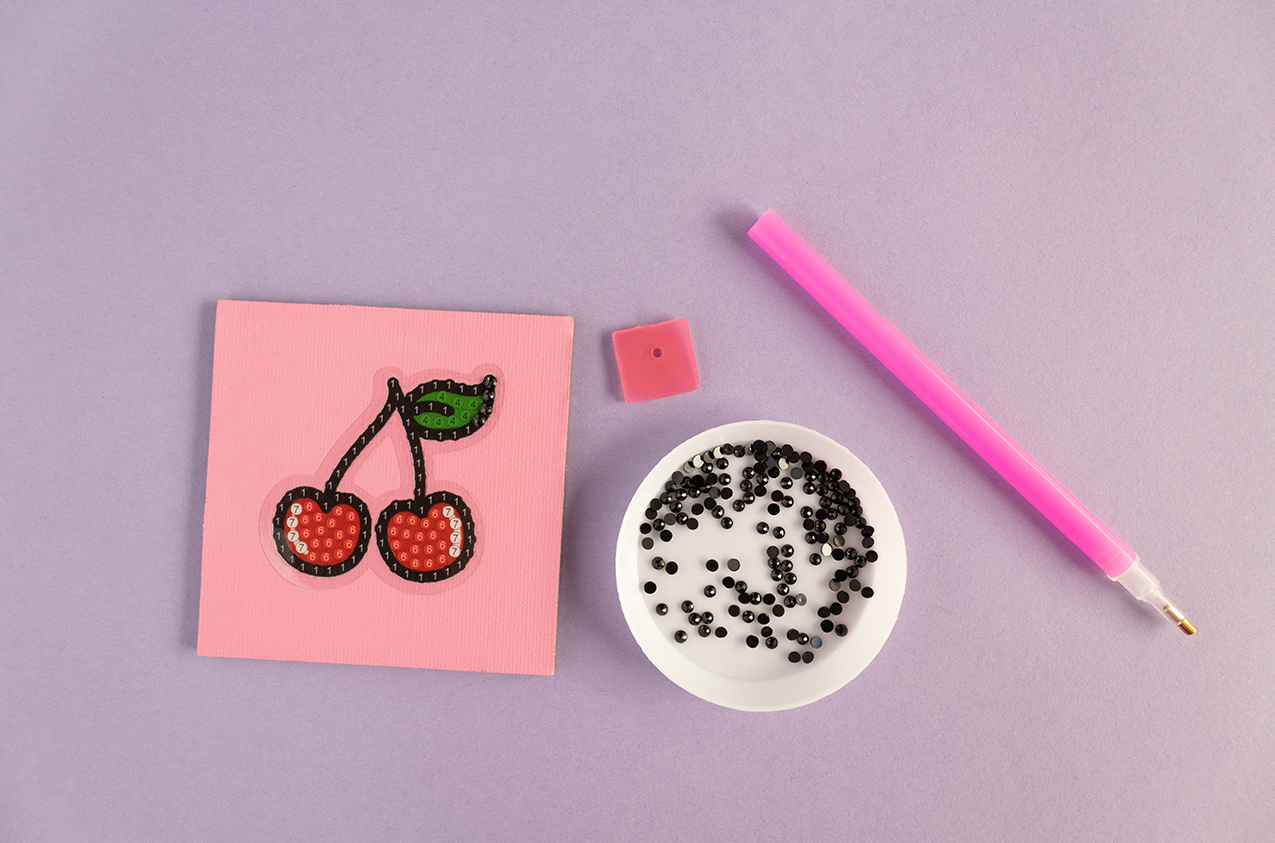
Step 2) Read and follow the directions on your Diamond Painting Kit. I started by removing the film from the surface of my desired pattern and then I attached the pattern sticker to my canvas. I poked a hole in the solid glue that my kit came with using my diamond sticky pen and then I used the pen to press on the diamonds one at a time, matching each color to its corresponding number till completed.
Step 3) Seal your diamond painting using Aleene’s Super Gloss Finish Acrylic Sealer. Be sure to shake the can well and spray in a side to side motion for a beautiful glossy finish! Allow it to dry completely and then display your new diamond painting masterpiece!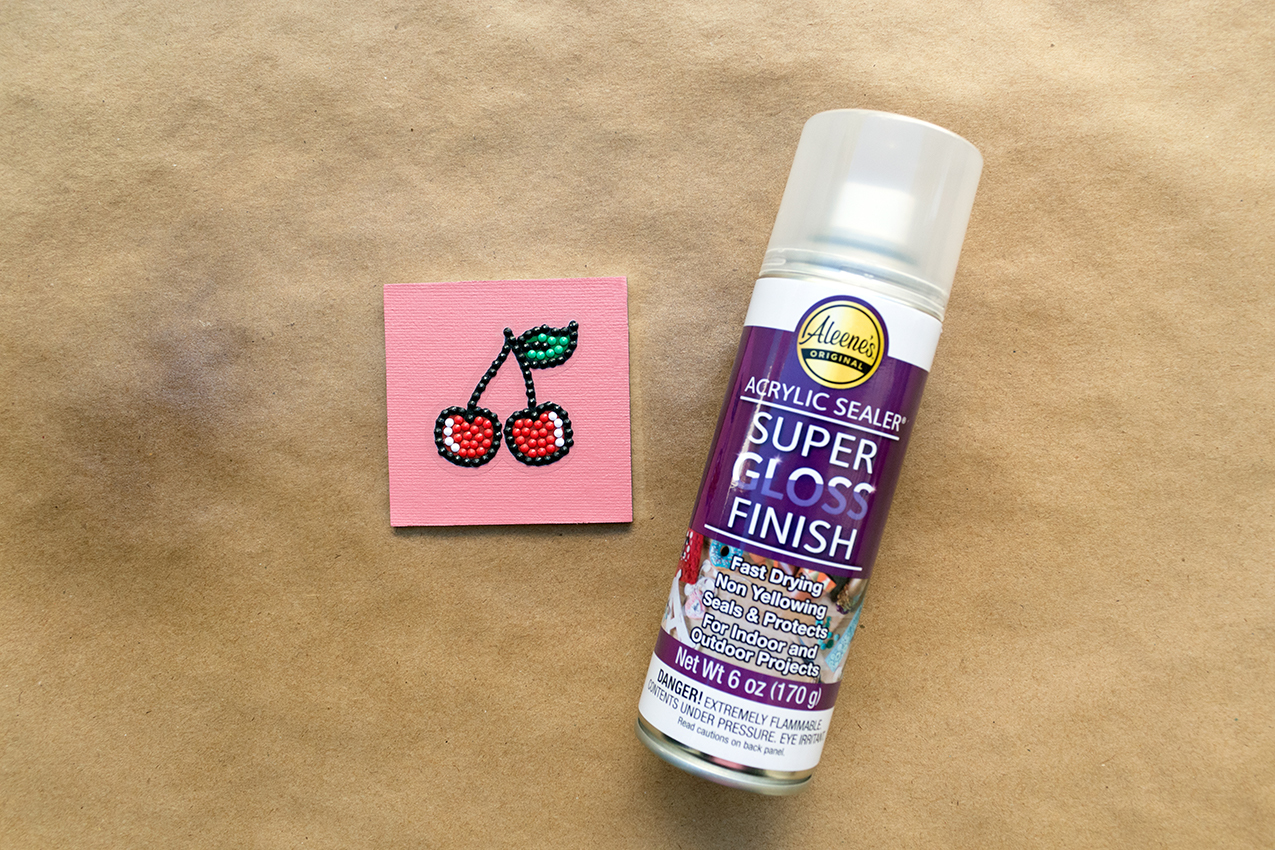


Comments: