


DIY Stamped Phone Cases - 3 Ways
I am so excited to show you guys how you can jazz up your phone cases today in 3 DIFFERENT WAYS with the help of my friends at Rubberstamps.com!
Customized phone cases are SO EASY to make with stamps and they avoid any stress that comes along with free hand drawing. (Phew!) I used an acrylic block and clear stamps from Rubberstamps.com to make each of my phone cases and I really love how their acrylic blocks have grid lines on them to help with exact stamp placements. It makes things so easy.
To make your own stamped phone case be sure to check out Rubberstamps.com for a ton of stock stamp options that you can mix and match OR make your own completely customized case by creating your very own custom stamps on their website! The creative options are truly endless here.
What You'll Need
Acrylic Block - I used the 2" by 2" for all of the phone cases
Clear Stamps - Custom or Stock Designs
Hello Phone Case: Hello Bubble Stamp 1" by 1"
Orange Phone Case: Imperfect Circle Stamp 1" by 1" + Green Marker
Latte Phone Case: Latte Stamp 2" by 2" + Heart Stamp 1" by 1" + Brown Colored Pencil
Additional Supplies Needed:
White Cardstock
Clear Phone Case
Pencil
Small Craft Knife
Scissors
How To
This first step is necessary for all three cases:
Step 1) Grab your clear phone case and trace the shape onto a piece of white cardstock. Cut it out and use a small craft knife to carve out the camera opening.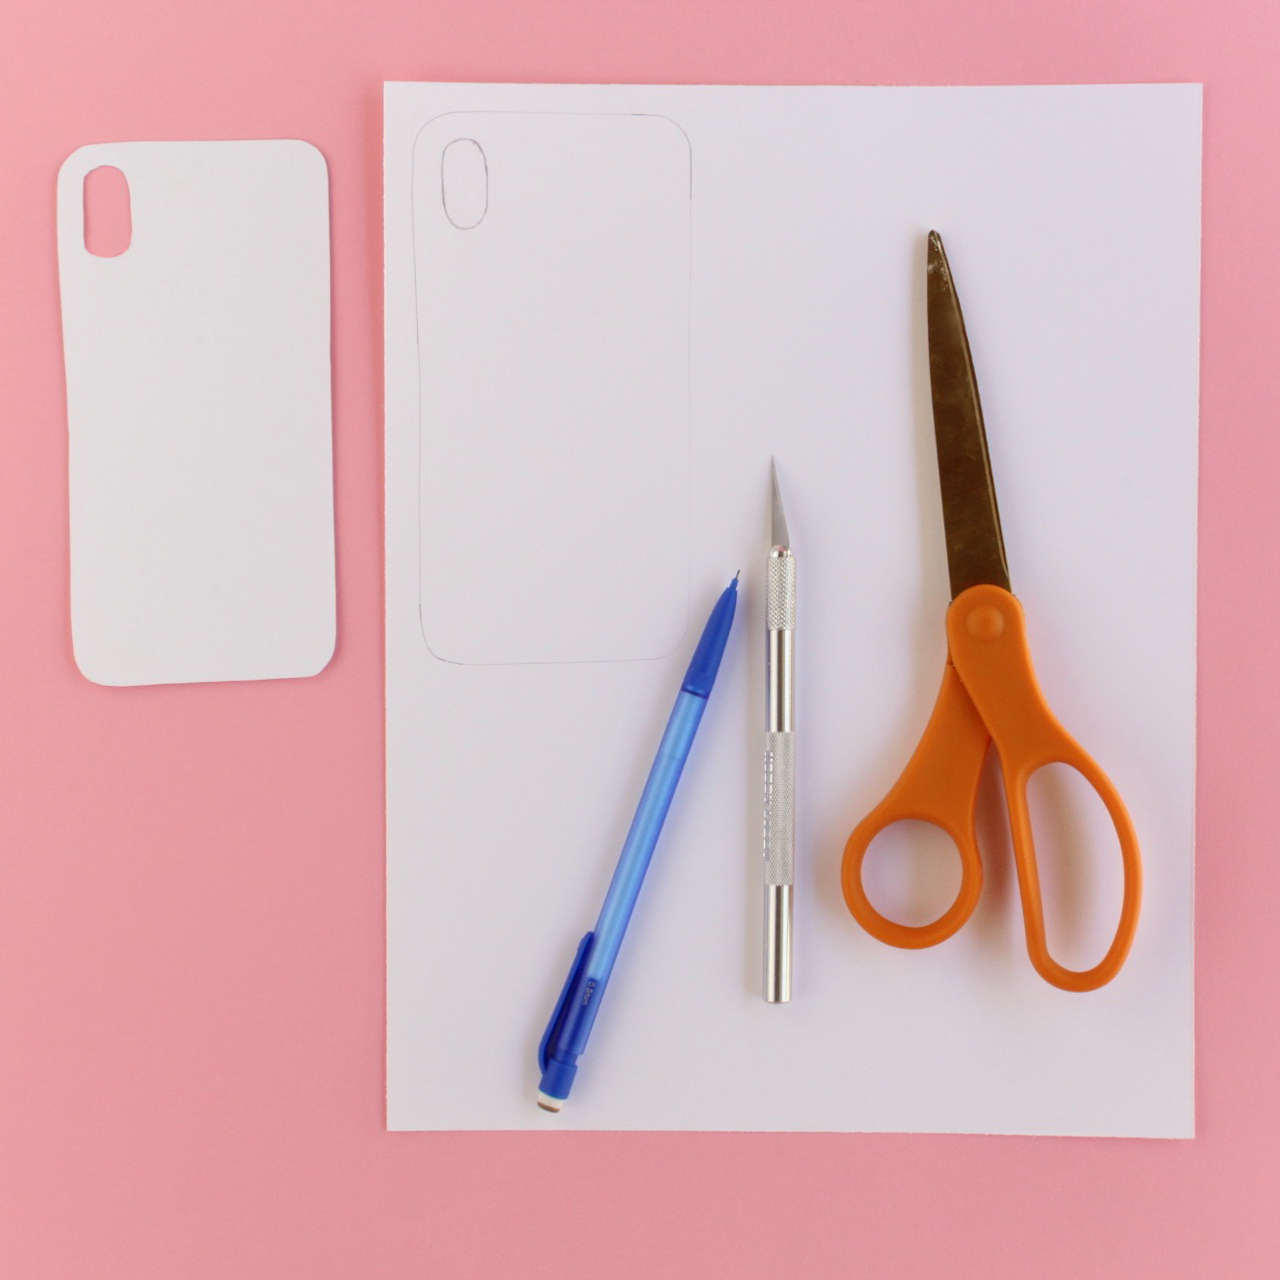
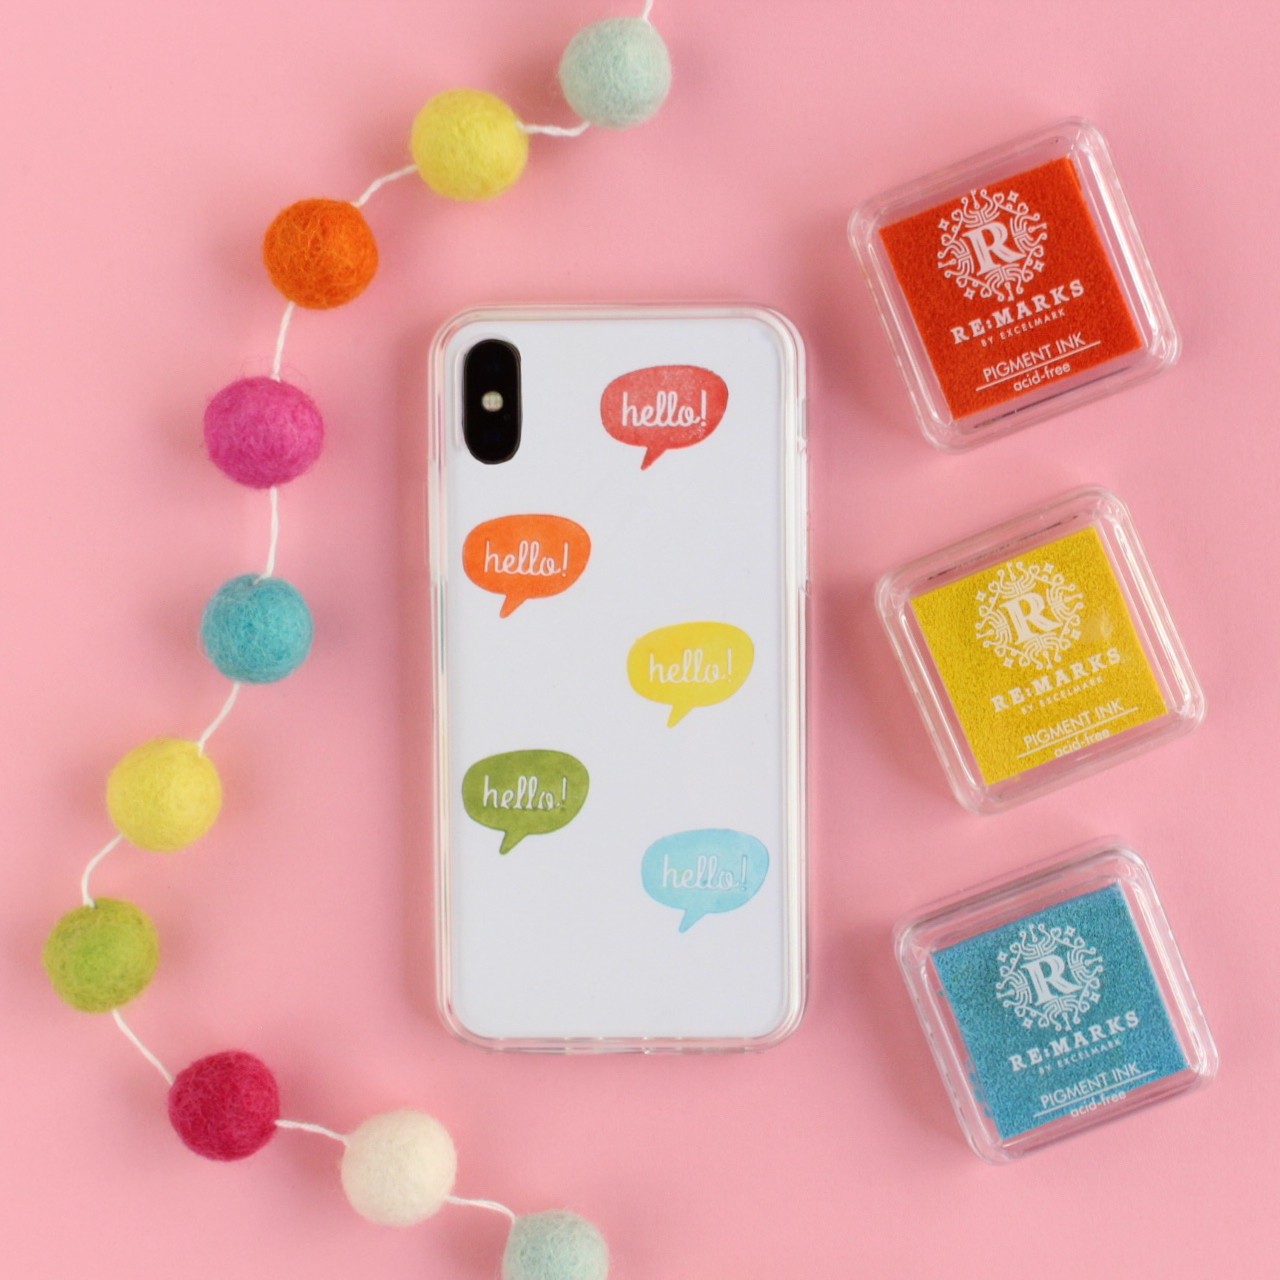
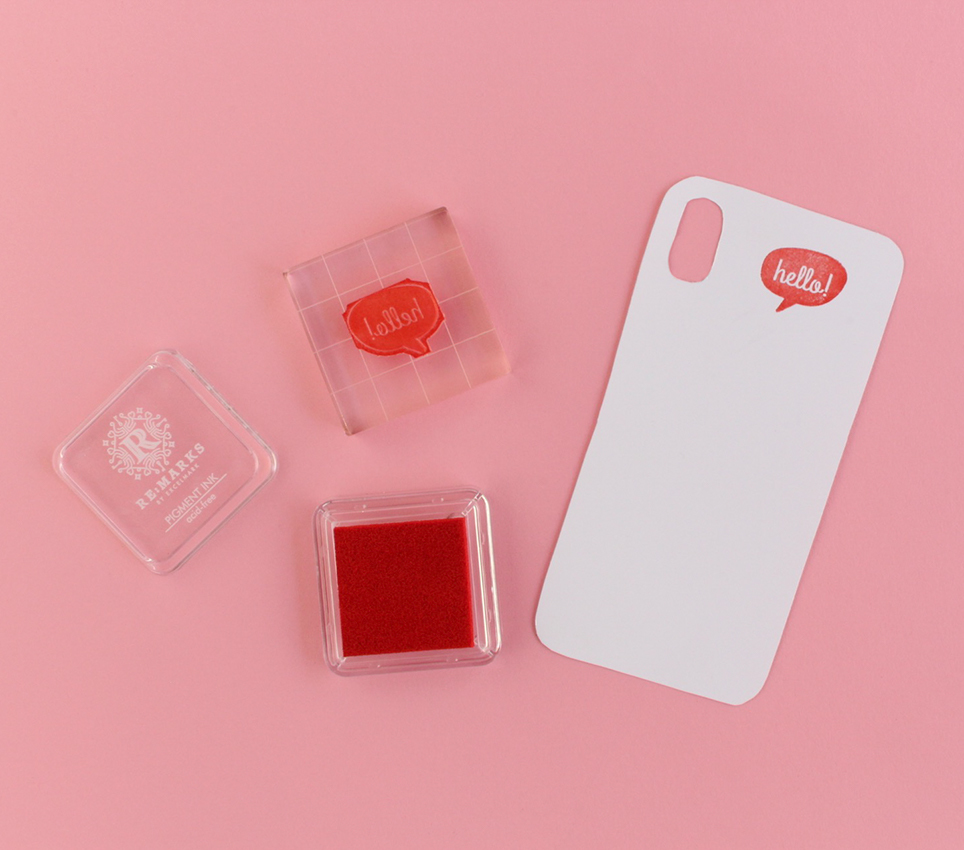
Hello Phone Case:
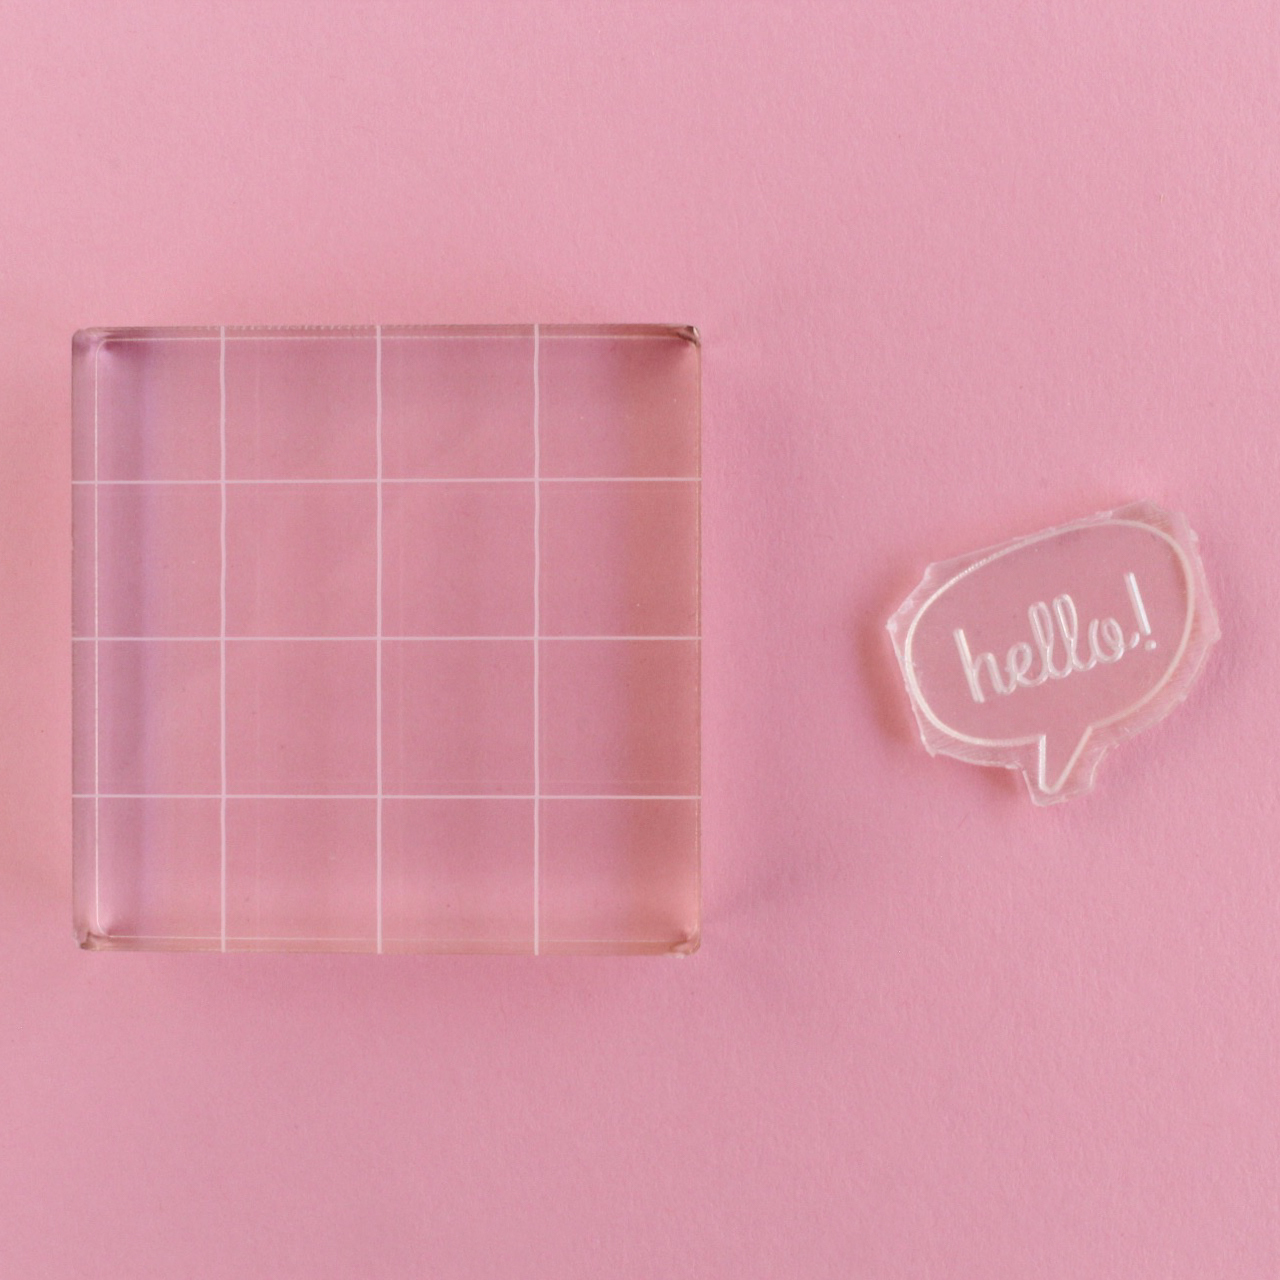
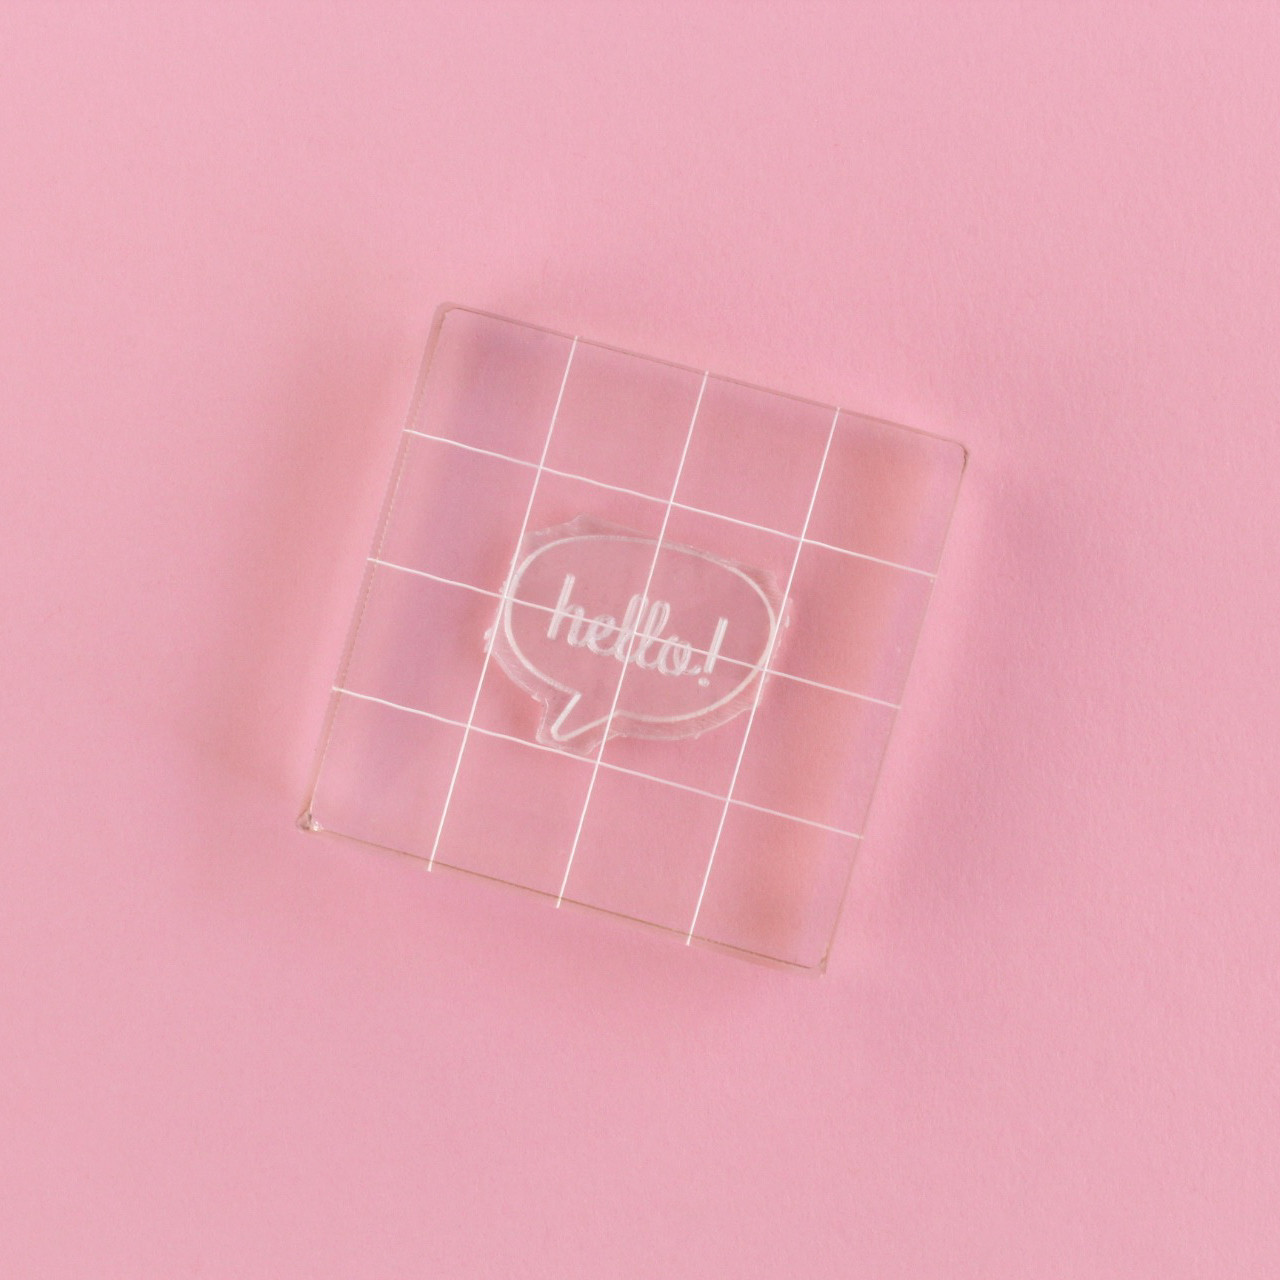
Step 1) Grab your clear acrylic stamp block and hello bubble stamp and place them together like I did below.
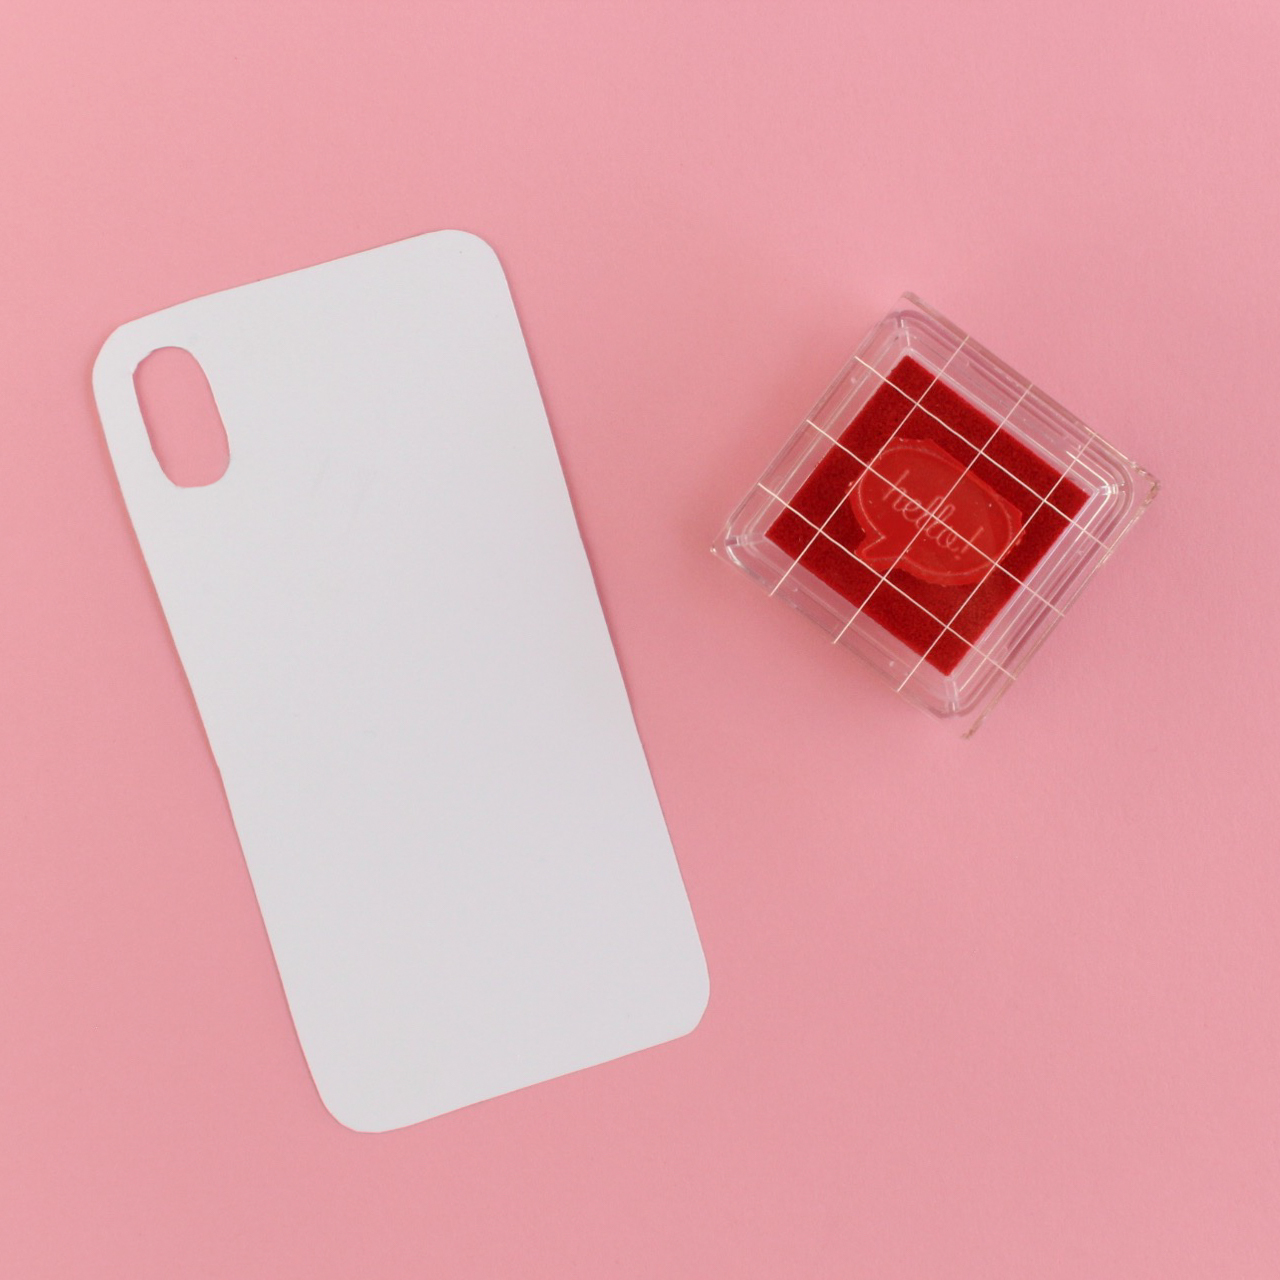
Step 2) Ink your stamp and start stamping your phone case. I used an assortment of colors for mine but you can do whatever you like with yours!
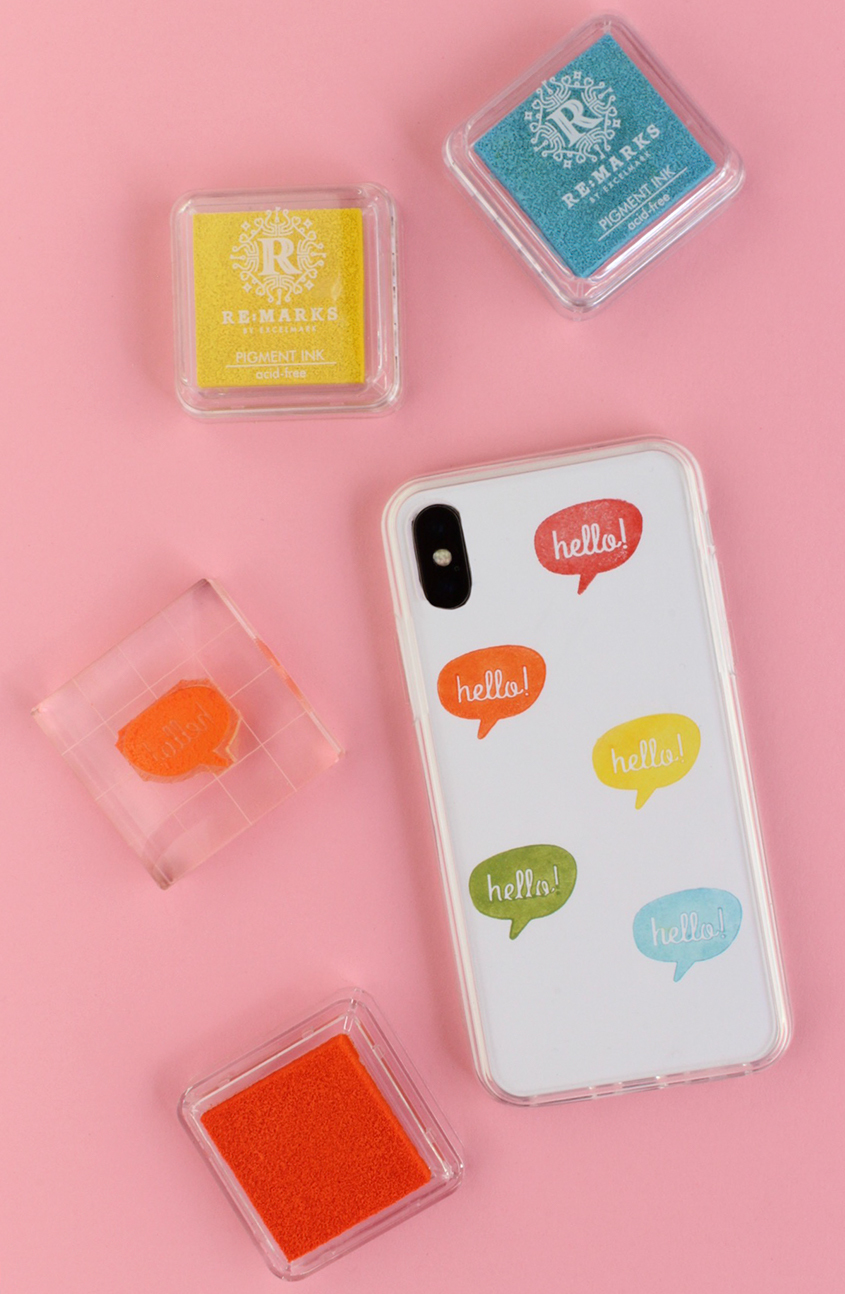
SUPER cute and SUPER easy!
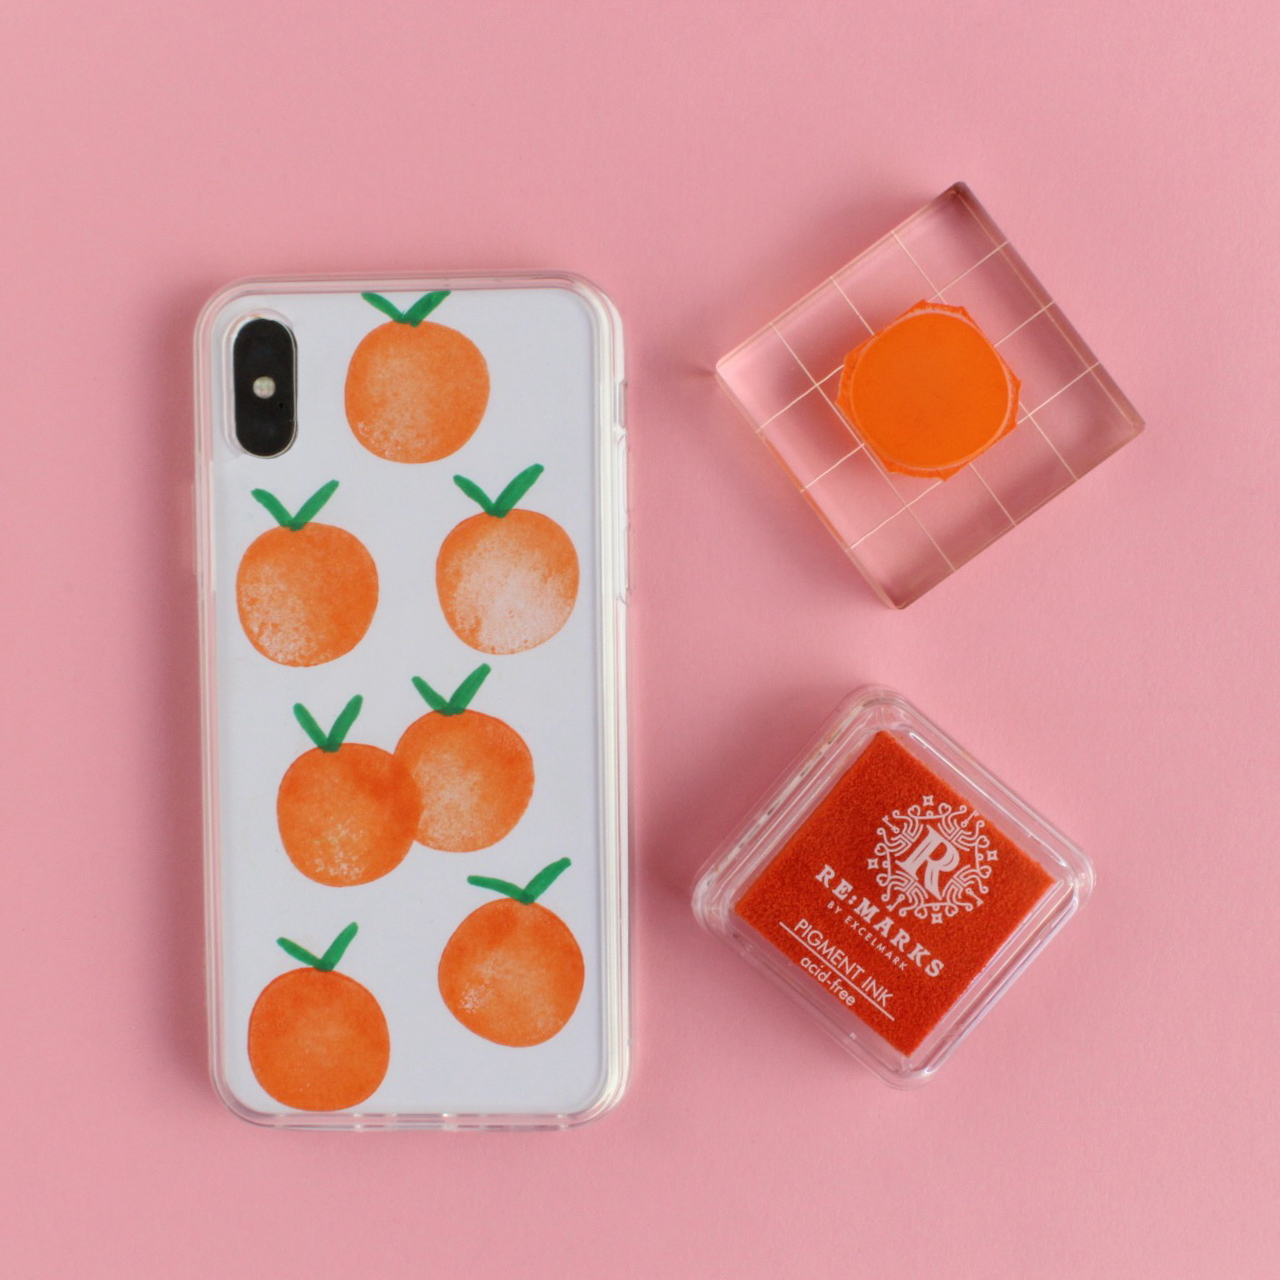
Orange Phone Case:
Step 1) Be sure to follow step one at the top of the how-to and then attach your clear imperfect circle stamp to your acrylic block. Then, using orange ink, stamp circles all over your phone case.
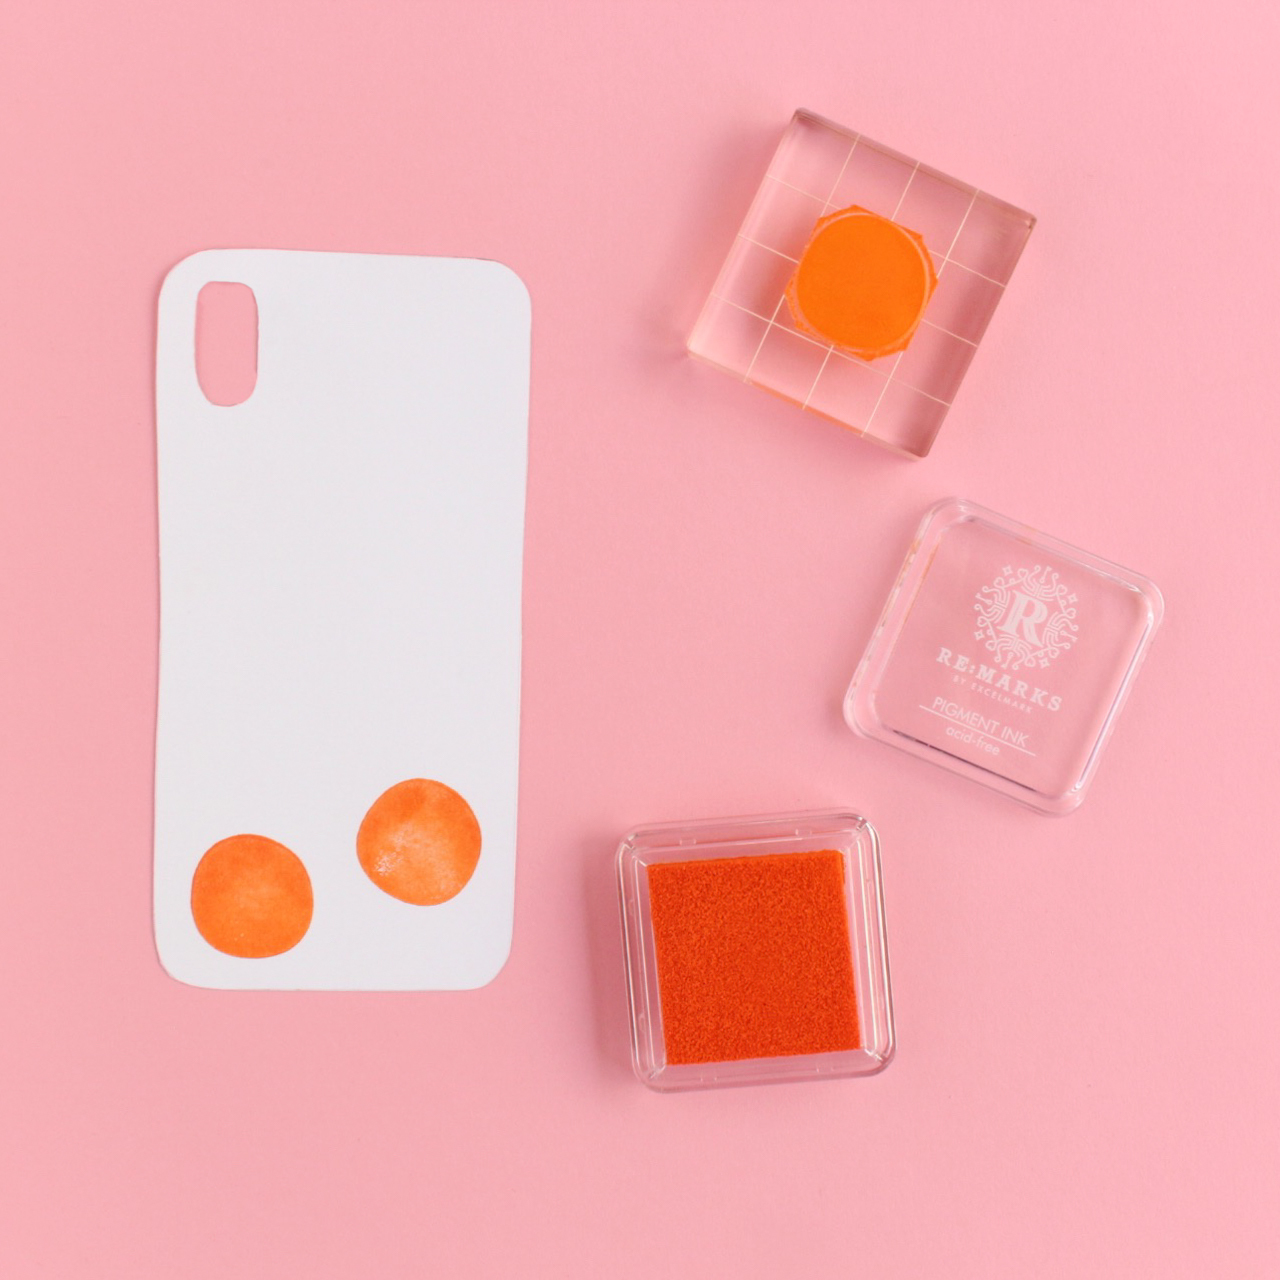
Step 2) Using a green marker, add little stems to really give your circles their orange shape.
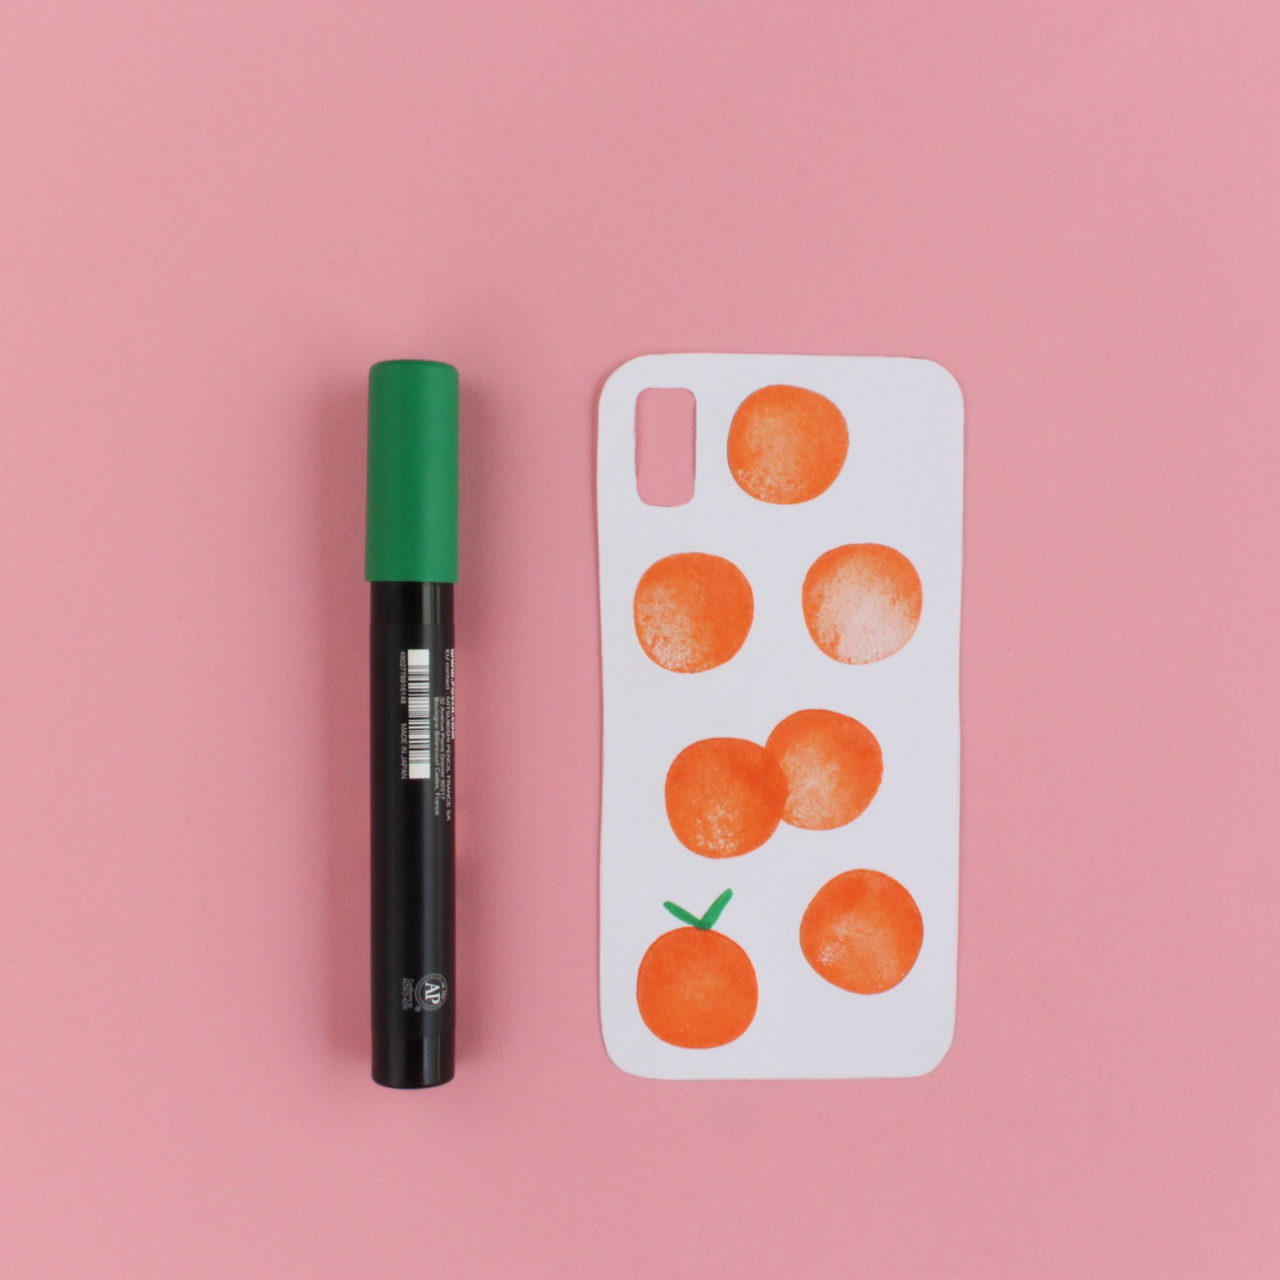
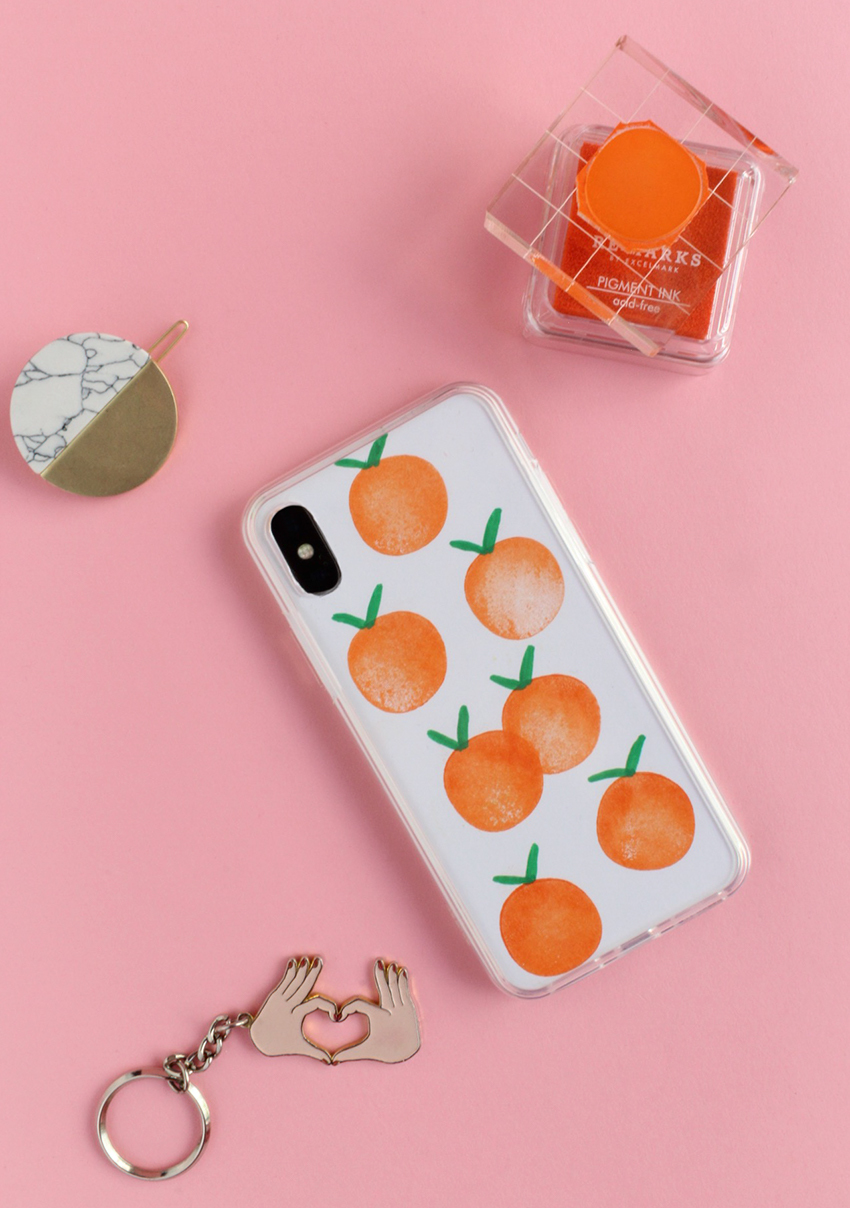
Love the pop of color on this one!
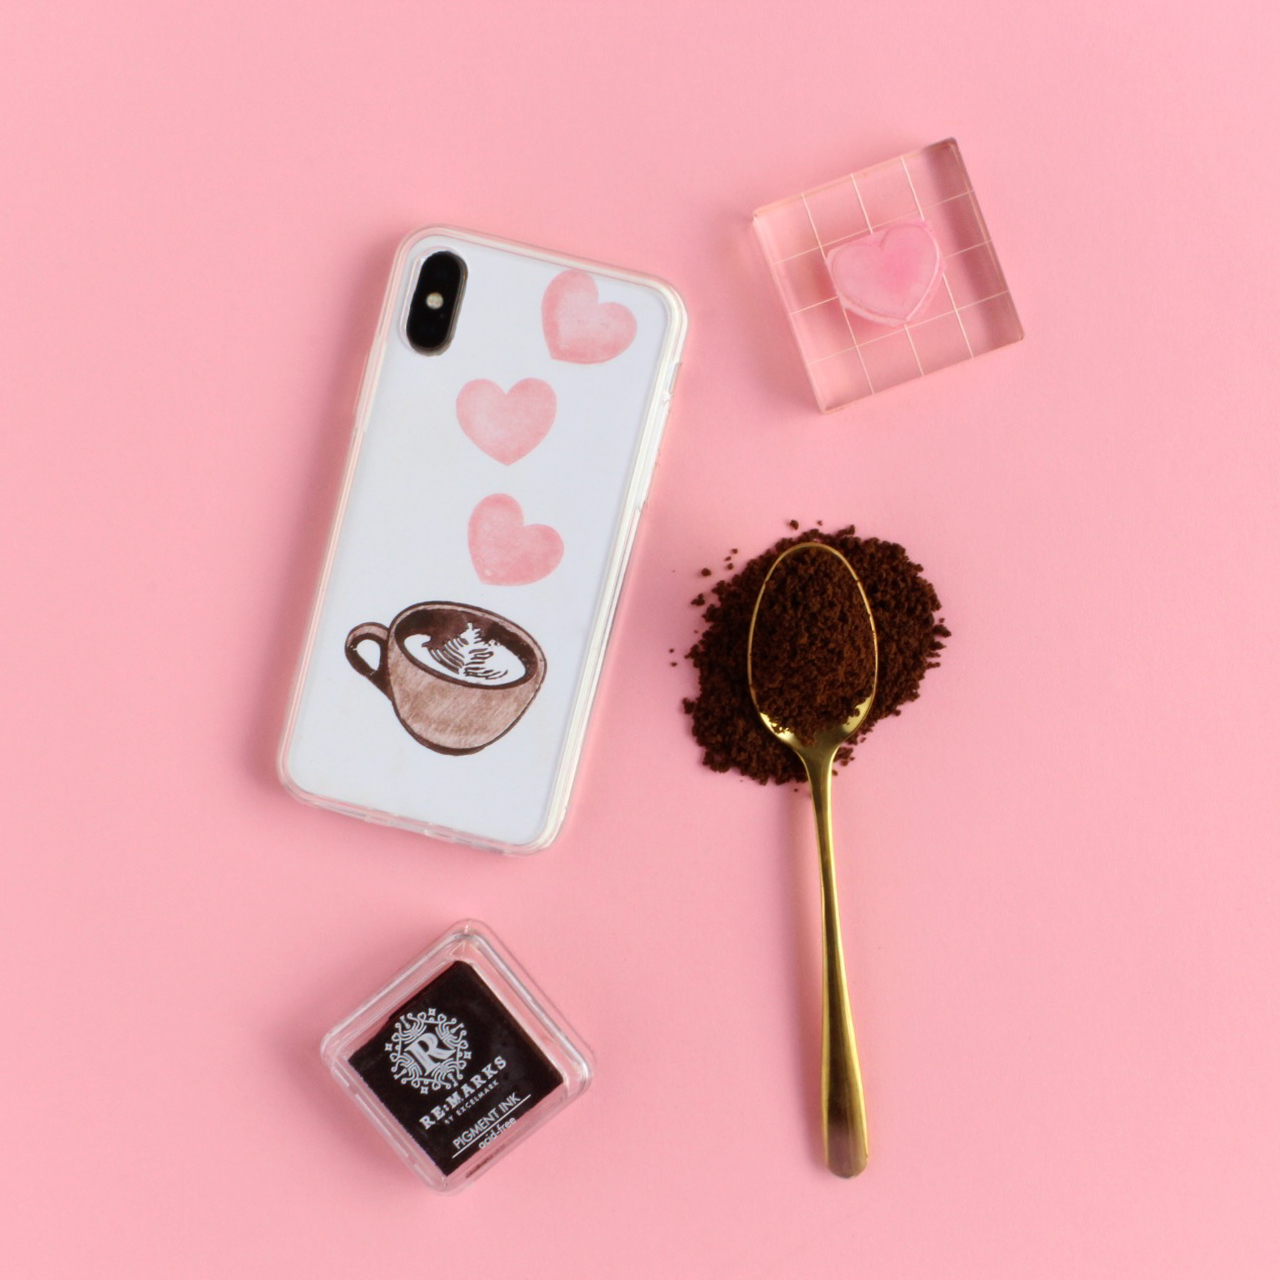
Latte Phone Case:
Step 1) Be sure to follow step one at the top of the how-to and then attach your clear latte stamp to your acrylic block. Then, using brown ink, stamp a latte towards the bottom of your phone case.
Step 2) Using your heart stamp and pink ink, stamp hearts coming out of your latte.
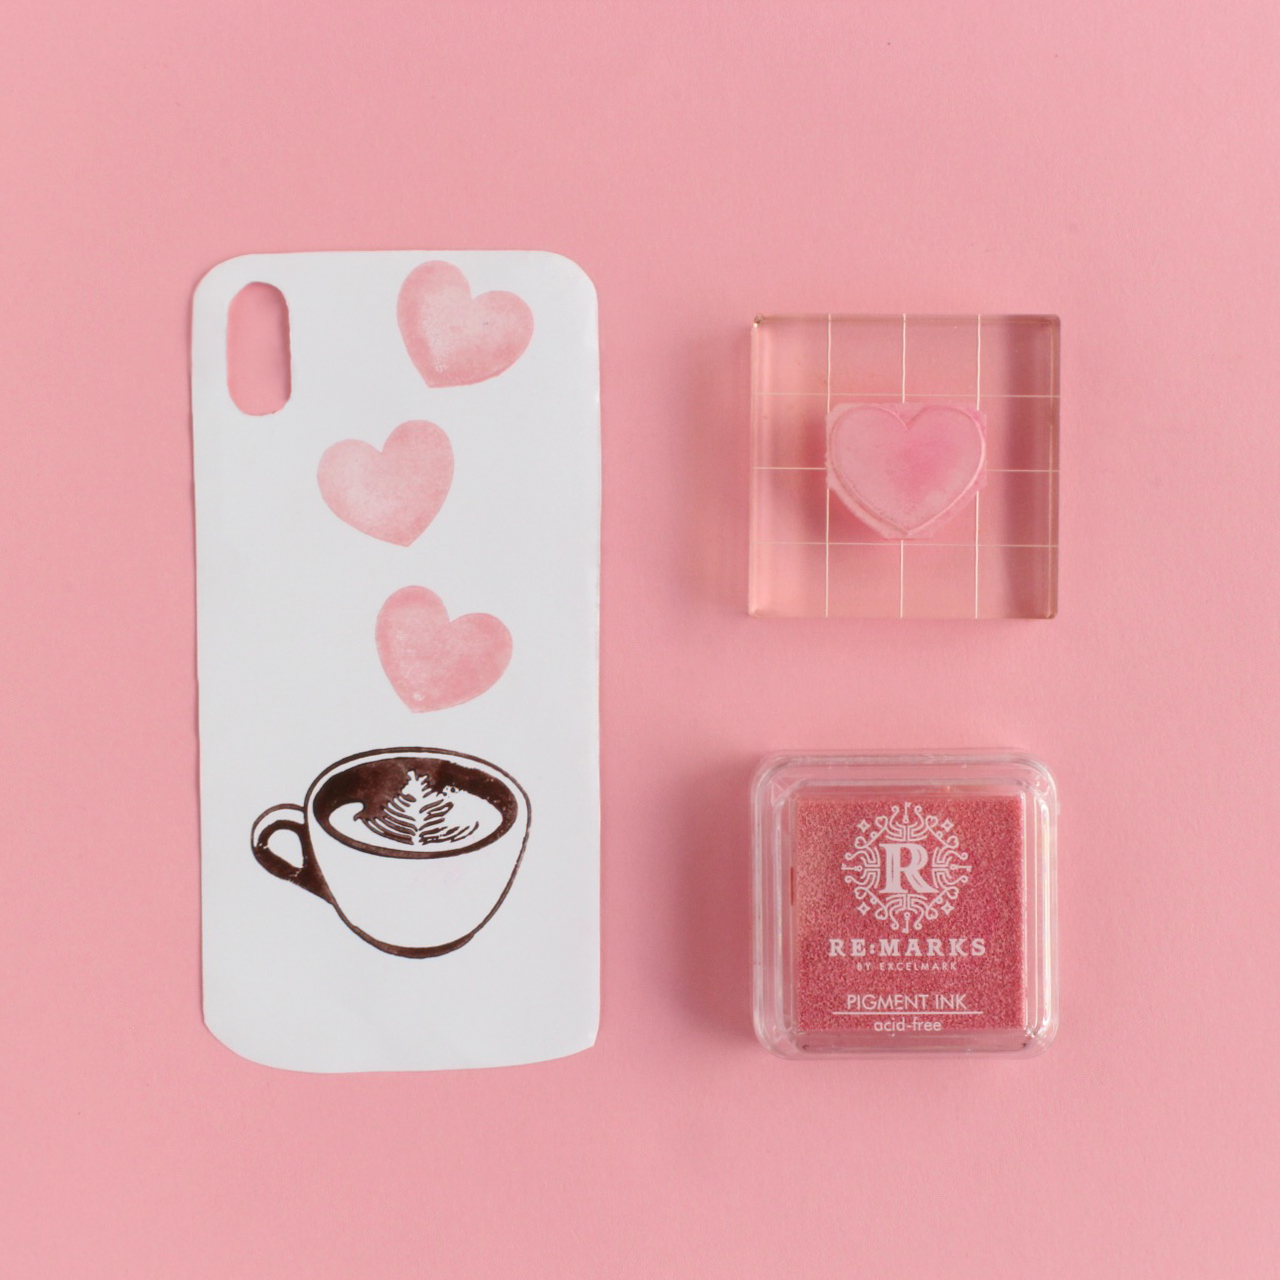
Step 3) Color in your latte cup with a brown colored pencil.
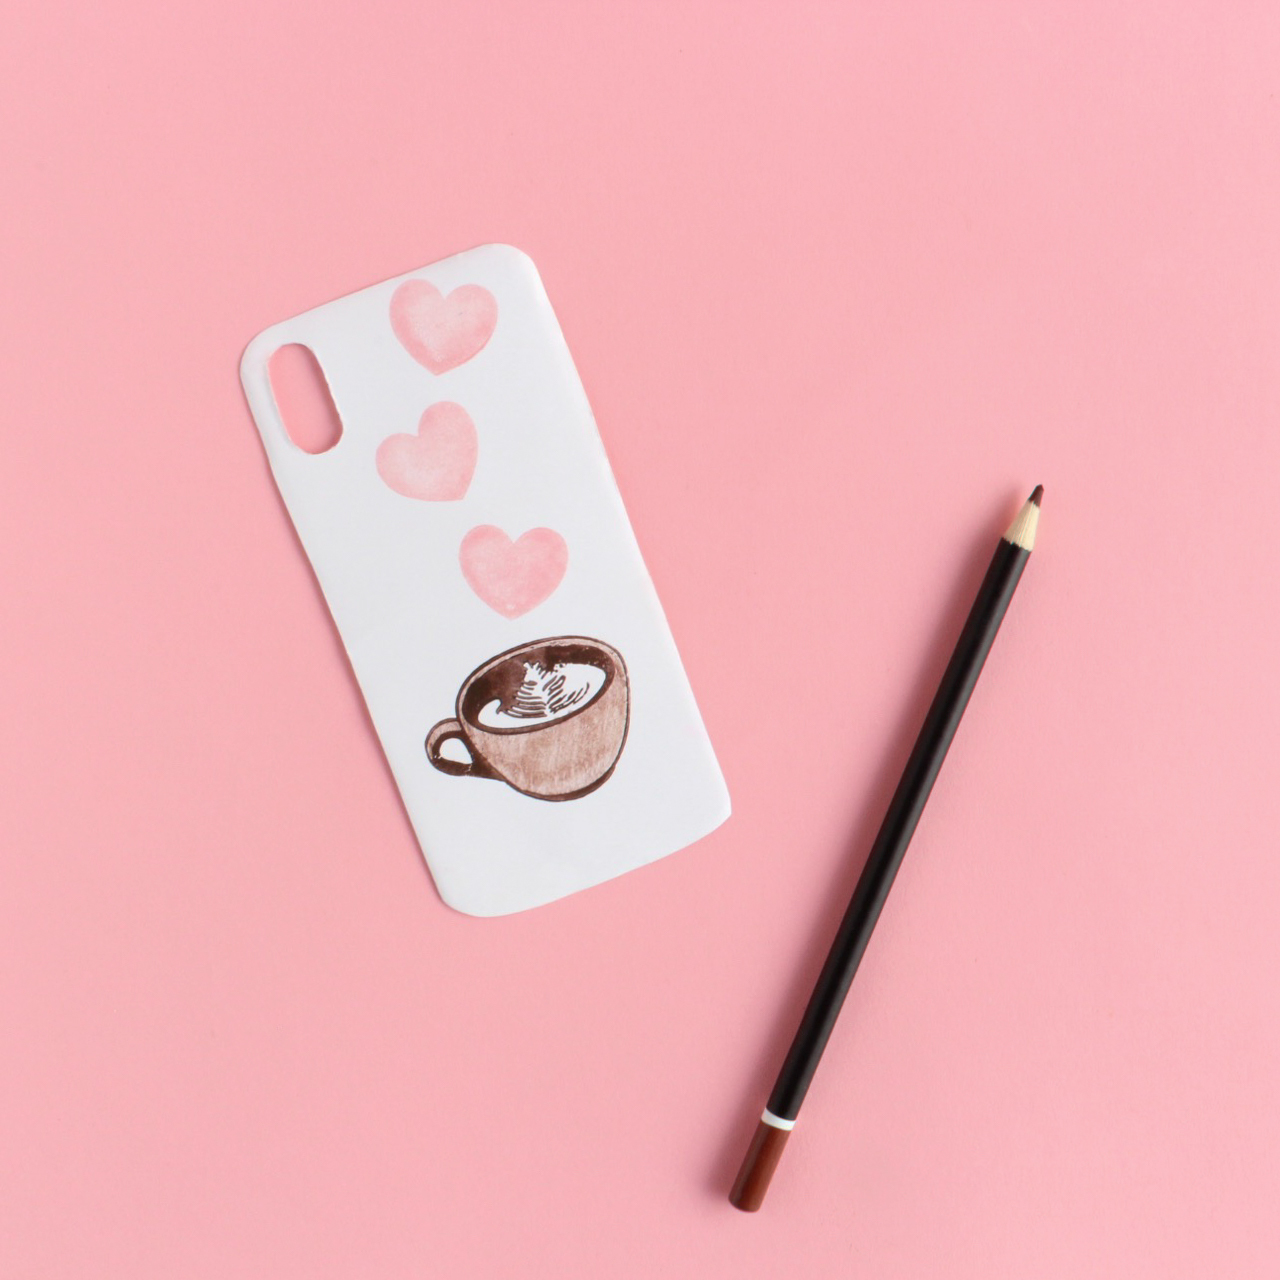
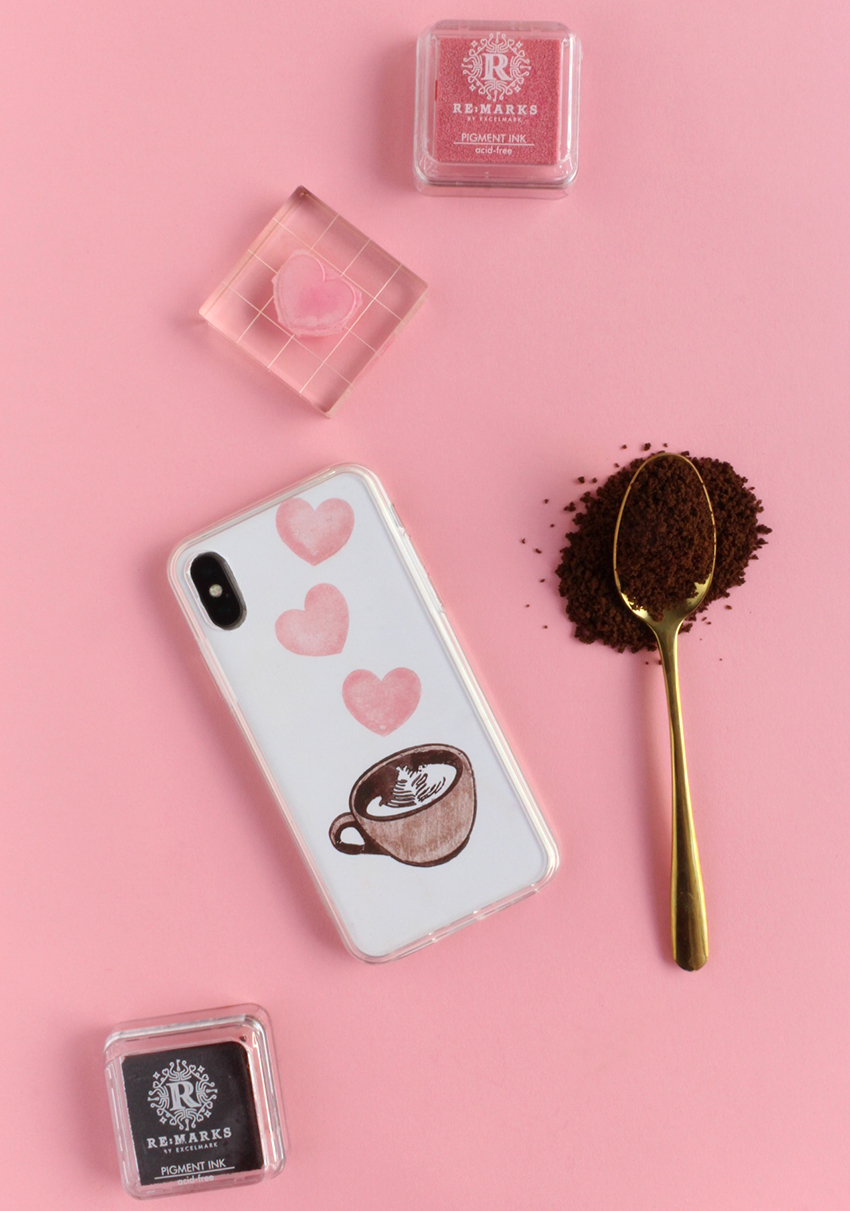
And you're done! Perfect for all the coffee lovers out there.
Which of these three phone cases is your favorite and what's a design you would custom make? I'd love to hear your ideas in the comments below!
This post has been sponsored by Rubberstamps.com. All opinions are my own.


Comments: