


DIY Clay Mirrors with Sculpey Clay Transfers
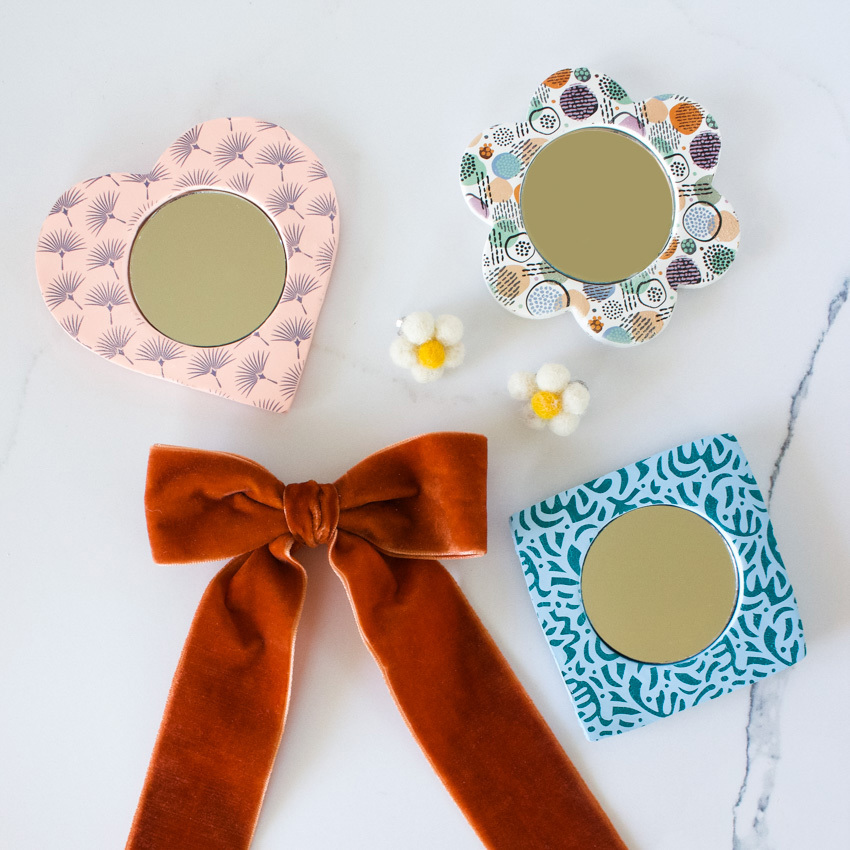
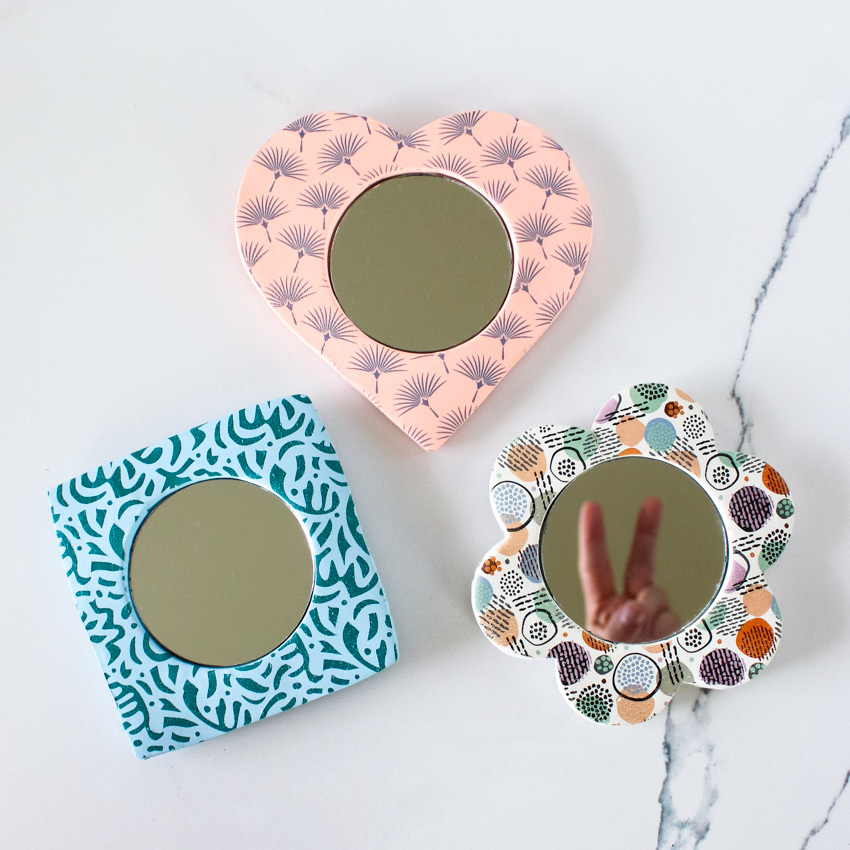
When I first saw the new Sculpey Clay Transfers, I knew exactly what I wanted to create! I had been envisioning mini clay mirrors for awhile and these intricately designed transfers were just what I needed to bring that idea to life. They made it so easy to add fun, detailed patterns to each piece—effortlessly enhancing them with charm and personality.
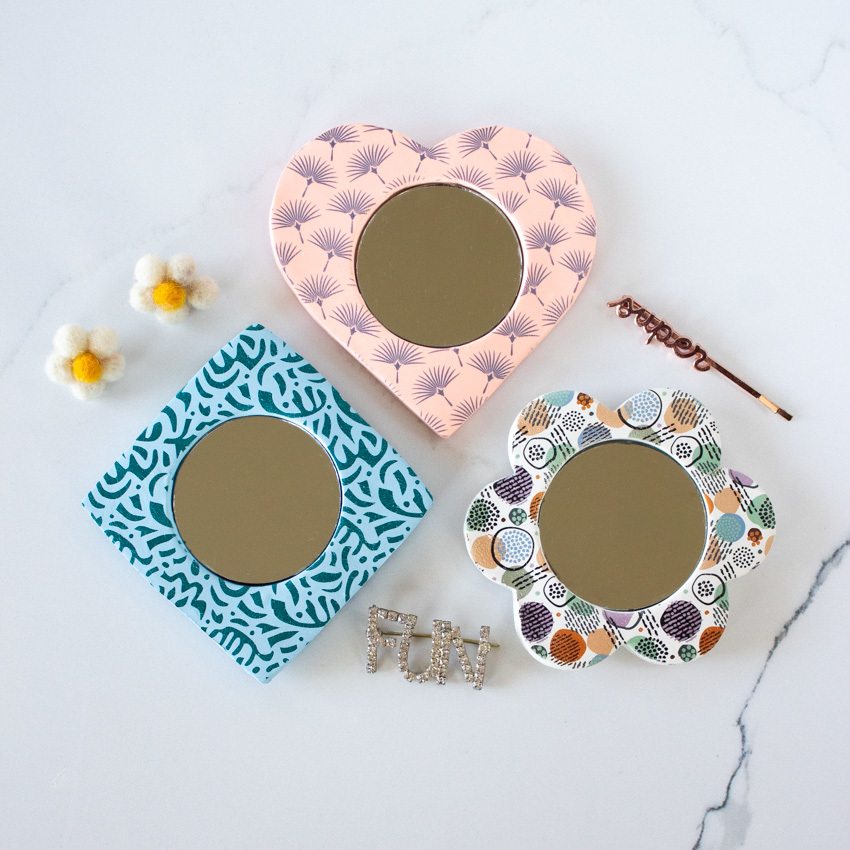
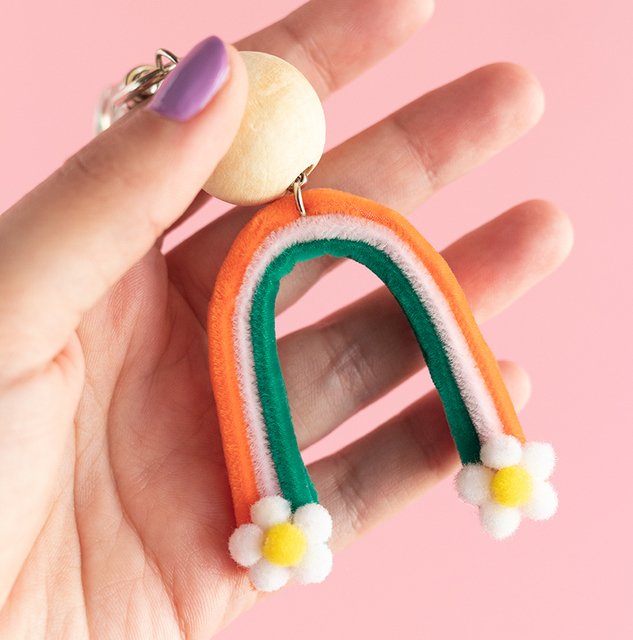
What makes these transfers so great is how simple they are to use. They come in a wide variety of patterns, making them perfect for quick, creative projects. For these mirrors, I used the Geometric pack, which includes four unique designs: Scribbles, Swirls, Dots, and Deco Fans. Each sheet measures 6.75 inches high by 5.5 inches wide—just the right size for small-scale creations like these mirrors. Of course, the possibilities don’t stop there. These transfers would also be perfect for customizing jewelry, keychains, picture frames, and more!
![]()
Ready to make your own mini clay mirrors with Sculpey Clay Transfers? Let’s get started!
What You'll Need
Sculpey Clay Transfers (I used Geometric)
Sculpey Clay (I used Sculpey III in the colors peach, sky blue, and white)
Sculpey Tools Oven-Safe Work Mat
Sculpey Tools 8-Inch Acrylic Clay Roller
Sculpey Oven-Bake Clay Adhesive
Sponge Brush + Cup of Water
Clay Cutters
Miniature Mirrors
![]()
How To
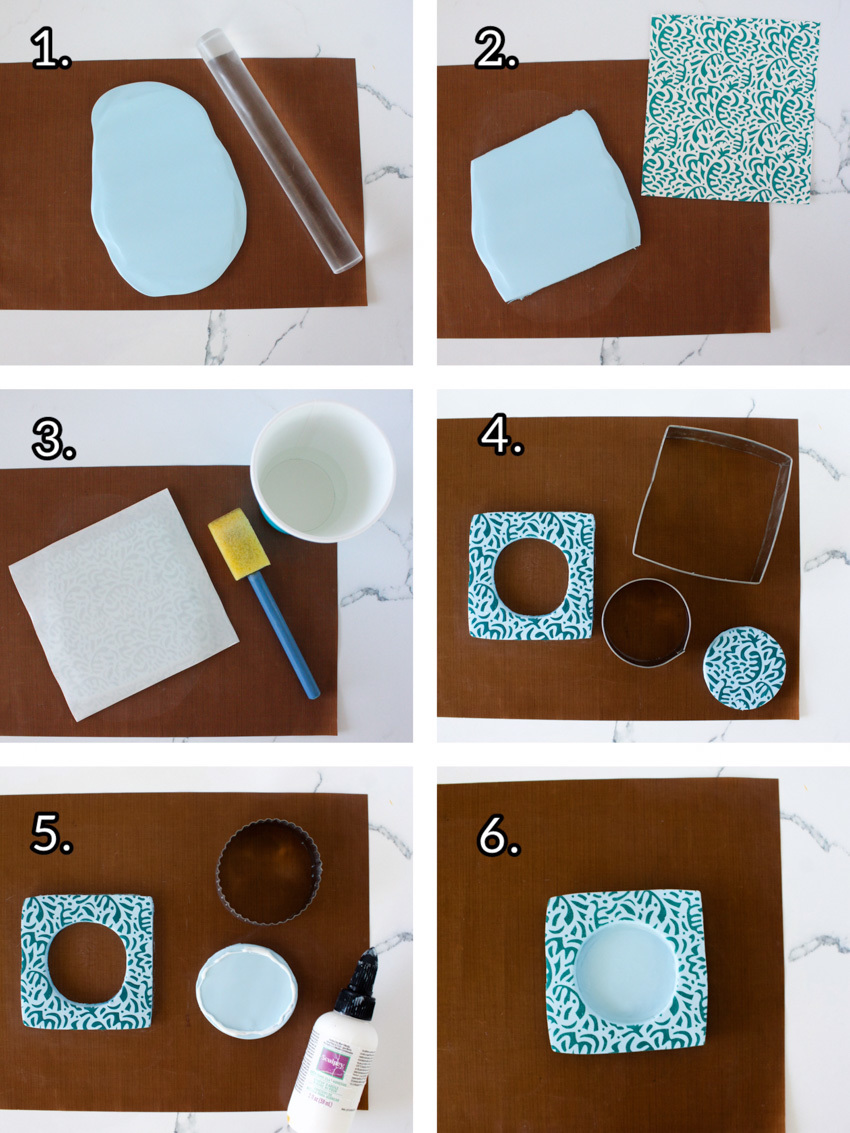
Step 1) Roll out your clay.
Step 2) Cut your clay and clay transfer to size.
Step 3) Press transfer down with your fingers and a clay roller. Add water on top with a sponge, wait 3 minutes, and peel to reveal the pattern.
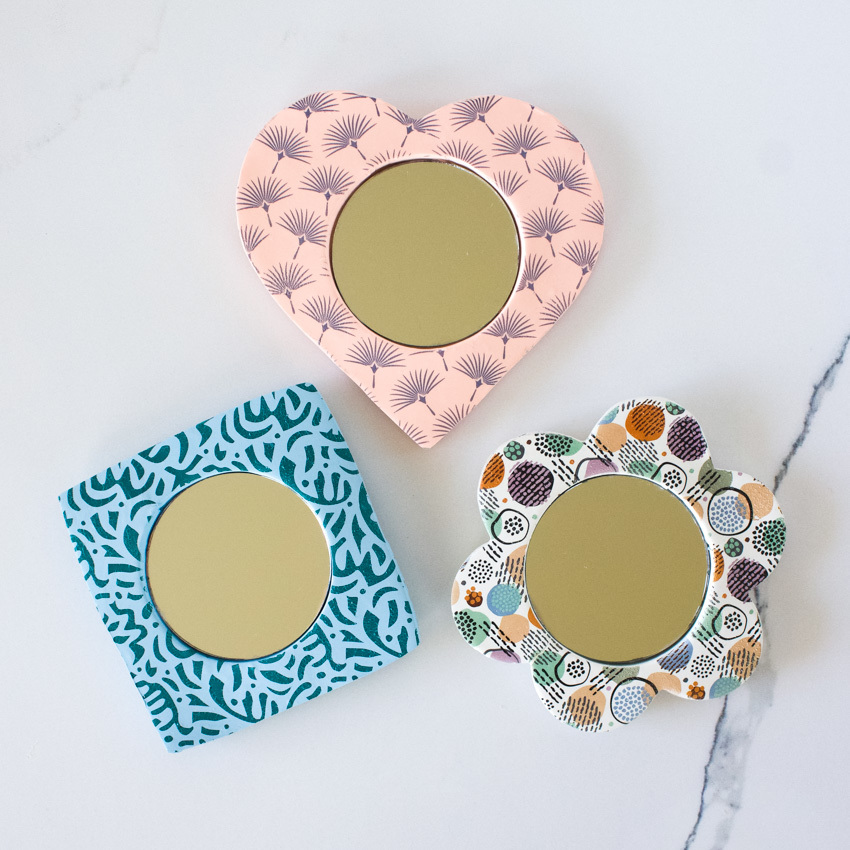
Step 4) Use cutters to create your desired shape. The cutter I used in the center was the same size as the mirror I planned on putting in (do not put mirror in until after your piece has baked and cooled).
Step 5) Cut another circle, a little larger than your mirror, and use Sculpey Oven-Bake Clay Adhesive to attach it to the back of the main piece.
Step 6) Bake according to clay package instructions. Allow to cool and then glue on a mirror in the center!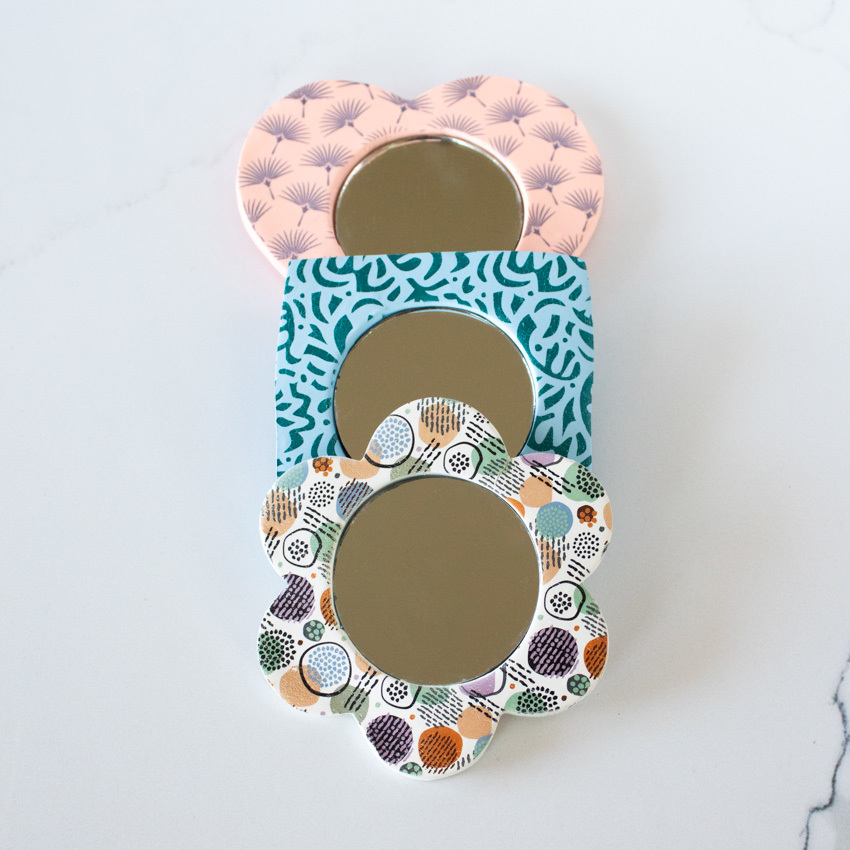


Comments: