


DIY Upcycled Puzzle Skate Ornament
This is a sponsored post written by me on behalf of Aleene’s. All opinions are my own.
Can you believe Christmas is right around the corner? What a year it’s been!
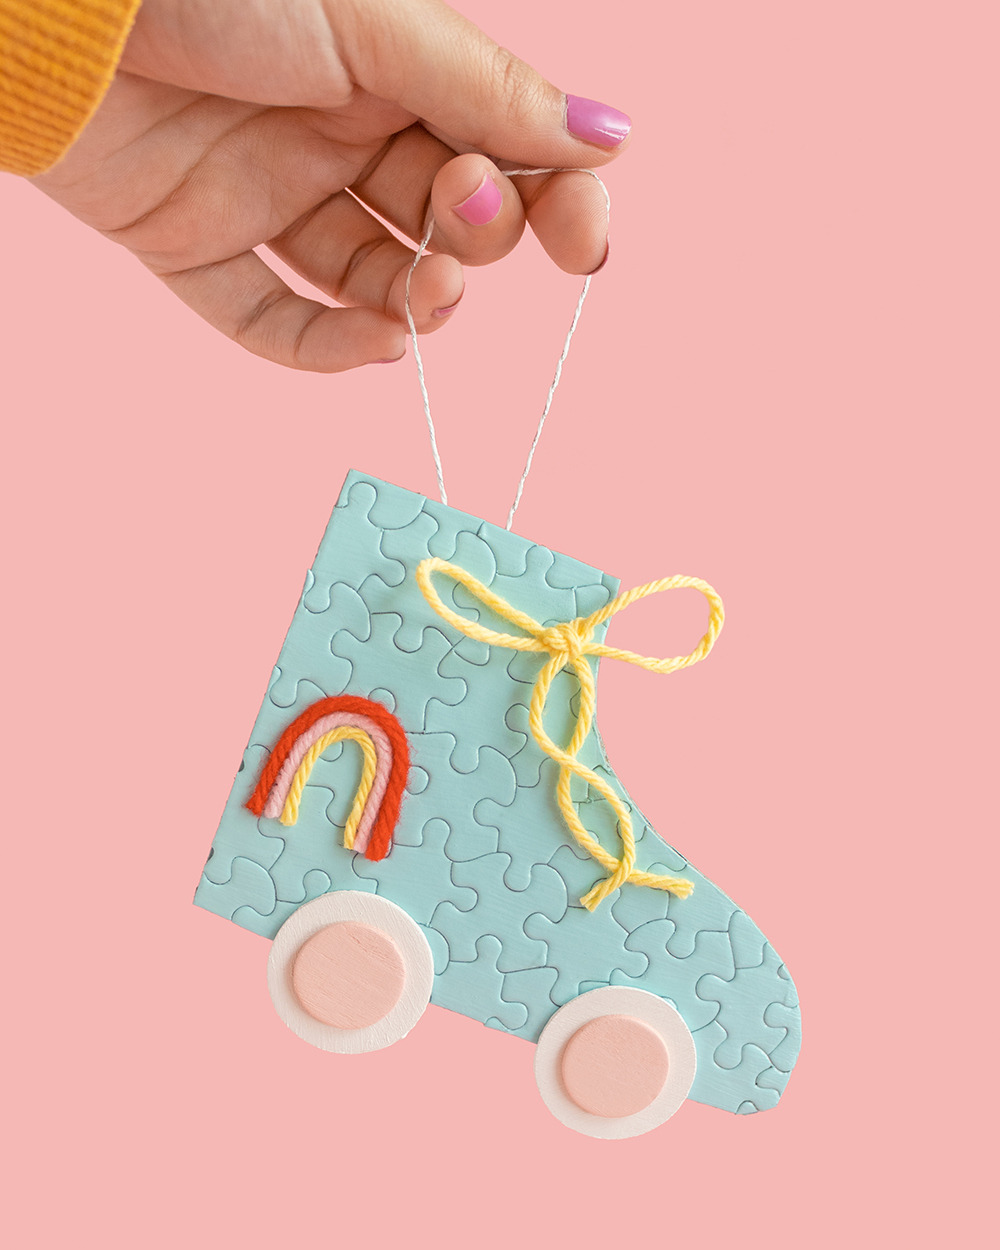
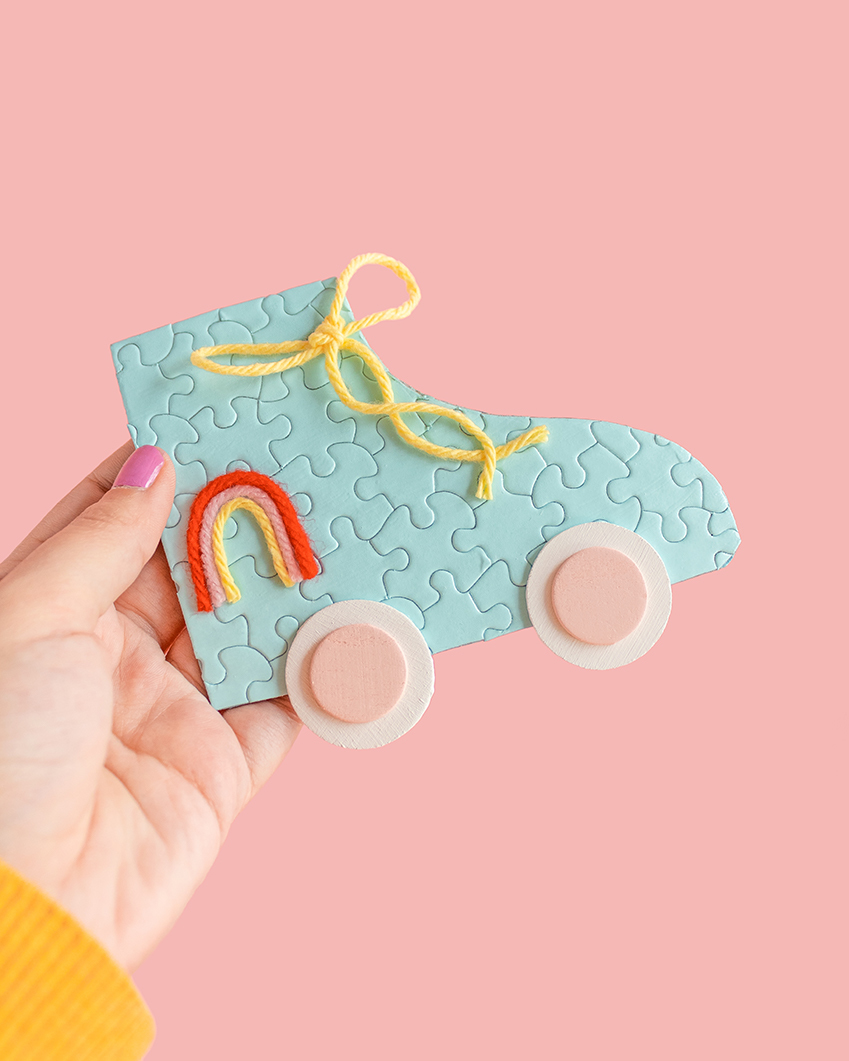
Today I’ve partnered with my friends at Aleene’s to show you another fun way to upcycle an old puzzle - but this time, Christmas style! This DIY Skate Ornament makes the cutest homemade addition to any tree but you CAN display it year round as a wall charm, too - because why not, right?! Add fun embellishments like the small yarn rainbow using Aleene’s Tacky Glue and don’t forget to coat your skate with a little gloss decoupage for extra shine.

Can you believe the transformation a little upcycling can do? Keep on reading to learn how you can make your own puzzle skate ornament, too!
What You'll Need
Aleene’s Premium Decoupage Gloss
Paintbrush
Cereal Box
Scissors
Section Of A Completed Puzzle
Wooden Circles (2 smaller ones and 2 larger ones for the wheels, plus an optional small one for the backing)
Blue and Pink Spray Paint
White Paint
Red, Pink, Yellow Yarn
How To
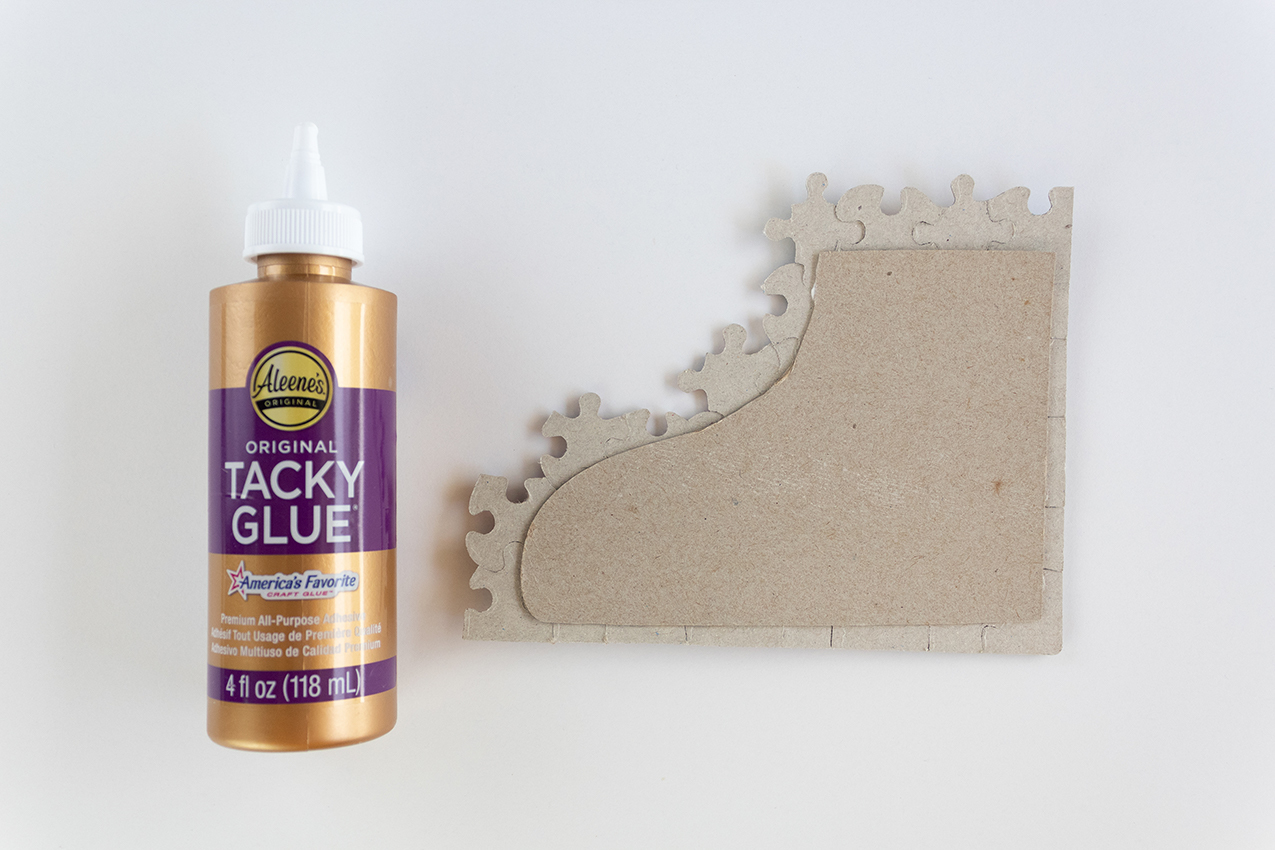
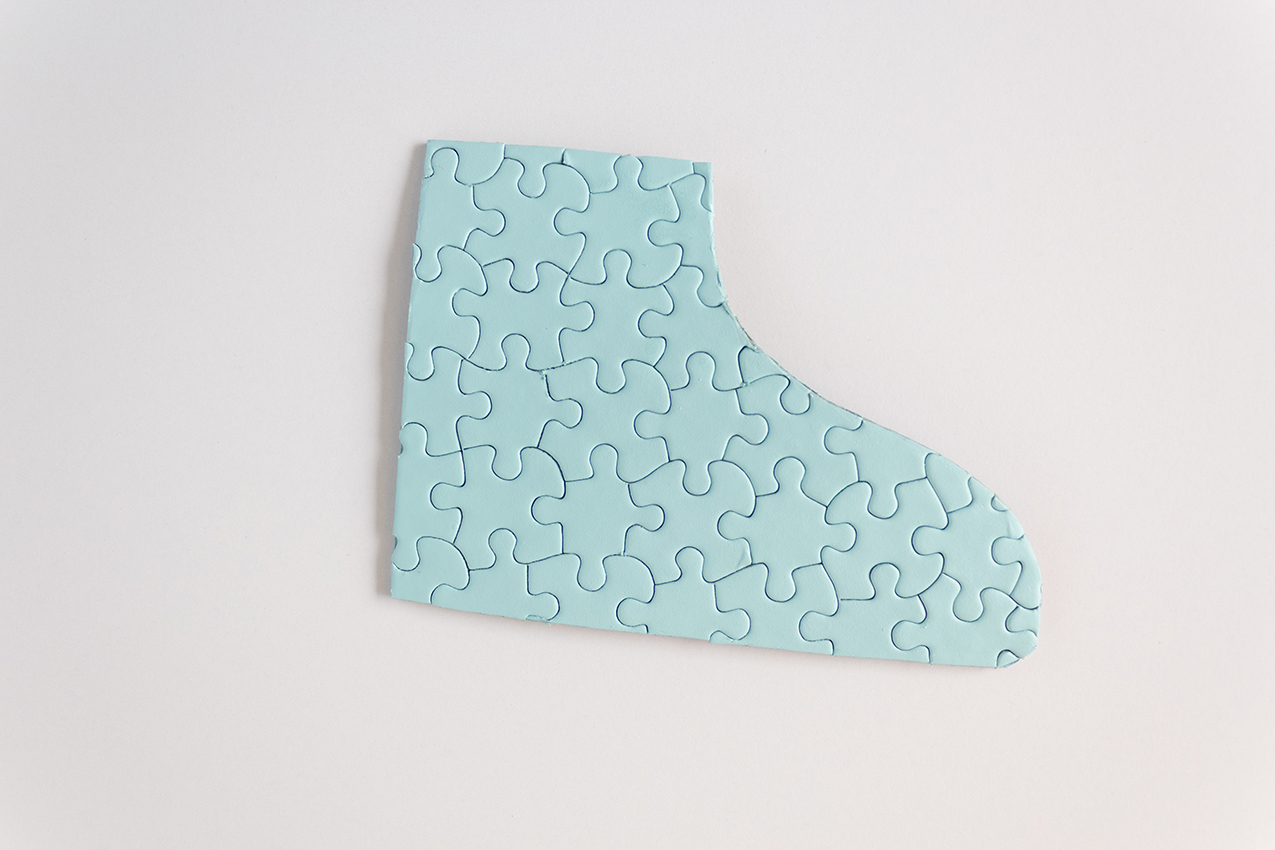
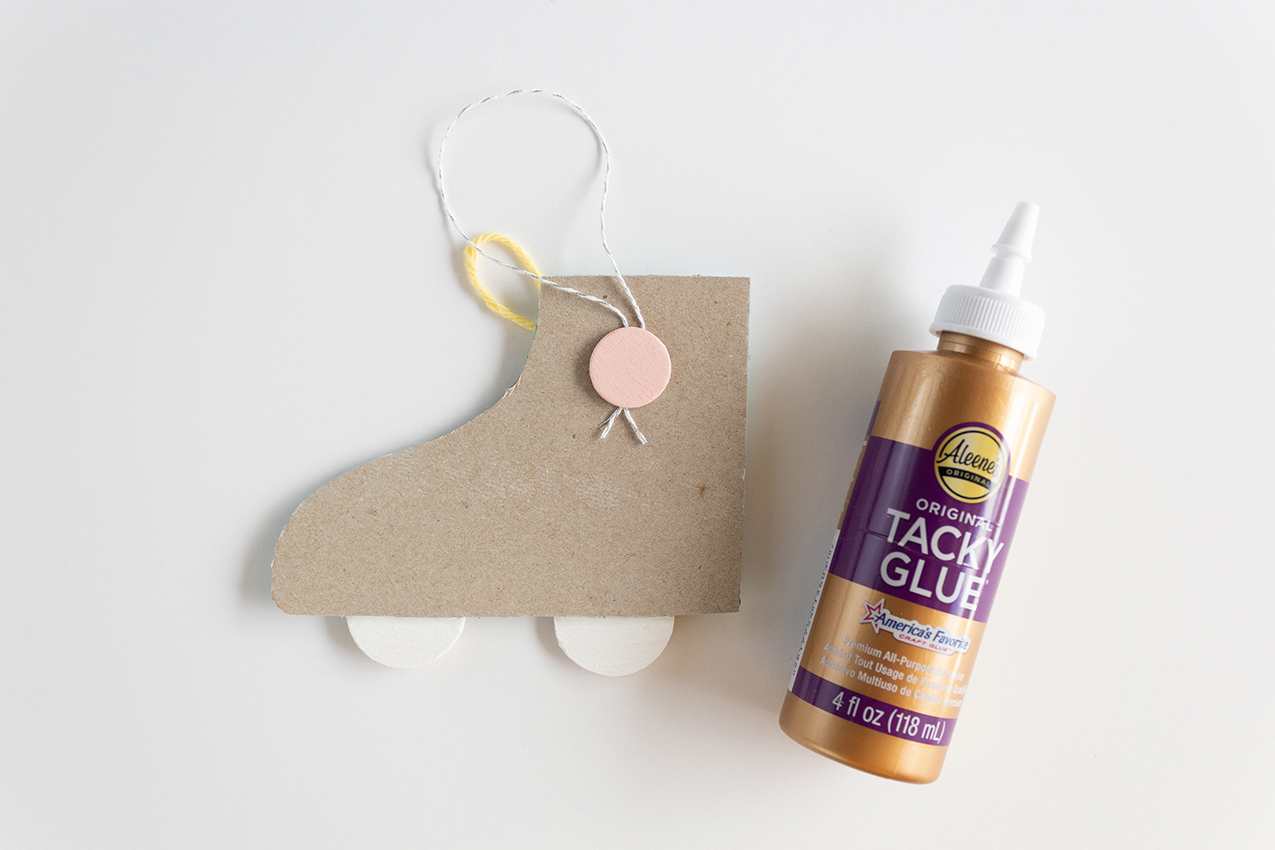
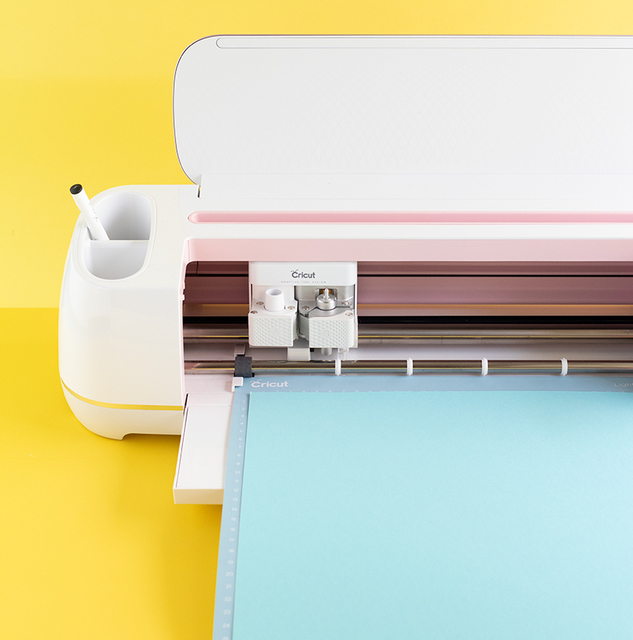
Step 1) Cut your cereal box so that it looks like the top half of a skate (minus the wheels). Place your completed puzzle section over the skate and make sure there are some pieces hanging off of the edges on all sides. Glue the puzzle onto the skate and then spray paint the side that’s covered in puzzle pieces blue. Set aside to dry.
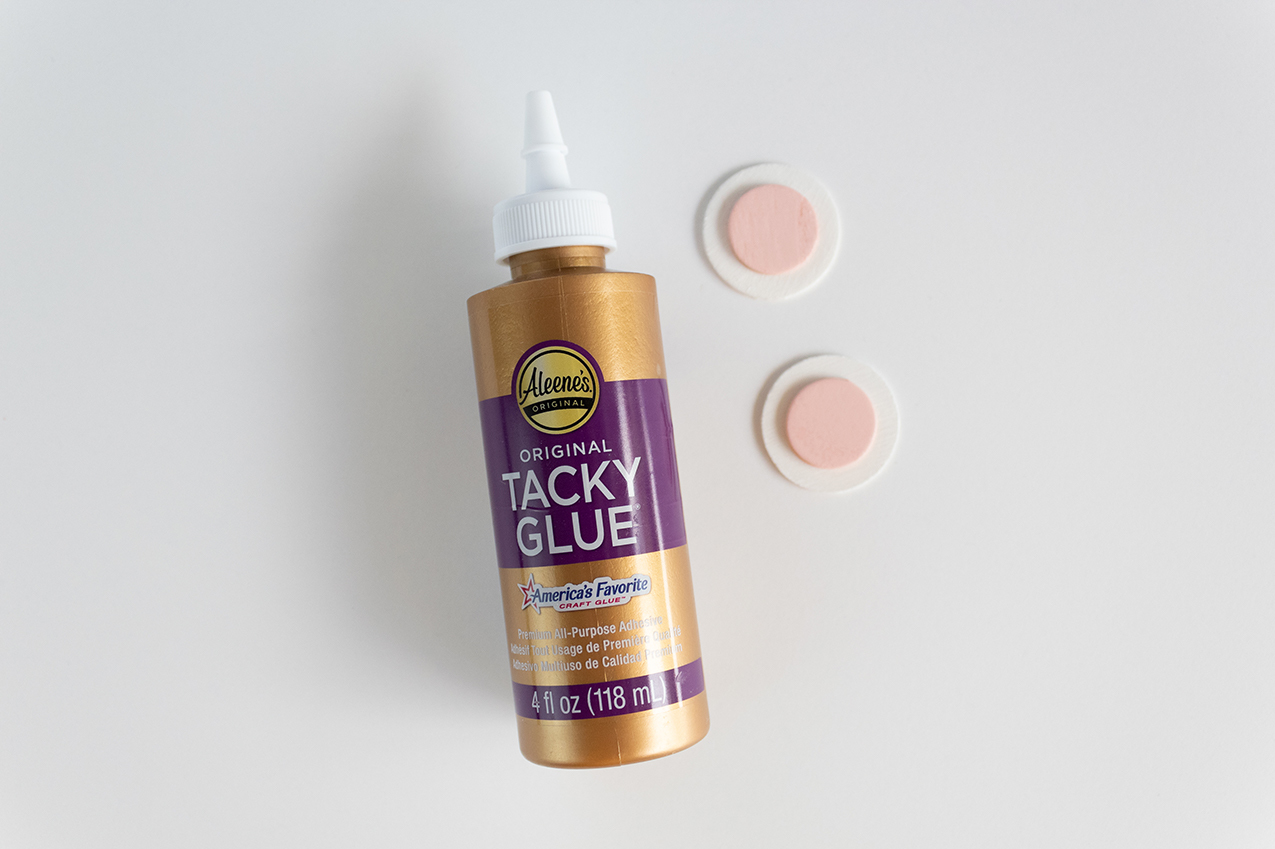
Step 2) Paint your wooden circles so that the two smaller ones are pink and the two larger ones are white. Then, glue the pink ones onto the white ones to create the wheels. If you are adding an optional small circle for the backing, paint that one pink in this step, too, and then set it aside.
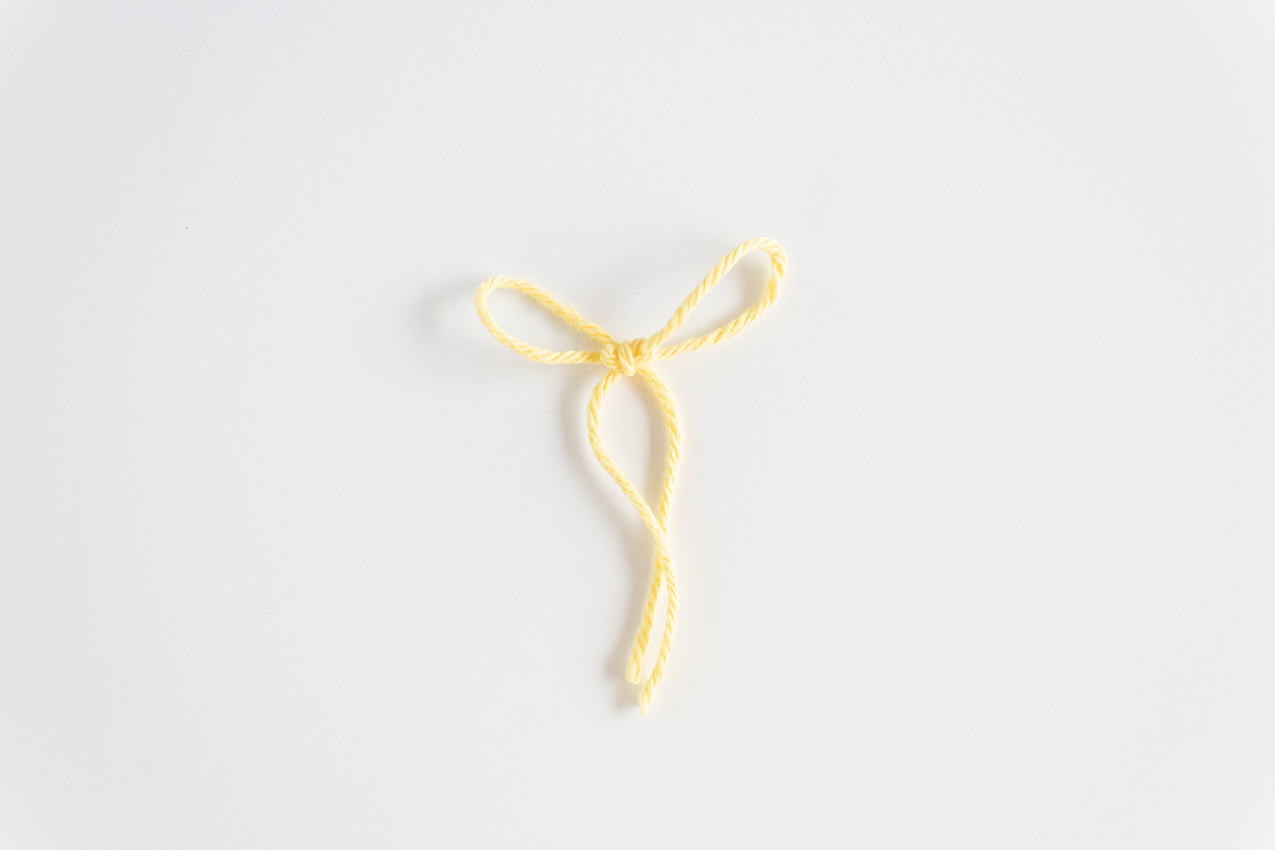
Step 3) Tie a bow out of yellow yarn so that it is large enough to look like laces for your skate.
Step 4) Then, cut a rainbow out of your red, pink, and yellow yarn.

Step 5) When the spray paint on your skate is completely dry, trim off the excess puzzle pieces hanging off of the sides using a sharp pair of scissors.
Step 6) Brush a layer of Premium Decoupage Gloss onto your skate for a little shine and allow to dry completely.

Step 7) Glue your rainbow, bow, and wheels to the front of your skate and glue the twine and optional pink circle to the back. Allow to dry completely. You can also paint the backside of your wheels white in this step if you want to give the back of your ornament a cleaner look. Reference the images below if you need.
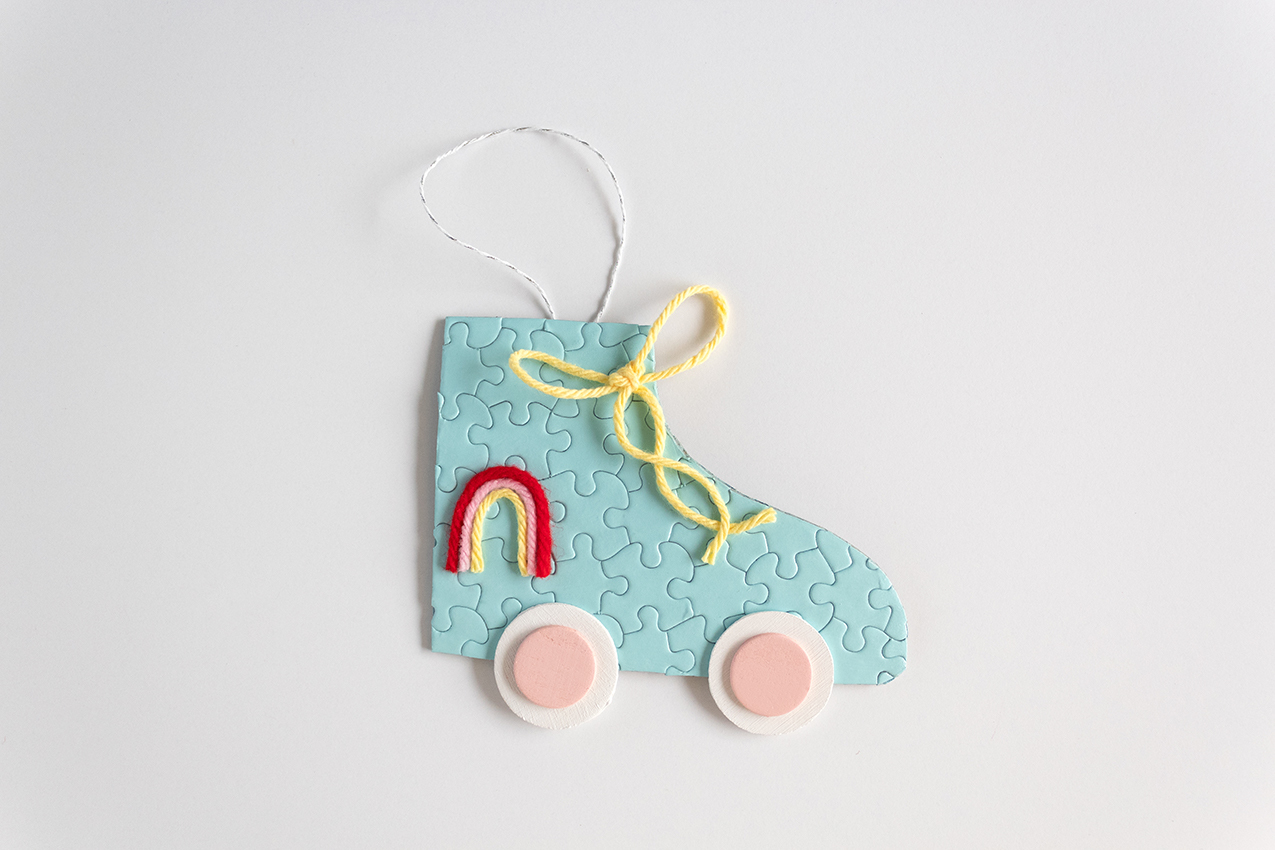
And that’s all there is to it! Time to decorate your tree with your new handmade skate ornament!


Comments: