

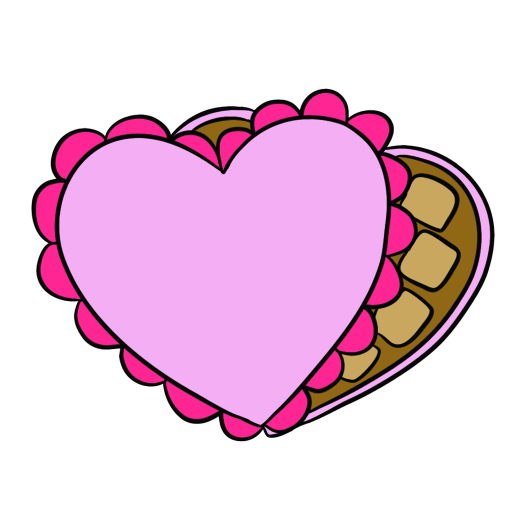


DIY Valentine’s Day Cake Gift Boxes
Why am I not surprised that this DIY was inspired by cake...
Oh probably because dessert is pretty much always on my mind 😆
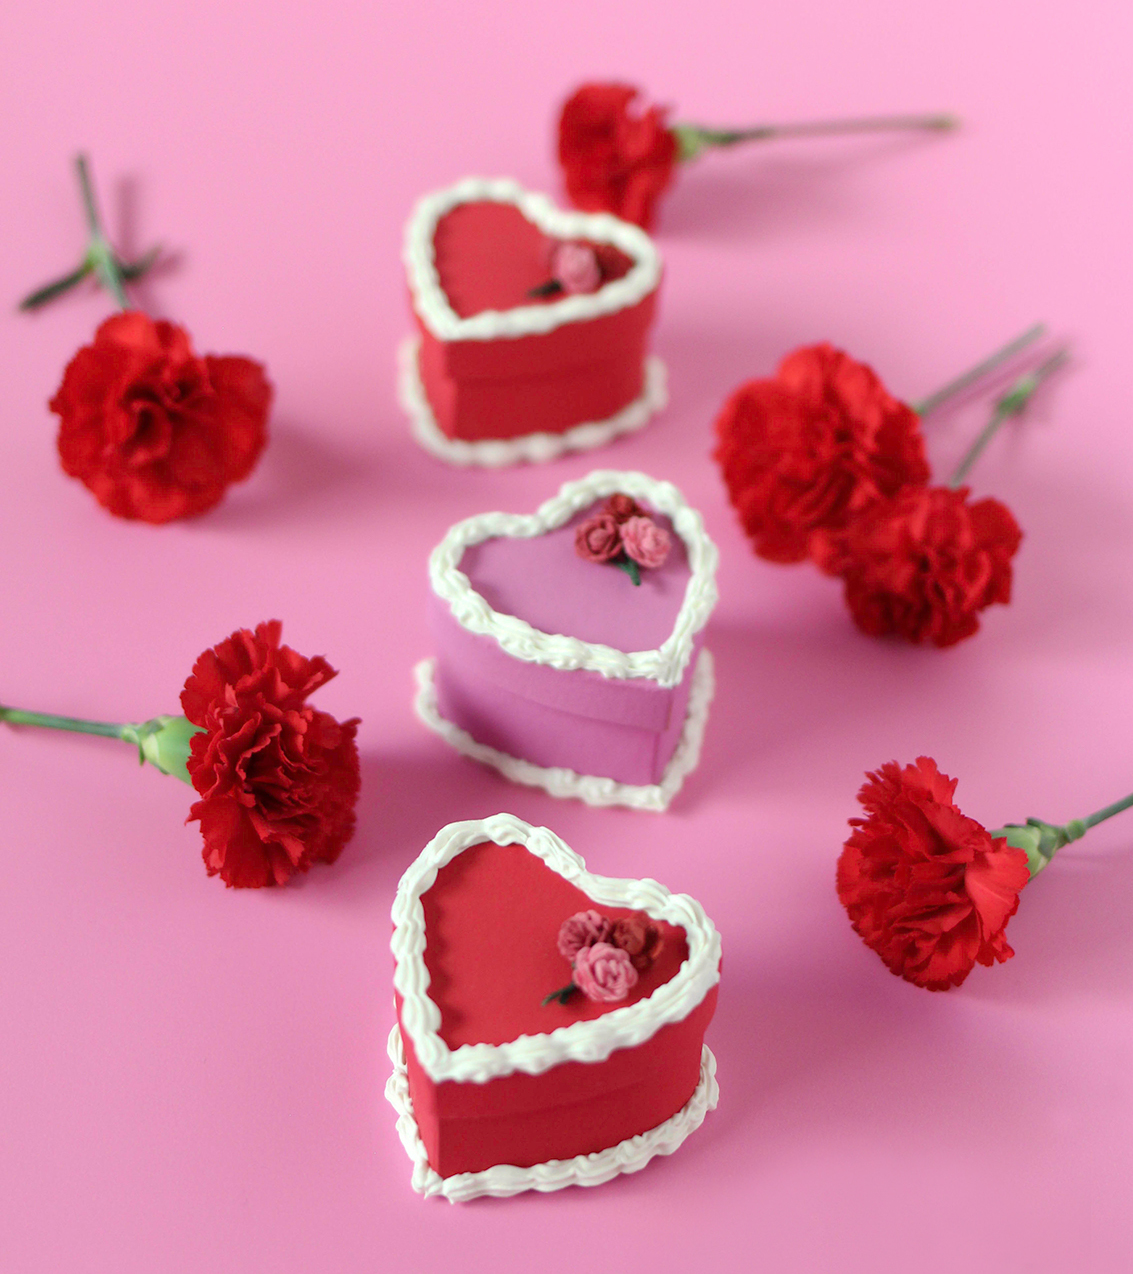
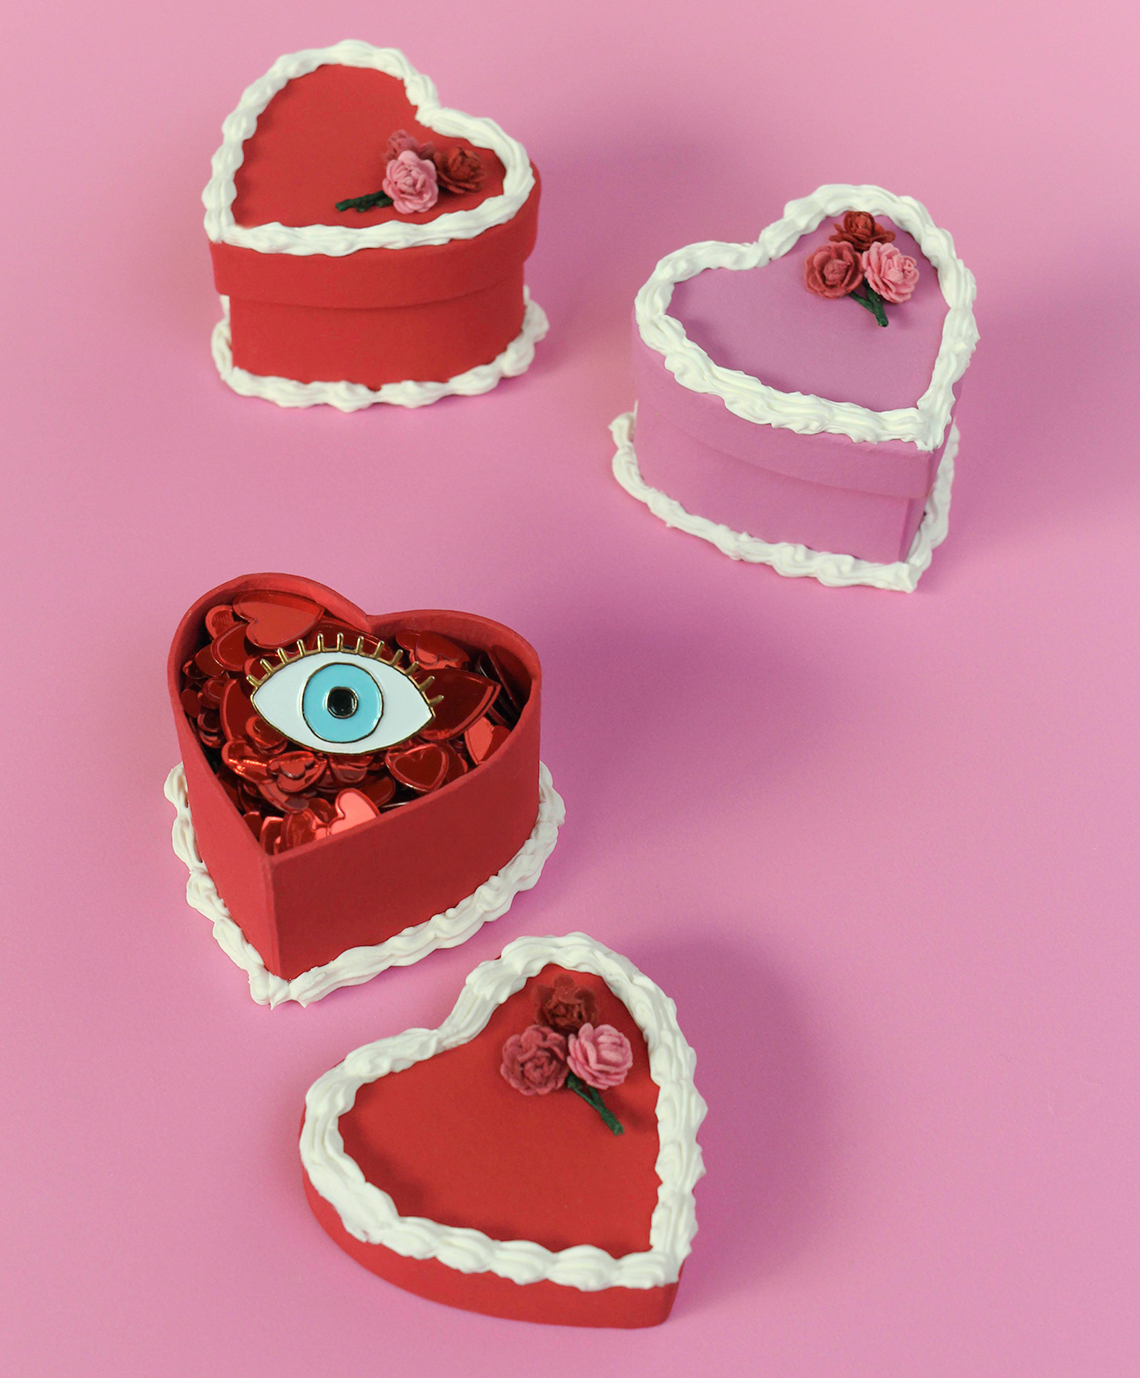
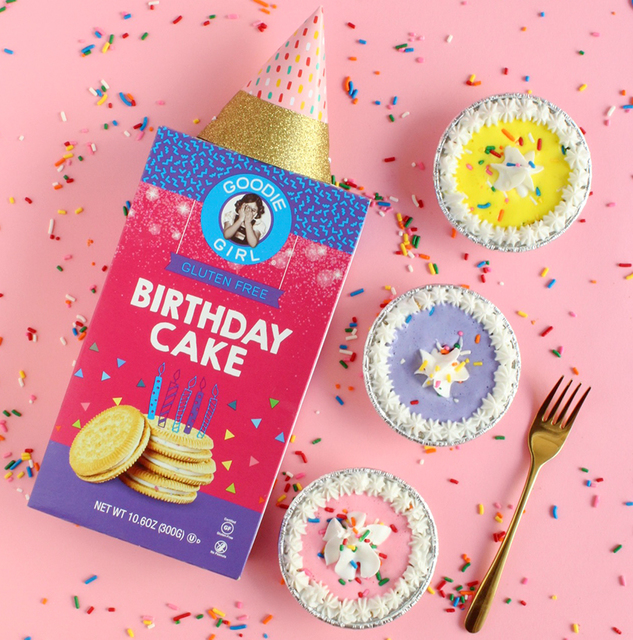
I love when a DIY turns out exactly as you hoped it would and that was just the case with these DIY Valentine's Day Cake Gift Boxes. For this project, I worked with a type of clay called Mod Podge Collage Clay which you can pipe out to look like actual frosting! Yes, you read that right...and though it looks delicious don't try eating it cause it's not edible.
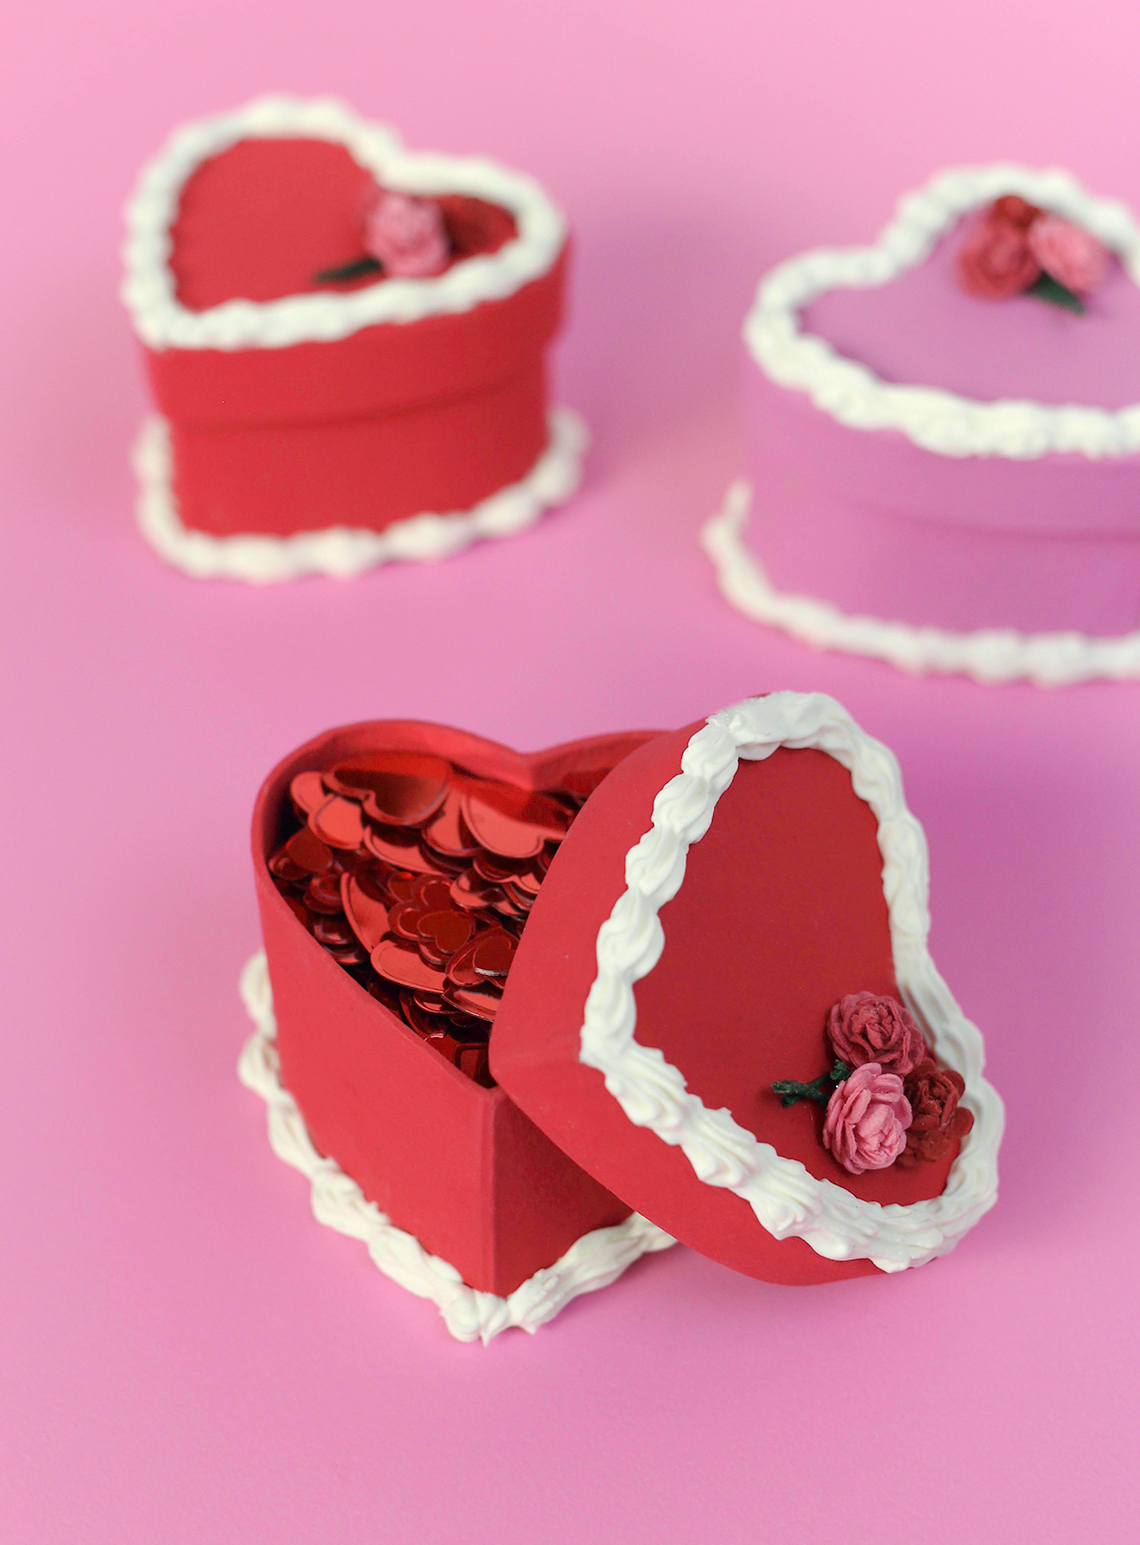
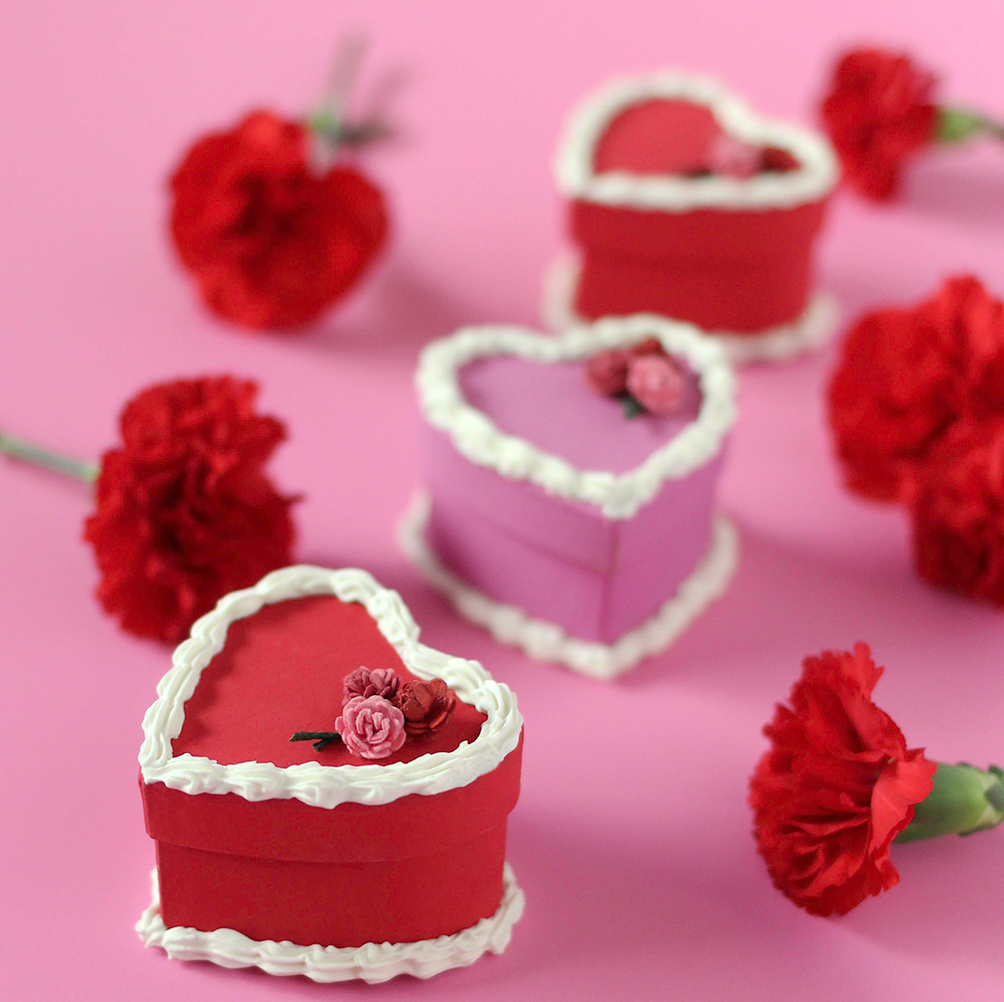
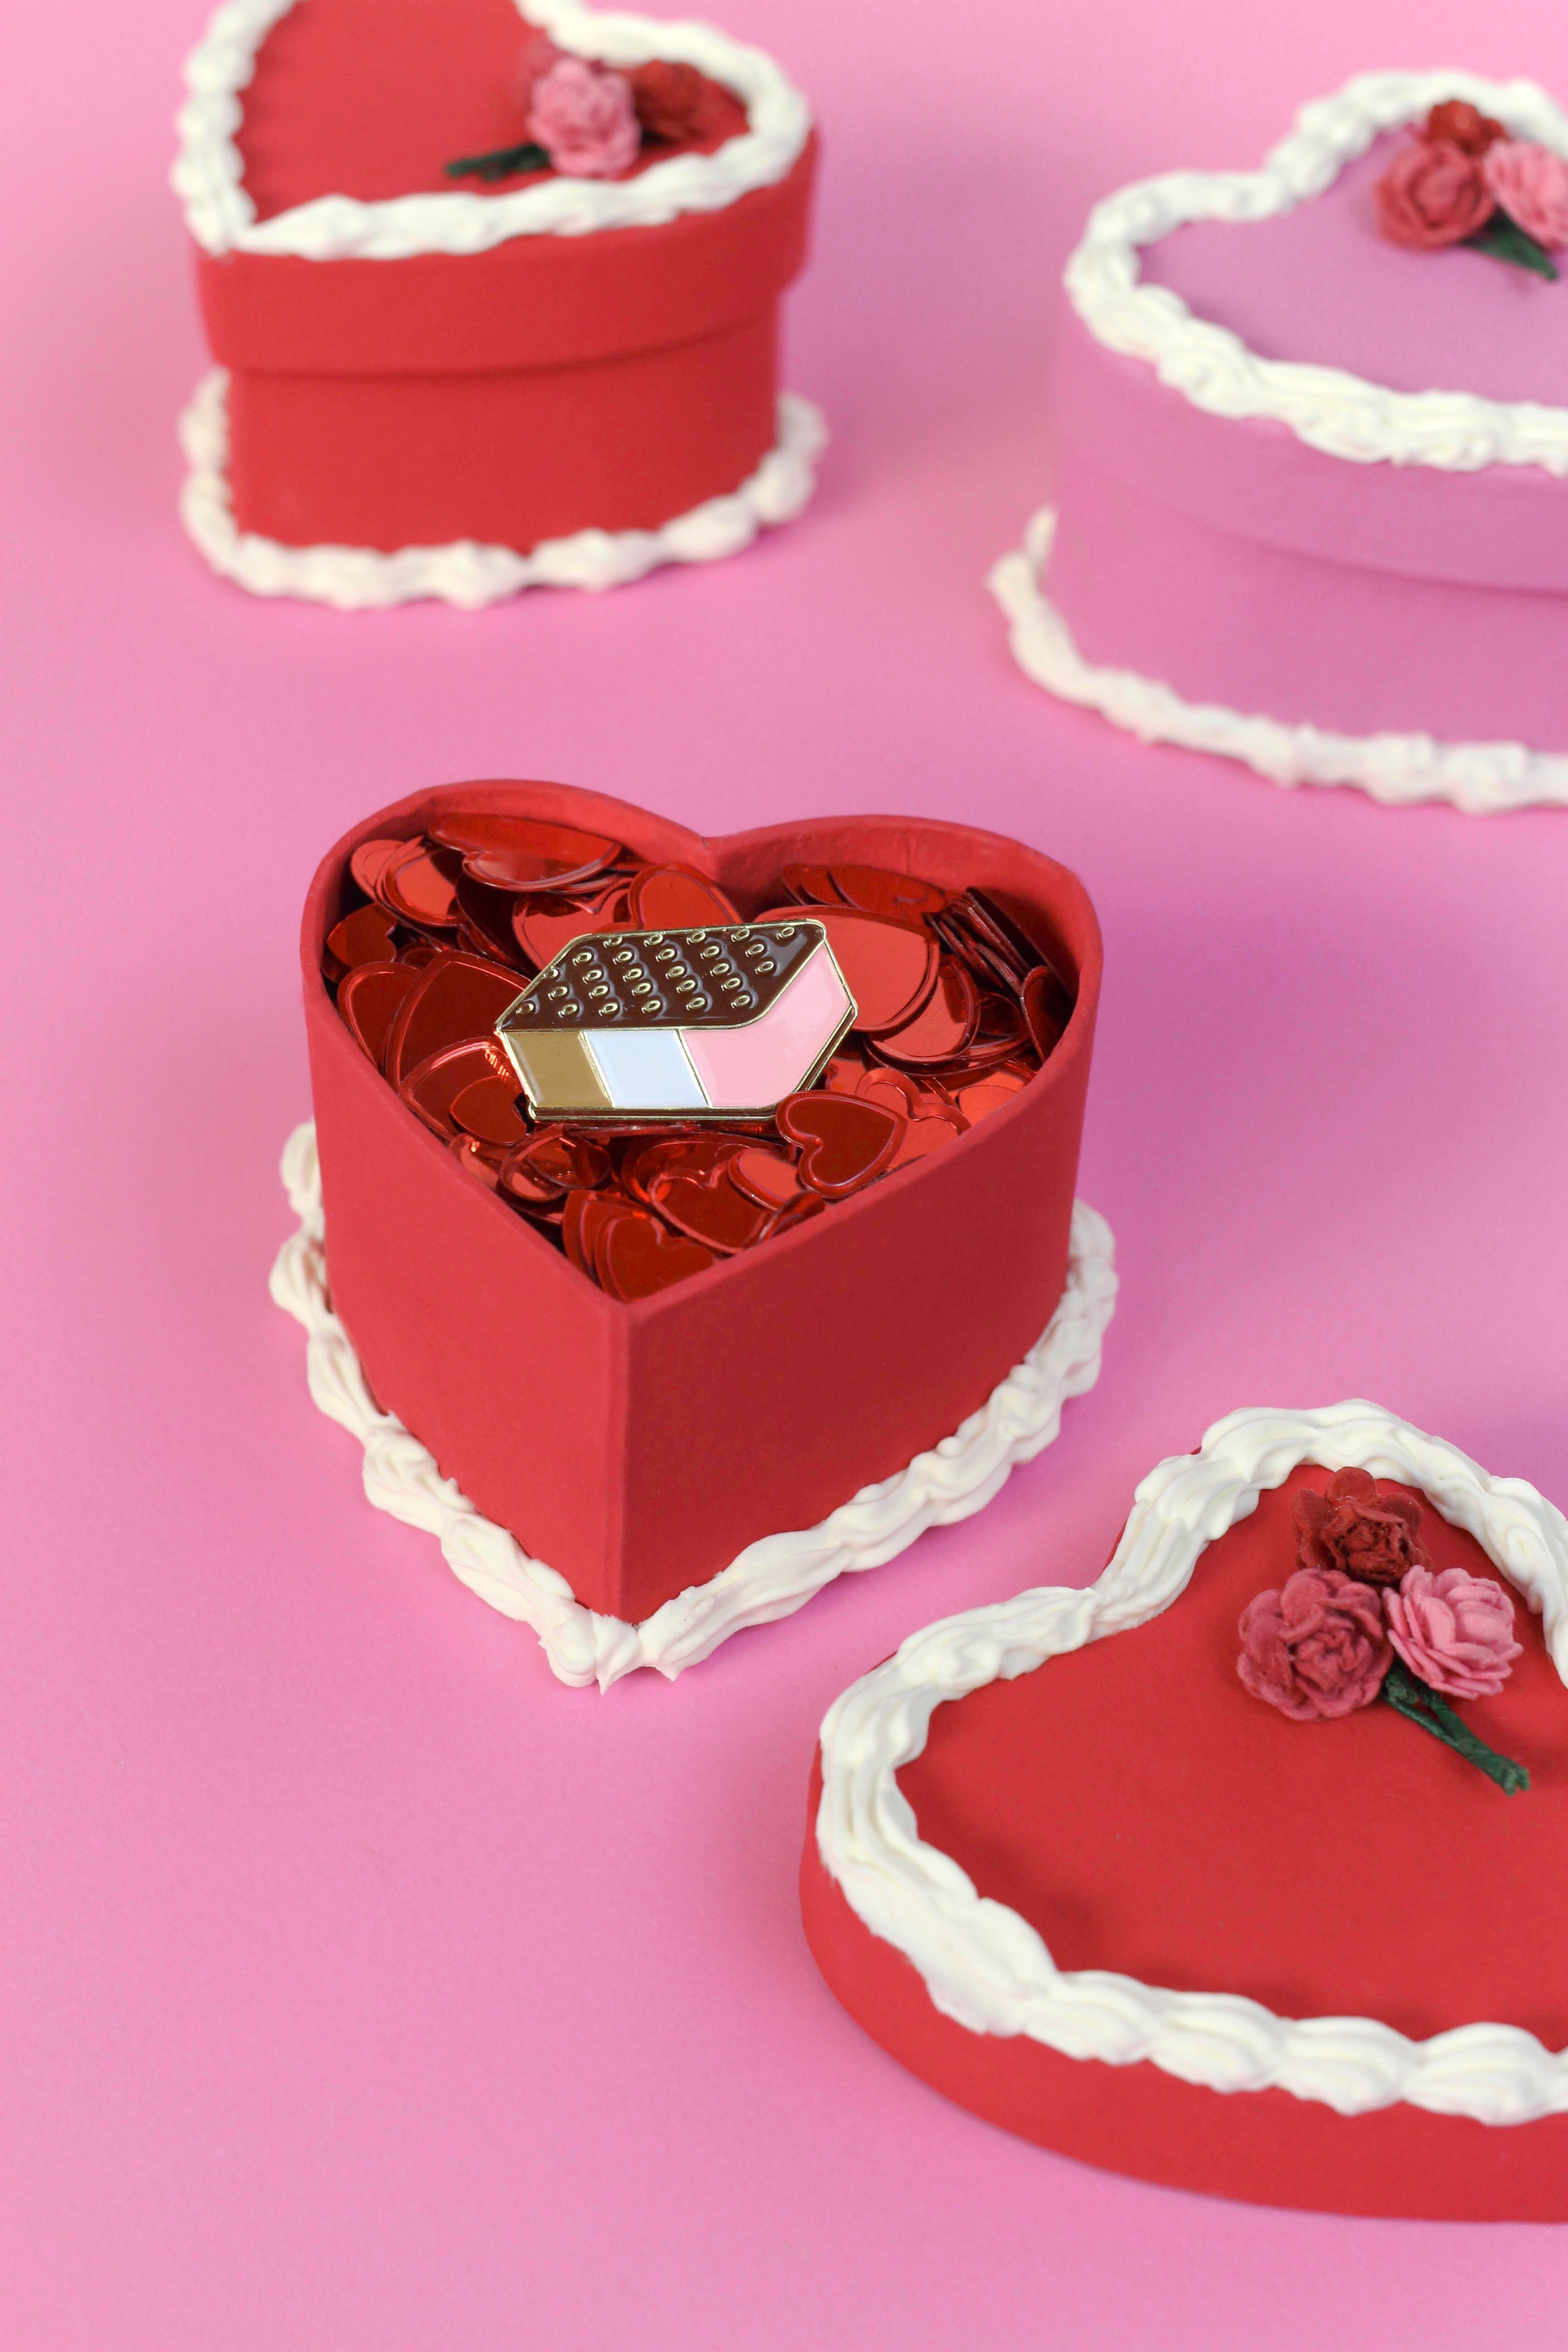
Now don't these cake boxes just make for the cutest valentines? Stuff one up with love notes for your crush or make a few for your friends and fill them with flair! Whoever you choose to give one to, it can't go unappreciated. I mean let's be real, is there anything better than sharing a little cake? 😉
What You'll Need
Red or Pink Paint
Piping Tip, Disposable Pastry Bag, Coupler (Note: The Modge Podge Collage Clay already comes with a piping tip/bag - so the tip, disposable pastry bag, and coupler are optional. I wanted to use a smaller size tip for my frosting effect so I checked the baking section of my local craft store for frosting tips and chose a size I liked best.)
Fake Tiny Flowers and Glue
How To
Step 1) Paint your heart boxes pink or red throughout and then let them dry.
Step 2) You can use the bag/tips the Mod Podge Collage Clay already comes with or use this time to add a tip to a disposable pastry bag and then fill the bag with the collage clay (reference the What You'll Need section for clarification). Depending on how many boxes you’re making, you really don’t need too much clay.
Step 3) Practice how you want to pipe the clay onto a piece of cardboard. Don’t worry, you can scoop it up and put it back in your bag when you’re done practicing so there won’t be any wasted.
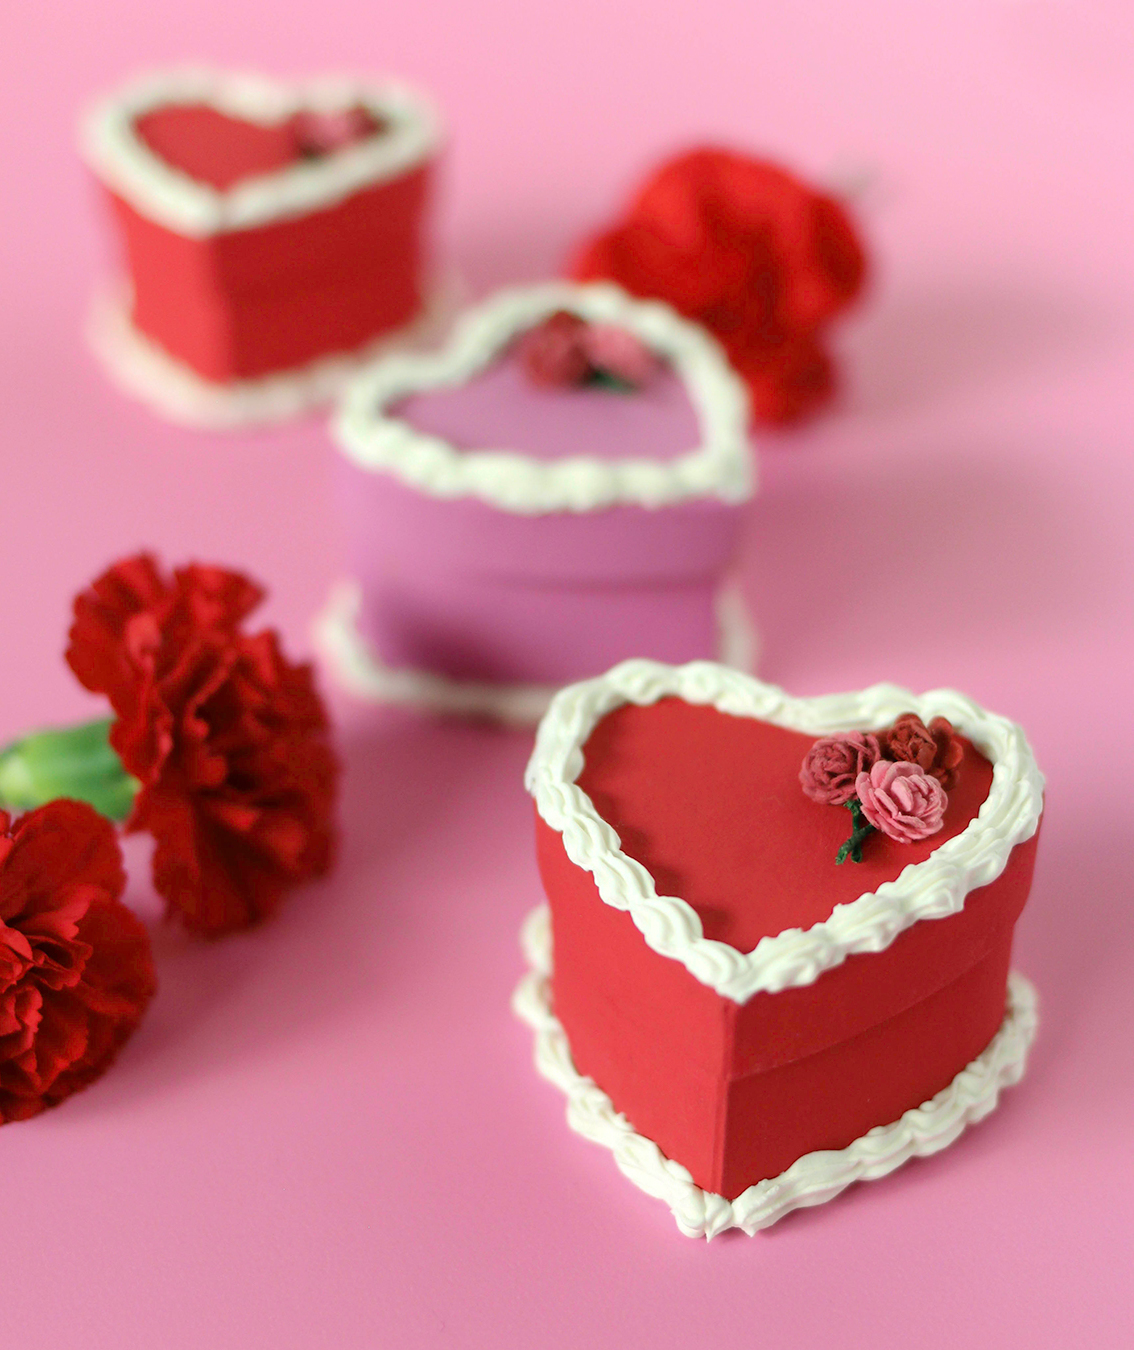
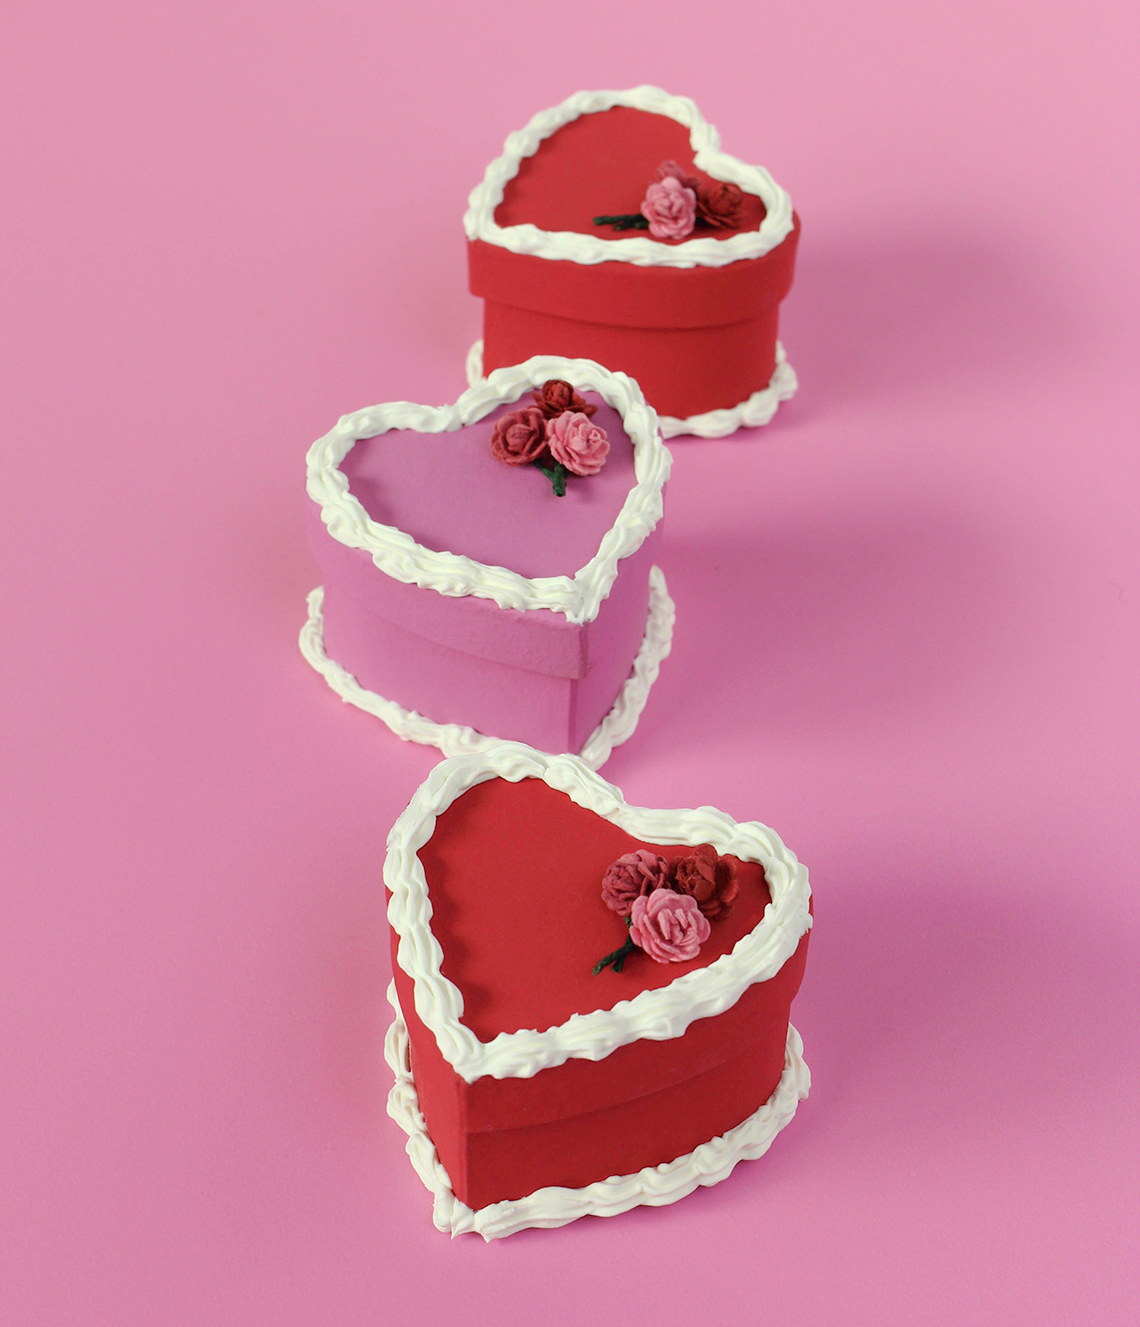
Step 4) Pipe the clay onto the top and bottom edges of each box to make it look like an iced cake. You can use my boxes as a reference for this part if you would like. Don’t worry about making it perfect and just have fun with it! Once you are done, set your boxes aside and let the clay dry.
Step 5) Once the clay has dried, glue tiny flower embellishments onto the lids of your boxes. Let those dry completely and you're all set to fill those boxes!

If you give this DIY a try, don't forget to share your creations with me using #crafterward on Instagram! Happy Valentine's Day! ❤️


Comments: